How to Make Gyoza Wrappers from Scratch!
By Sho @ Hungry for Thai
on
Mar 6th 2025 
🥟 Ever wanted to make fresh, homemade gyoza? Well, it all starts with the perfect wrapper! With just three simple ingredients—flour, salt, and water—you can create soft, tender wrappers that will take your dumplings to the next level.


This post may contain affiliate links. As an Amazon Associate, I earn from qualifying purchases—at no extra cost to you. Thanks for supporting Hungry For Thai!
Table of Contents
FREE DOWNLOAD
Get My Top 10 Easy Thai Recipes!
Download my top 10 easy Thai recipes absolutely free!
❓ What Are Gyoza Wrappers?
Gyoza wrappers are thin, round dumpling skins used for making Japanese-style potstickers.
They’re soft yet sturdy, perfect for holding tasty fillings and crisping up beautifully when pan-fried!
Making them from scratch gives your dumplings an extra fresh and authentic touch. 😋
In Thailand, we have Thai dumplings called Khanom Jeeb (ขนมจีบ), which have some similarities to gyoza.
Personally, I really love Thai dumplings, but after trying gyoza, I have a new favorite dumpling now!🥟✨

What You’ll Need
- All-Purpose Flour – The base of the dough, giving the wrappers structure and elasticity.
- Salt – Enhances the flavor and strengthens the dough’s texture.
- Hot Water – Helps develop gluten, making the dough smooth and easy to roll.
- Potato Starch Or Cornstarch – Prevents sticking and keeps the wrappers soft and workable.
Why You’ll Love Make Gyoza Wrappers from Scratch Recipe 🩷
- Fresh & Homemade: Nothing beats the taste of gyoza made from scratch.
- Simple Ingredients: You only need flour, water, and salt—no fancy stuff!
- Perfect Texture: These wrappers are tender and chewy, perfect for your favorite fillings.
- Fun to Make: It’s a great way to get hands-on and create something delicious.
How to Make Gyoza Wrappers
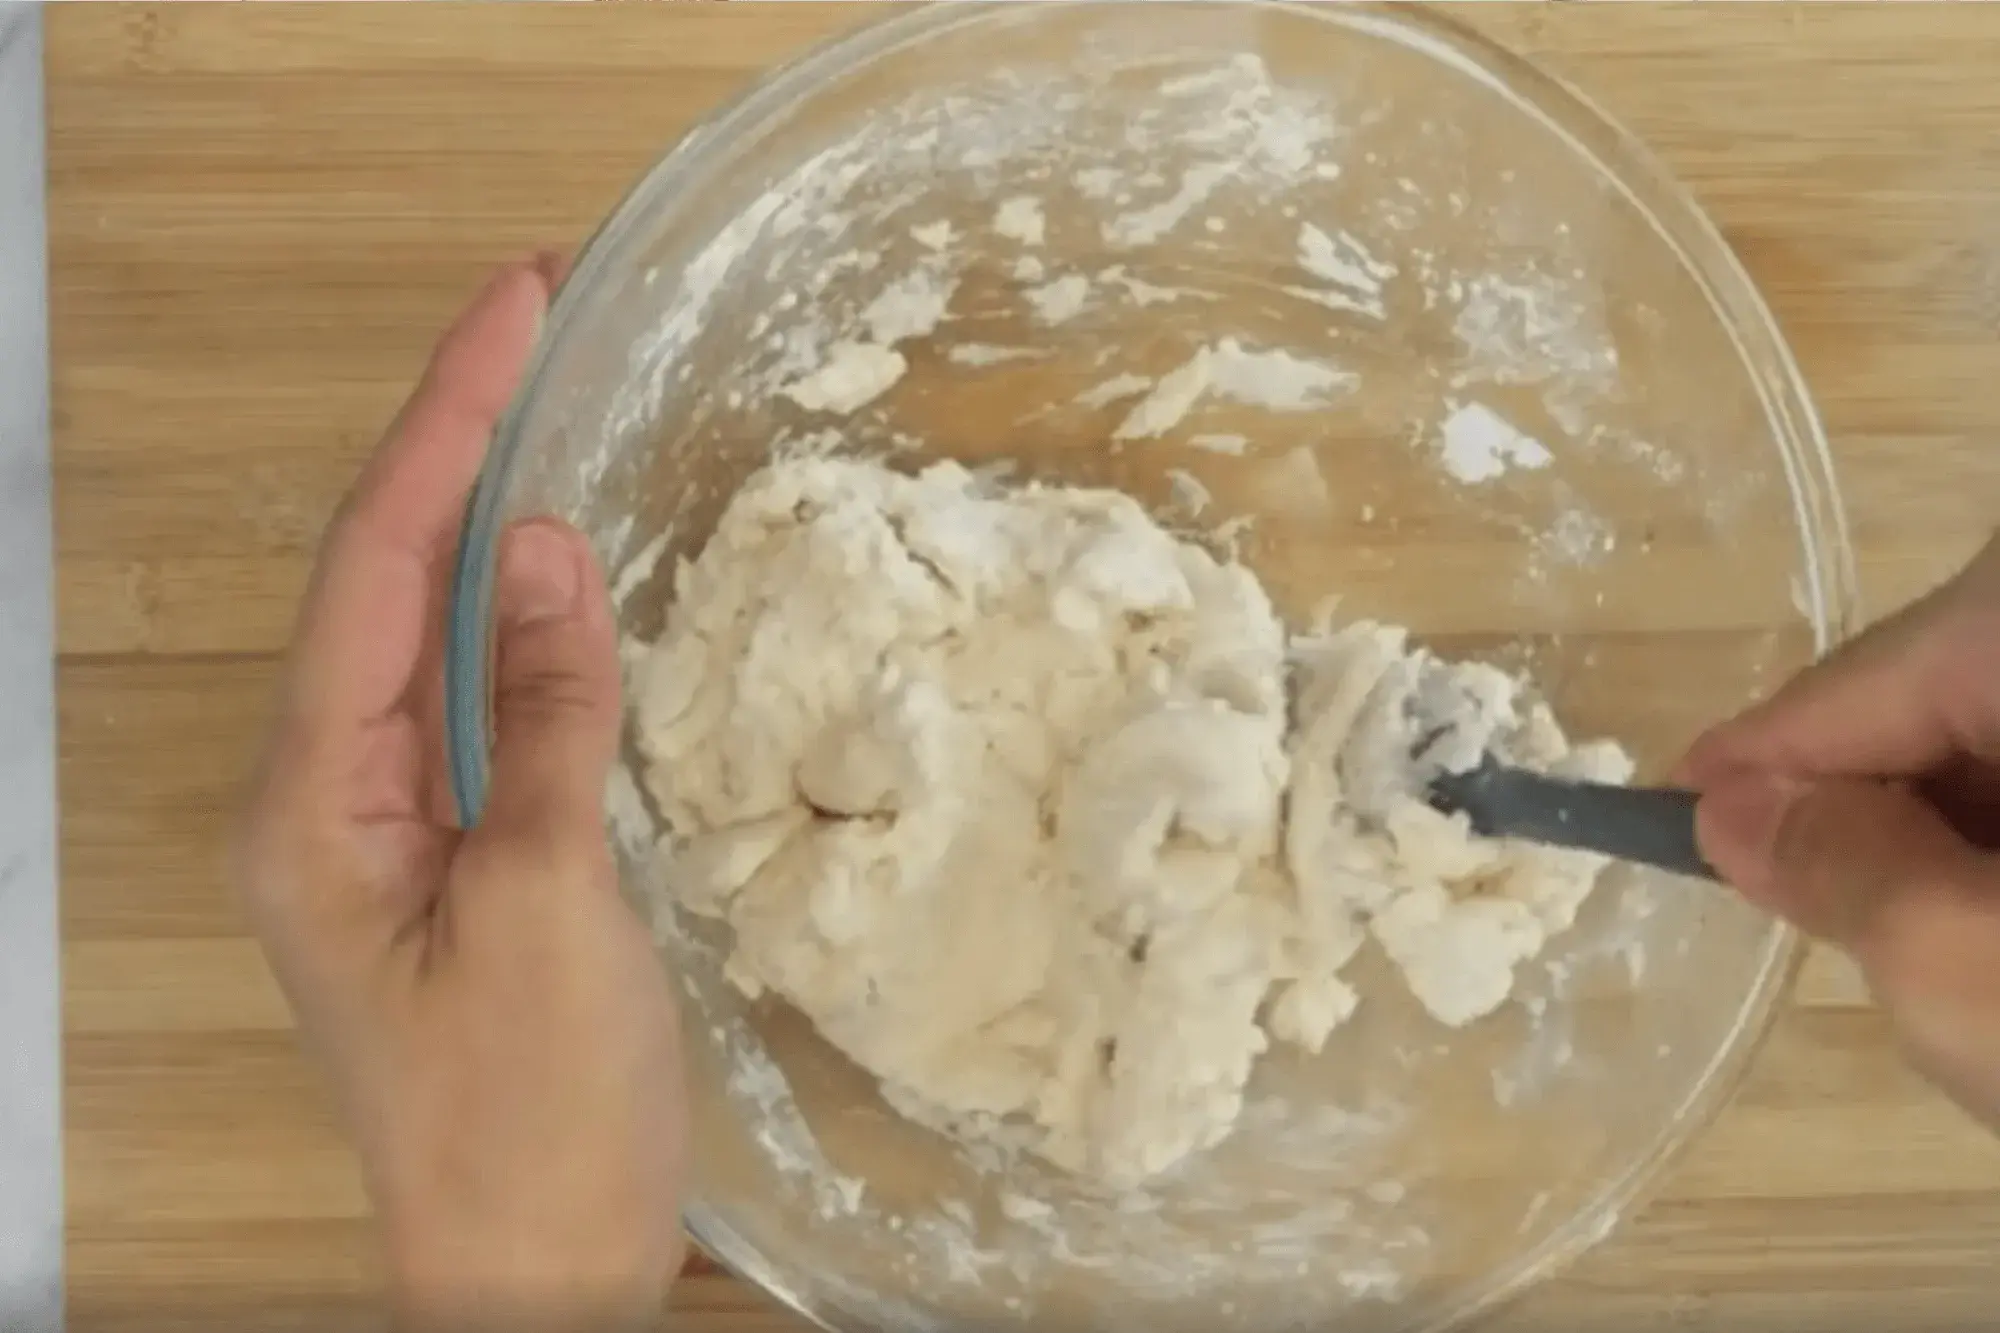
- Mix all the ingredients with a rubber spatula in a large bowl.
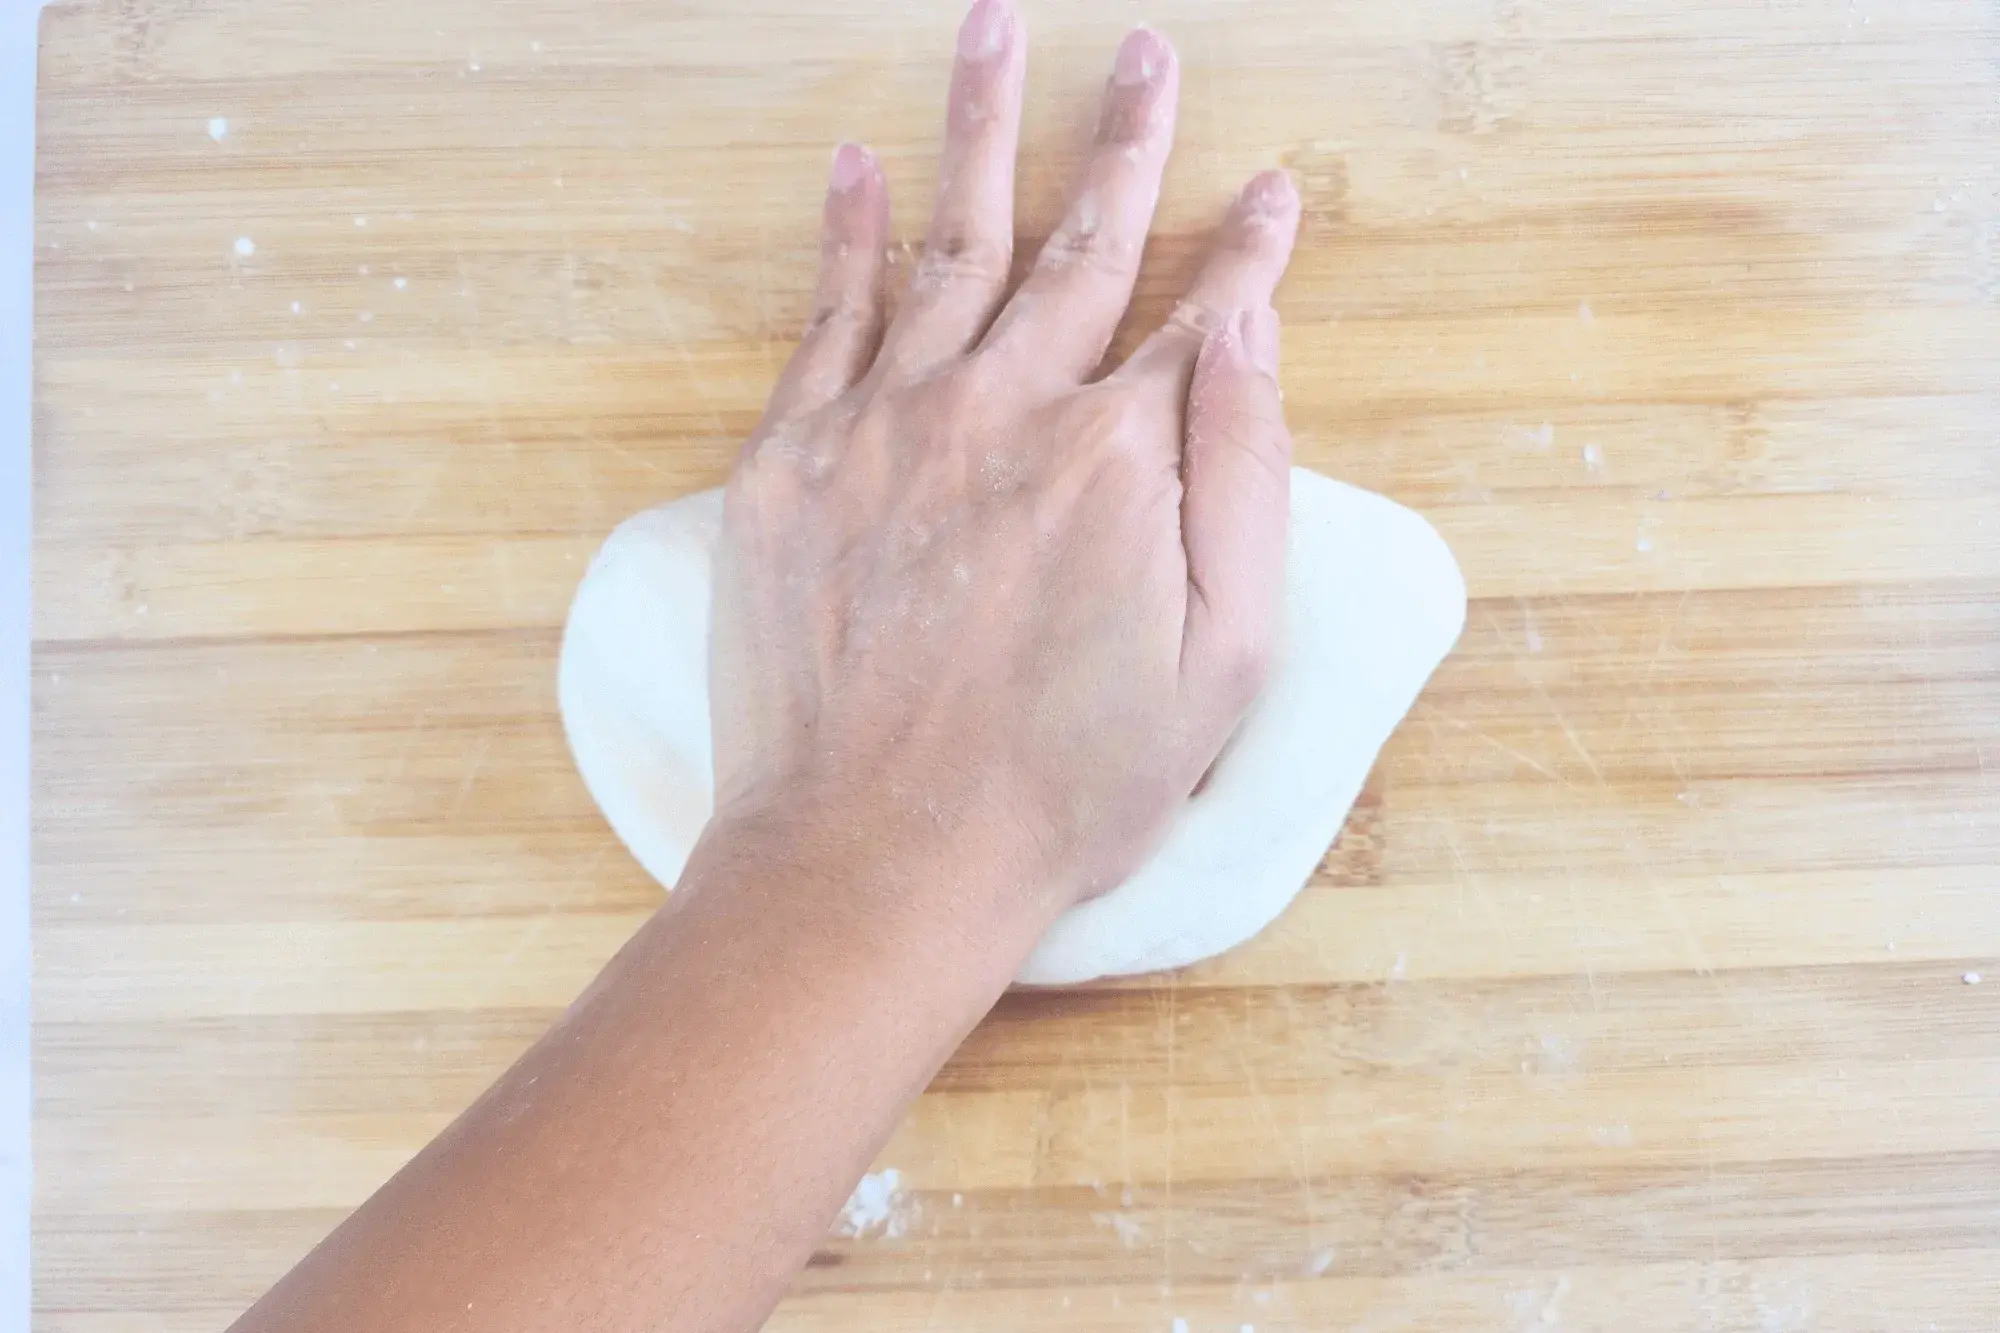
- Knead the dough for 10 minutes, shape it into logs, wrap in plastic wrap, and rest for 30 minutes on the counter.
- Cut the dough into small pieces, flatten with a rolling pin, and cut out into a circle shape using a cookie cutter.
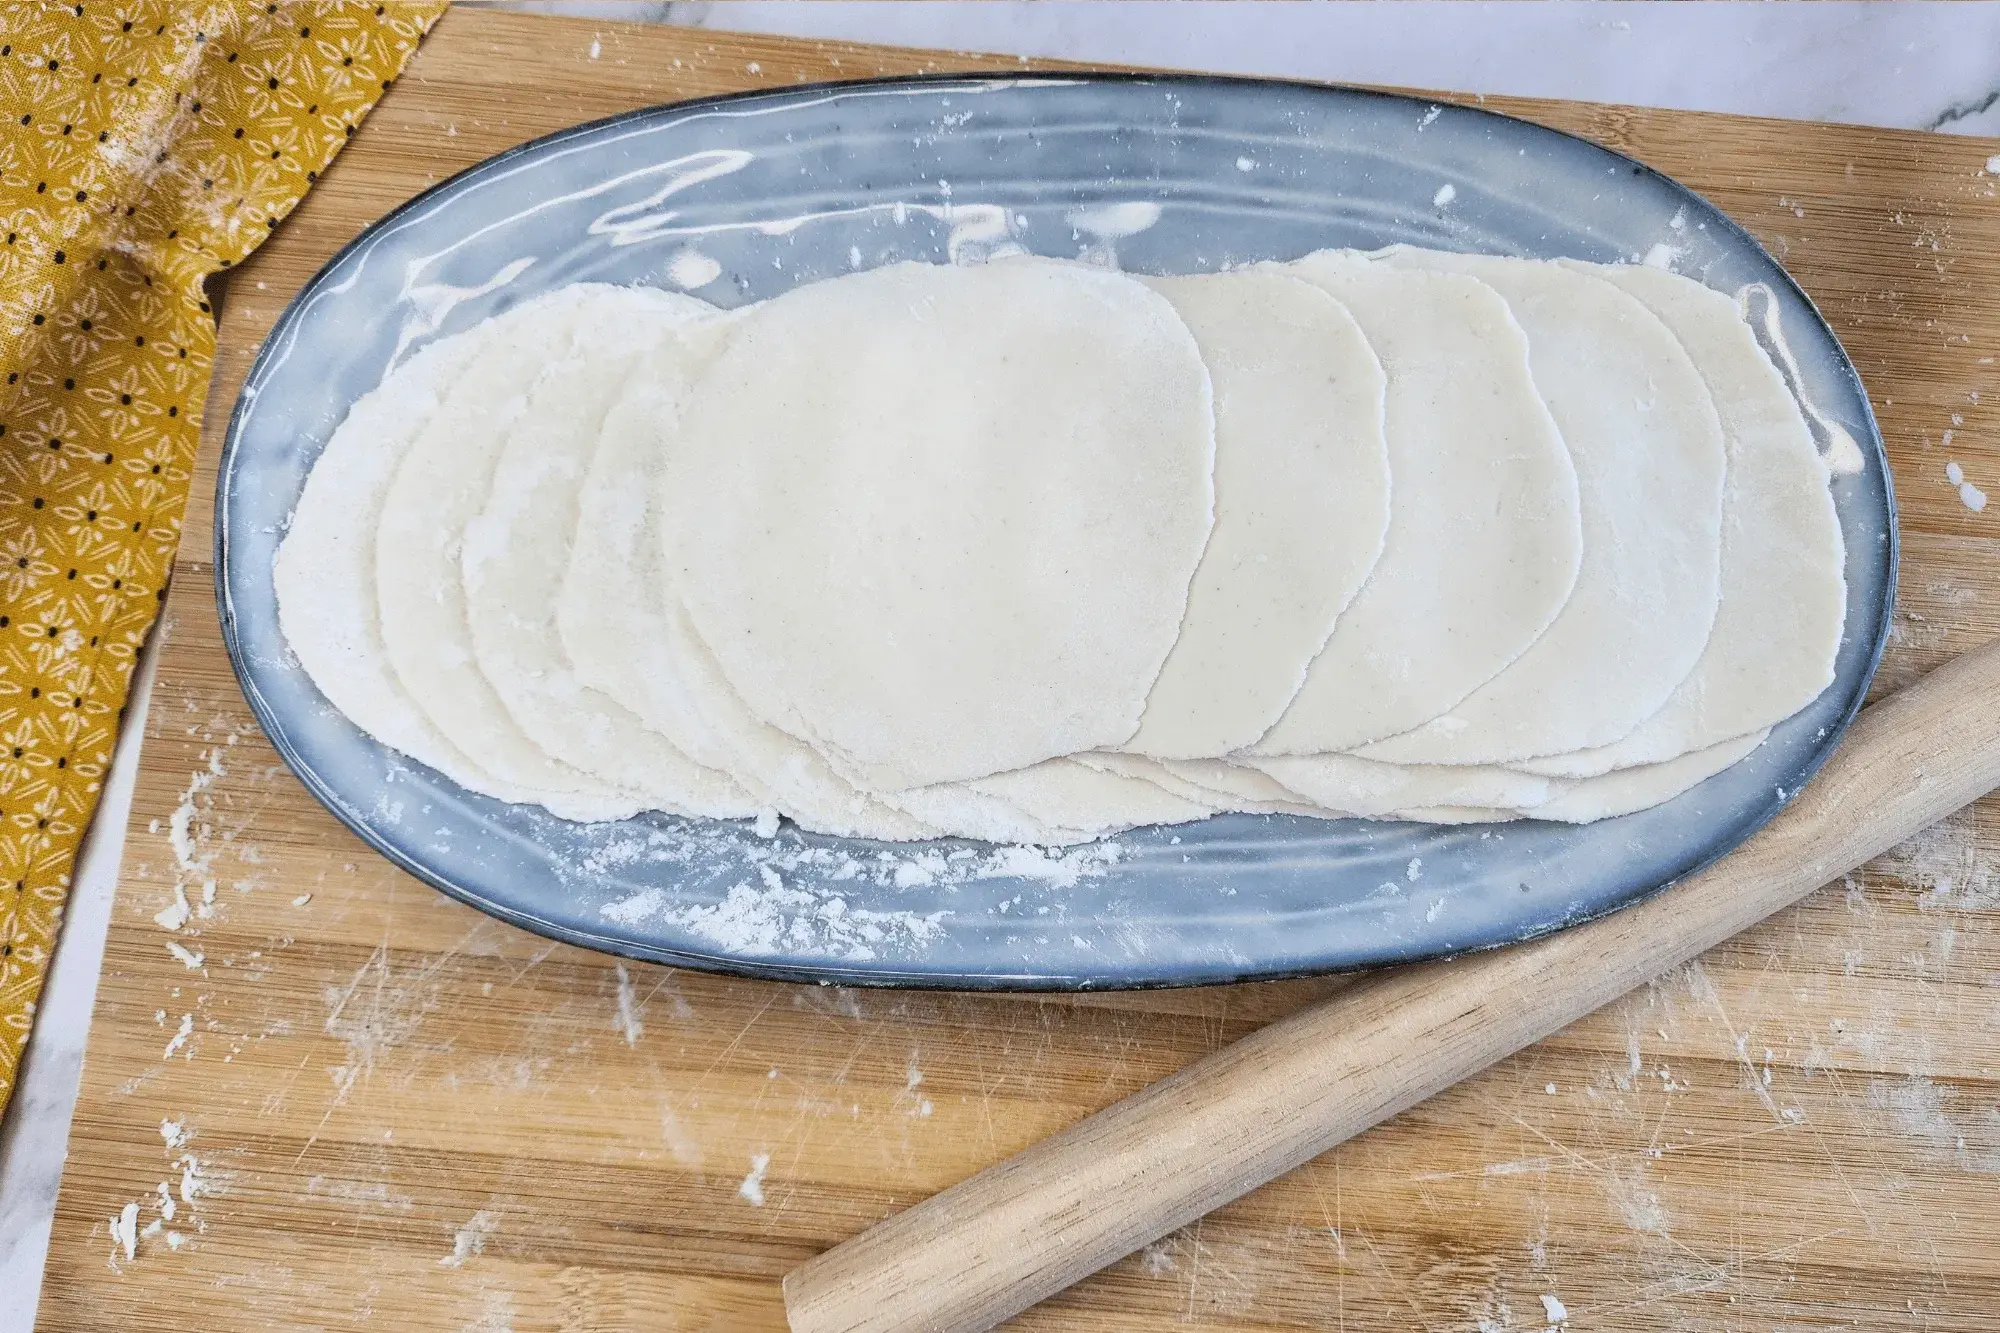
Let’s make fresh and tender Gyoza Wrappers from scratch! All you need is salt, water, and flour.
Now you can make homemade gyoza at home anytime you want.
FAQs
Yes! You can store the dough in the fridge for up to 2 days or freeze it for later. Just make sure to cover it well to prevent it from drying out.
If it’s too dry, add a little more hot water, a teaspoon at a time. If it’s too sticky, dust with a little more cornstarch or flour as you roll.
While all-purpose flour is the best option for gyoza wrappers, you can try cake flour for a softer texture, but the dough might be a bit trickier to work with.
🫙 Refrigerate (Short-Term Storage)
- If you plan to use them within 2–3 days, place the wrappers in an airtight container or a ziplock bag.
- Dust each wrapper with potato starch or cornstarch before stacking to prevent sticking.
- Keep them in the refrigerator, and make sure they are well-sealed to avoid drying out.
🧊 Freeze (Long-Term Storage)
- Best for keeping them fresh for up to 1 month!
- Place a small sheet of parchment paper or plastic wrap between each wrapper to prevent sticking.
- Stack them and store in a ziplock bag or airtight container.
- When ready to use, thaw in the fridge for a few hours or let them sit at room temperature for 20-30 minutes before filling.
Now you’re all set to wrap up some delicious homemade gyoza! 🥟✨
Give it a try and let me know how it goes! 💬👇


How to Make Gyoza Wrappers from Scratch!
Prep time
40 minutes
Cook time
30 minutes
Serves
30

Ingredients
Steps
-
🥟 How to Make Gyoza Wrappers Dough – Step by Step!:
-
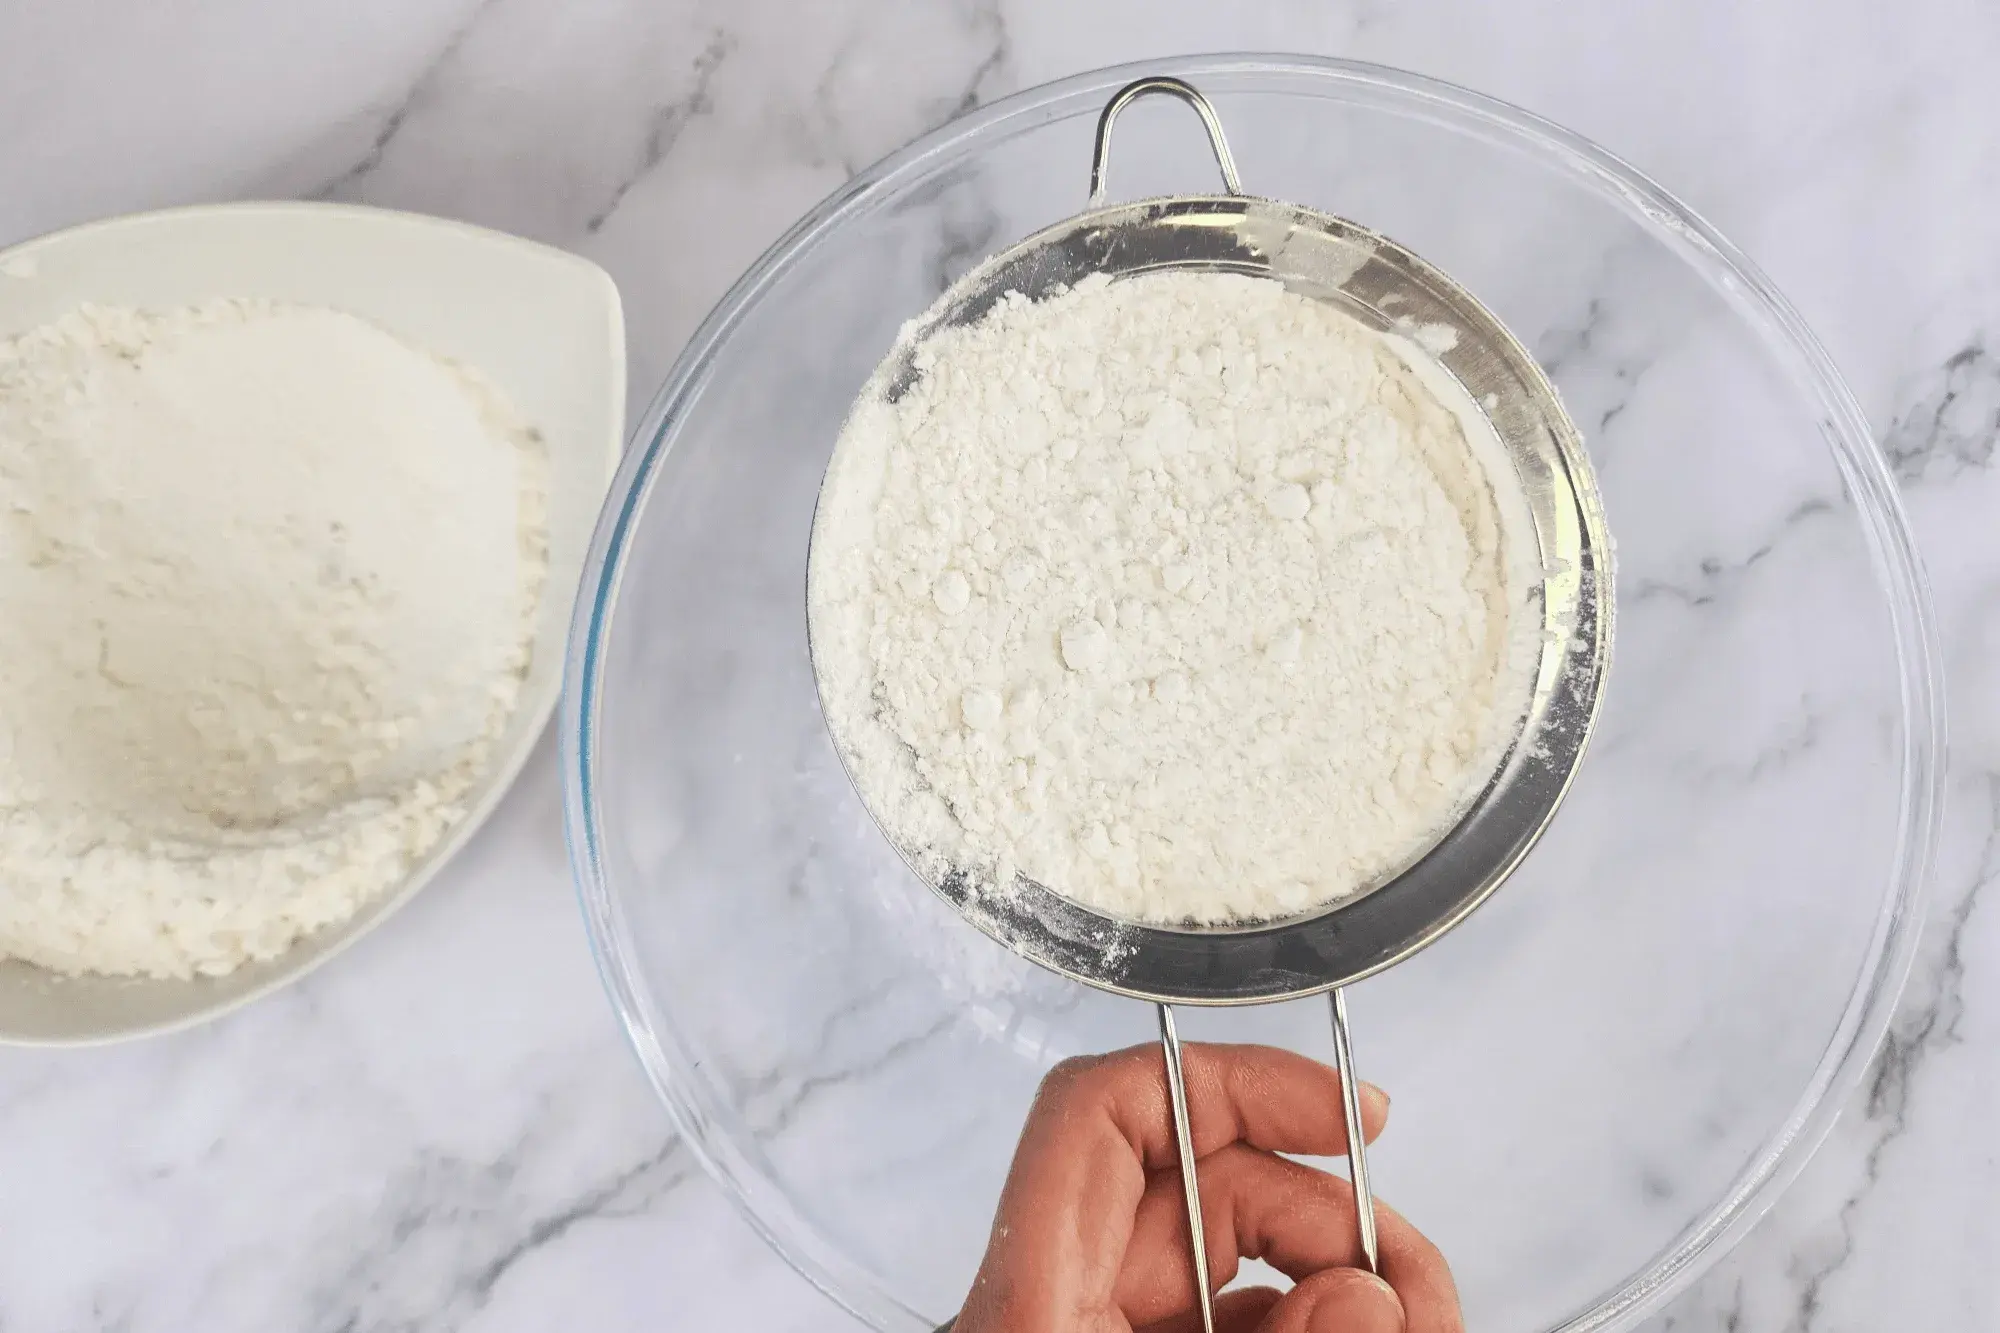
In a large bowl, sift the all-purpose flour to keep it light and smooth.
-
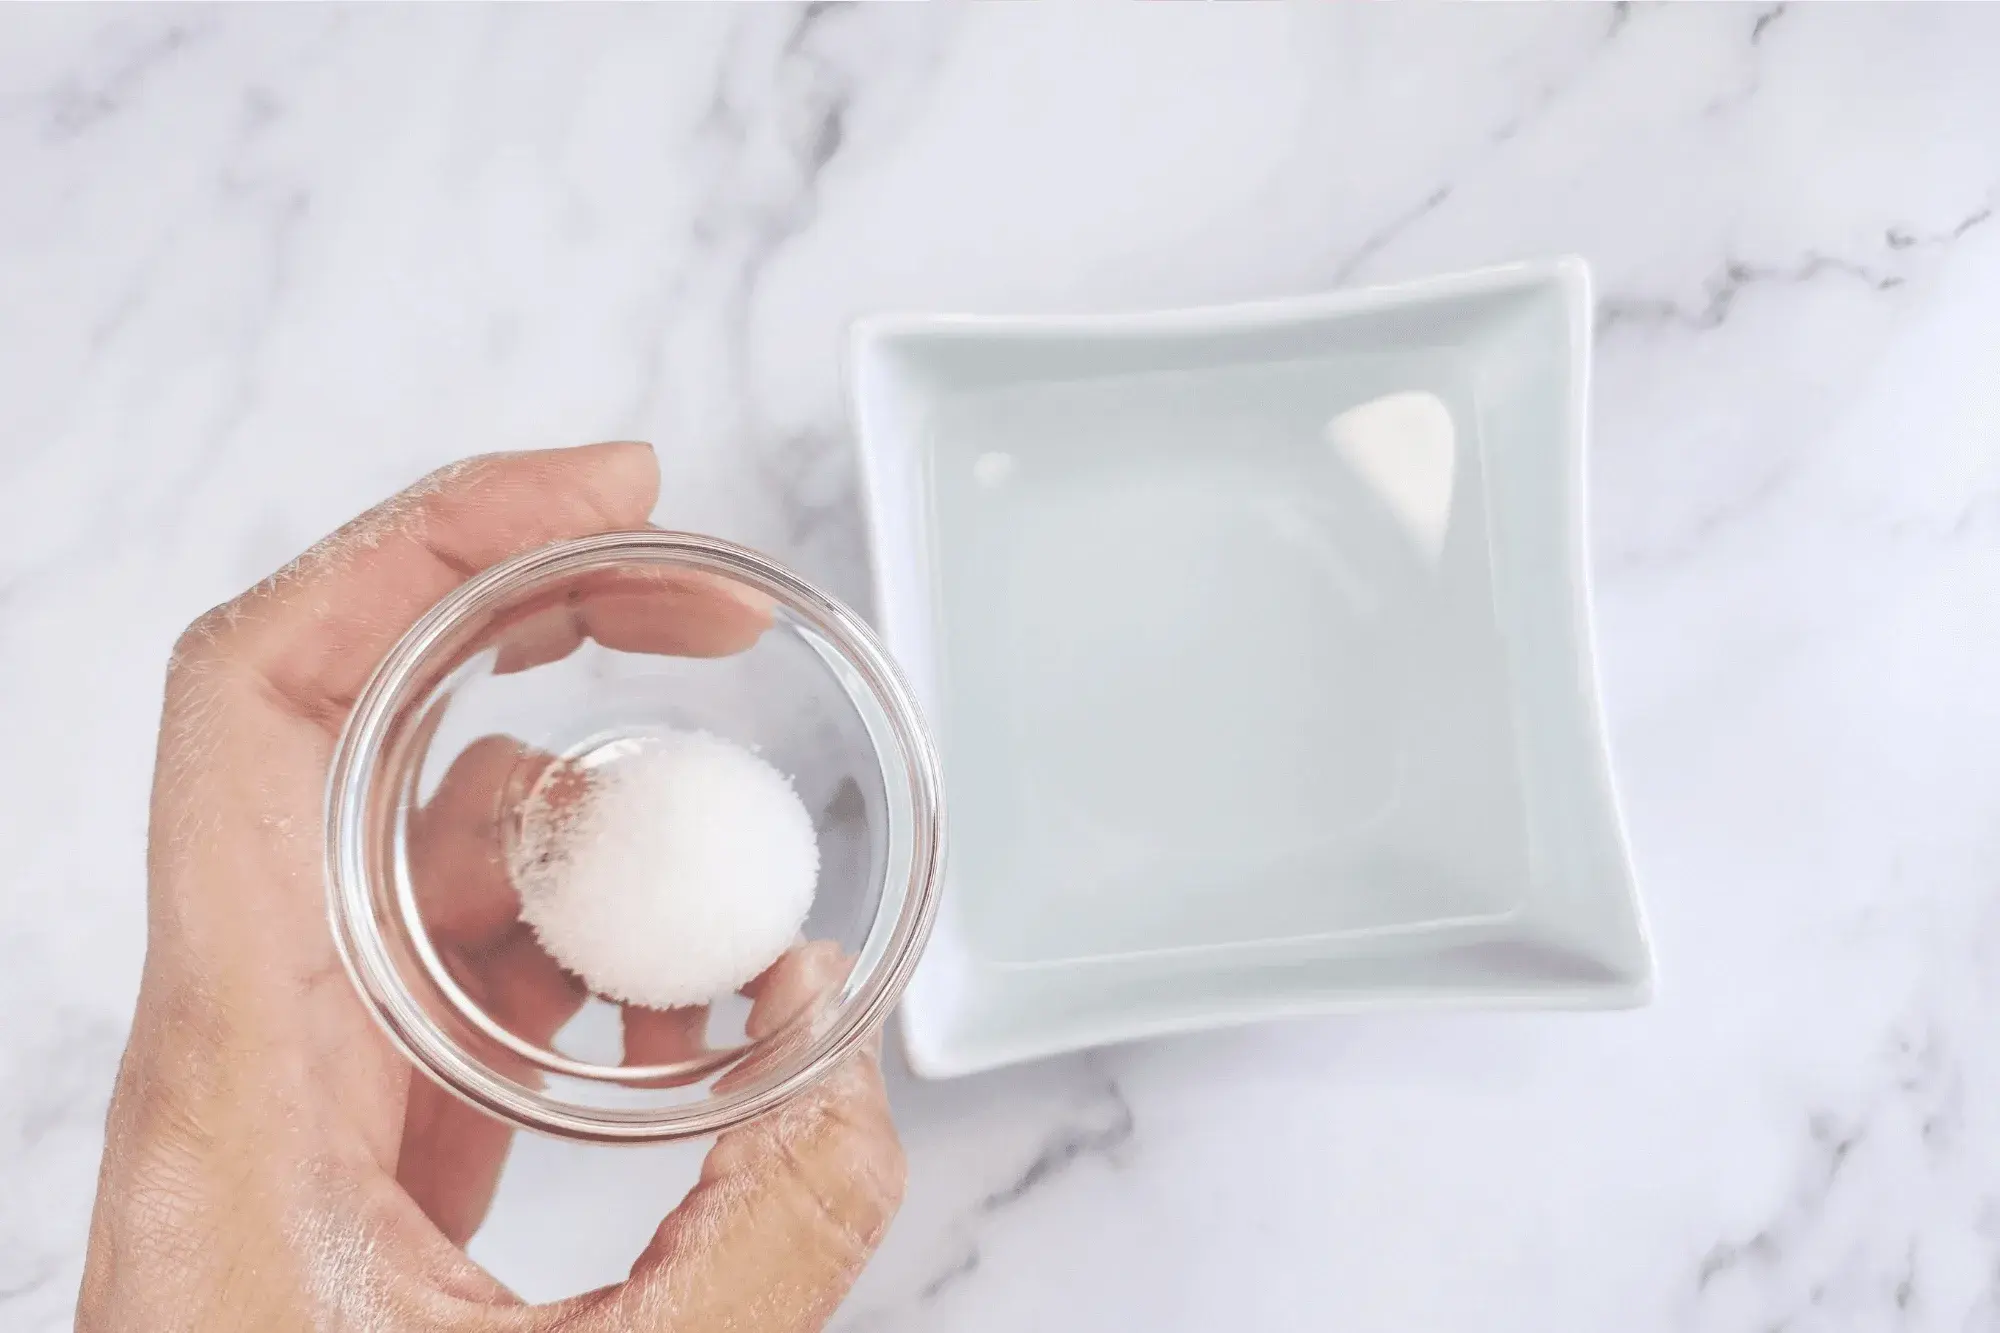
Mix the just-boiled hot water with salt and stir until completely dissolved.
-
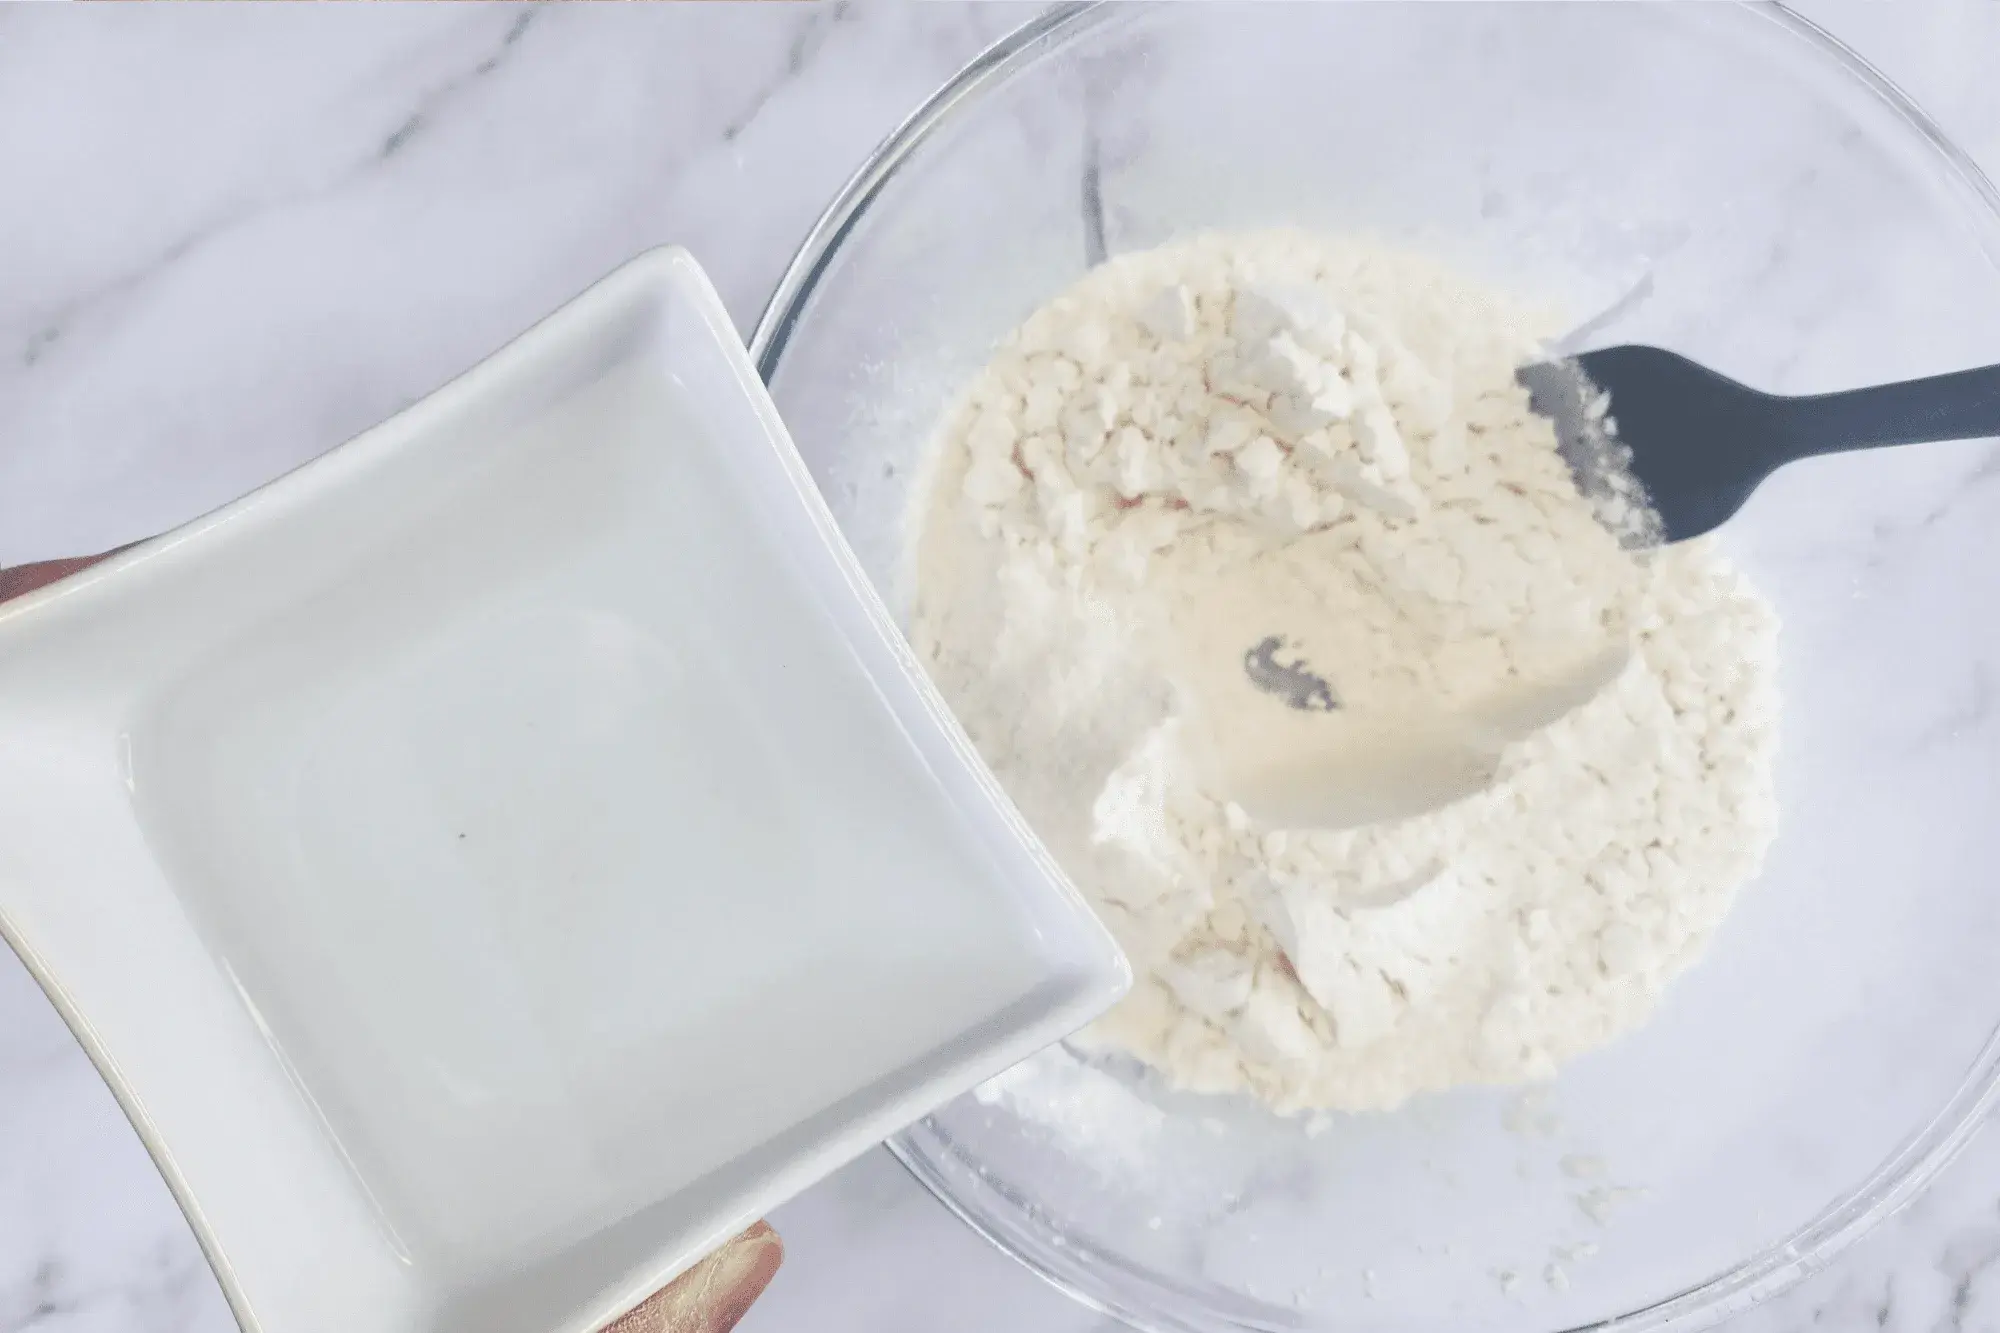
Slowly add the hot water to the flour, a little at a time, while stirring with a rubber spatula. Keep mixing until the dough starts to come together. If it’s still dry, add ½ Tbsp of hot water at a time until it forms a rough ball. (Different flours absorb water differently, so adjust as needed—I usually use about 120–150 ml.)
-
Transfer the dough to a clean work surface and knead for about 10 minutes. This helps develop the gluten, making the dough smooth and stretchy.
-
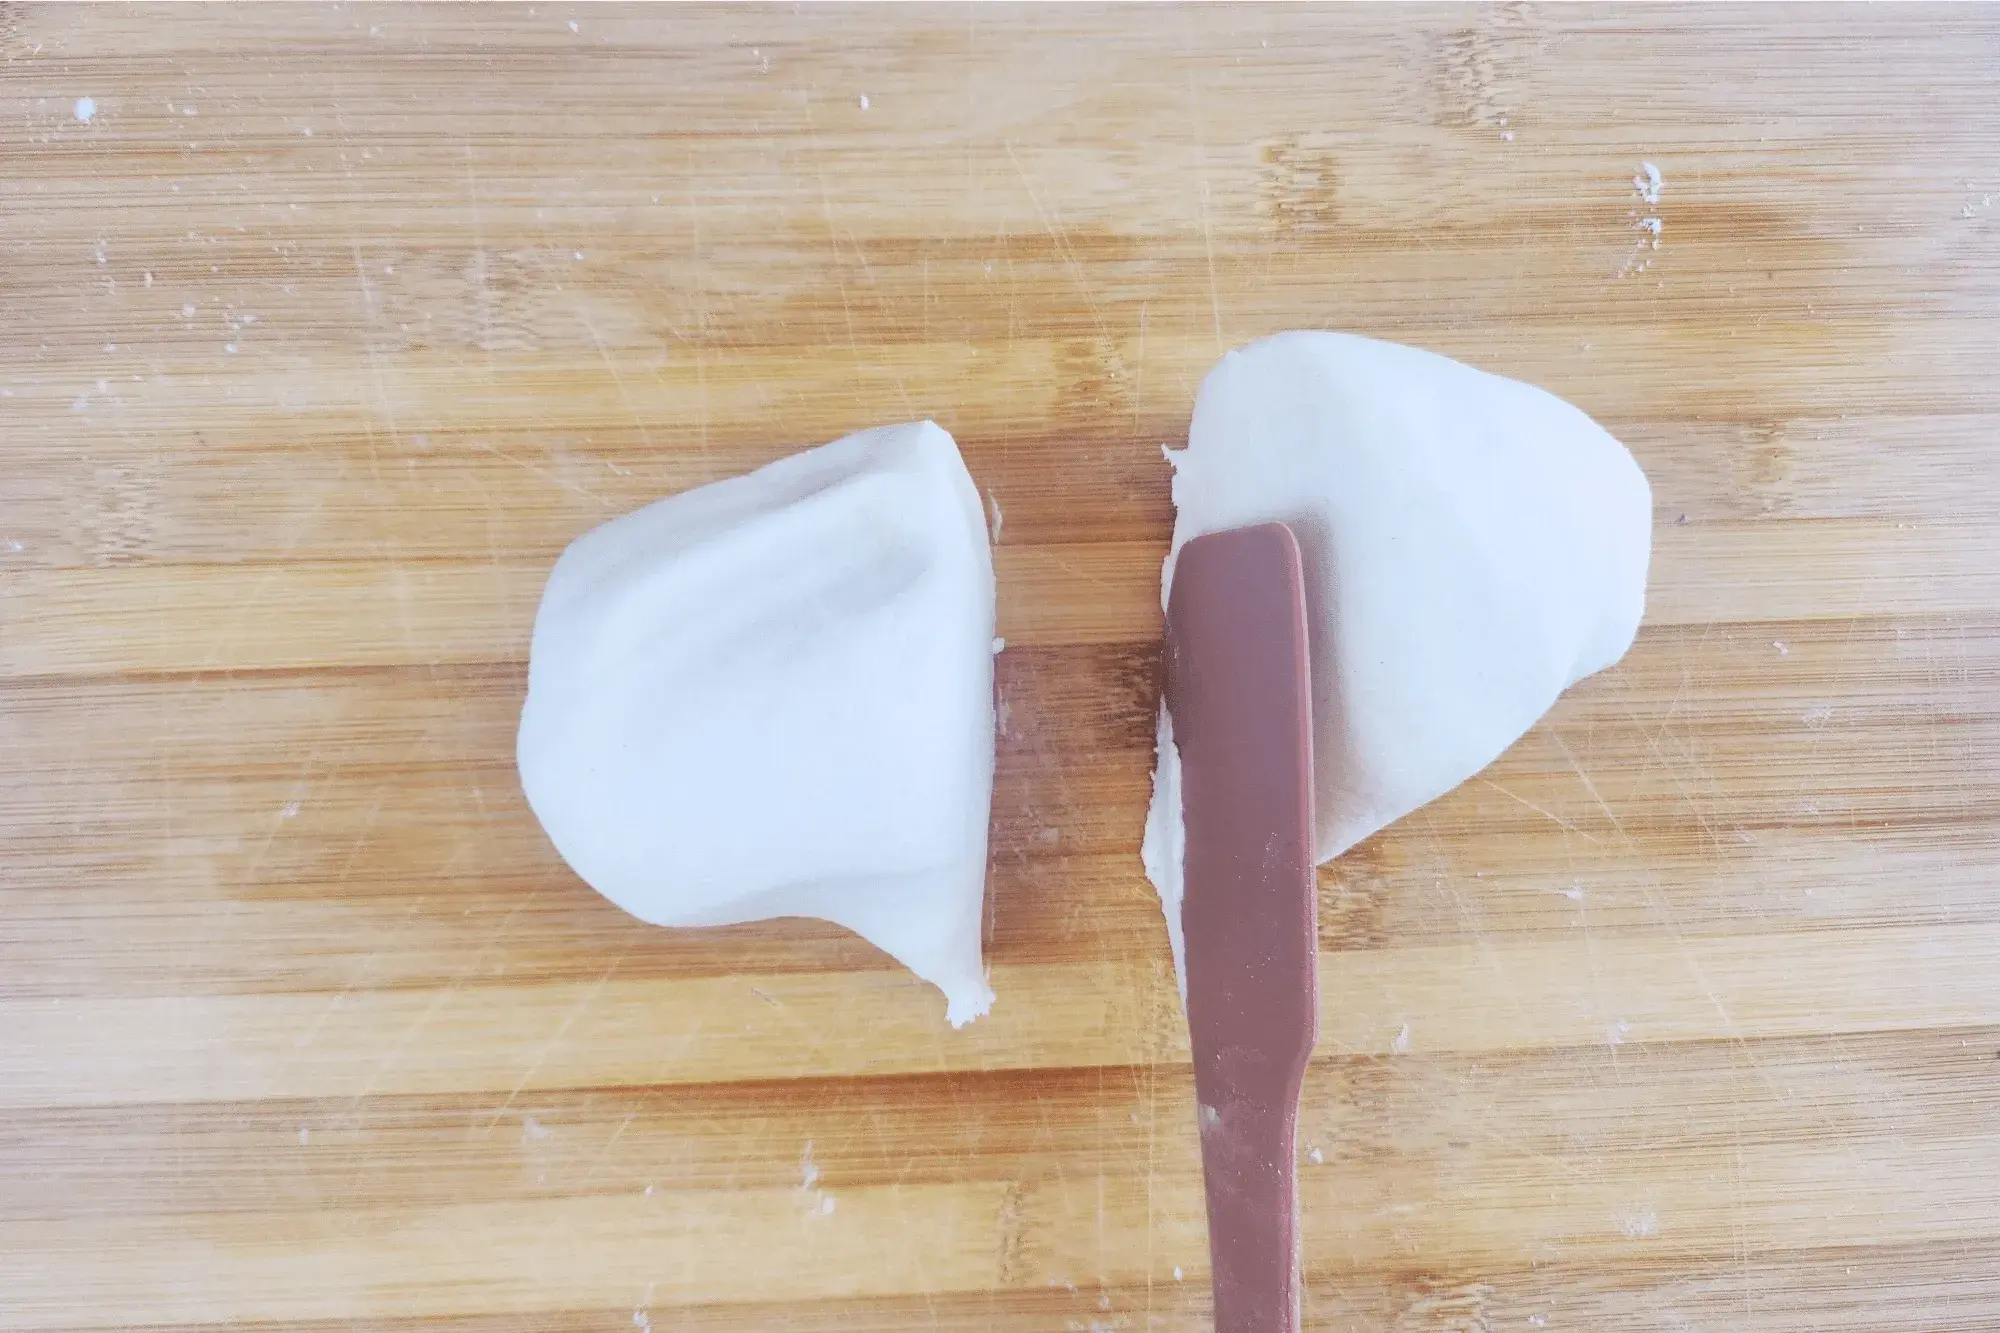
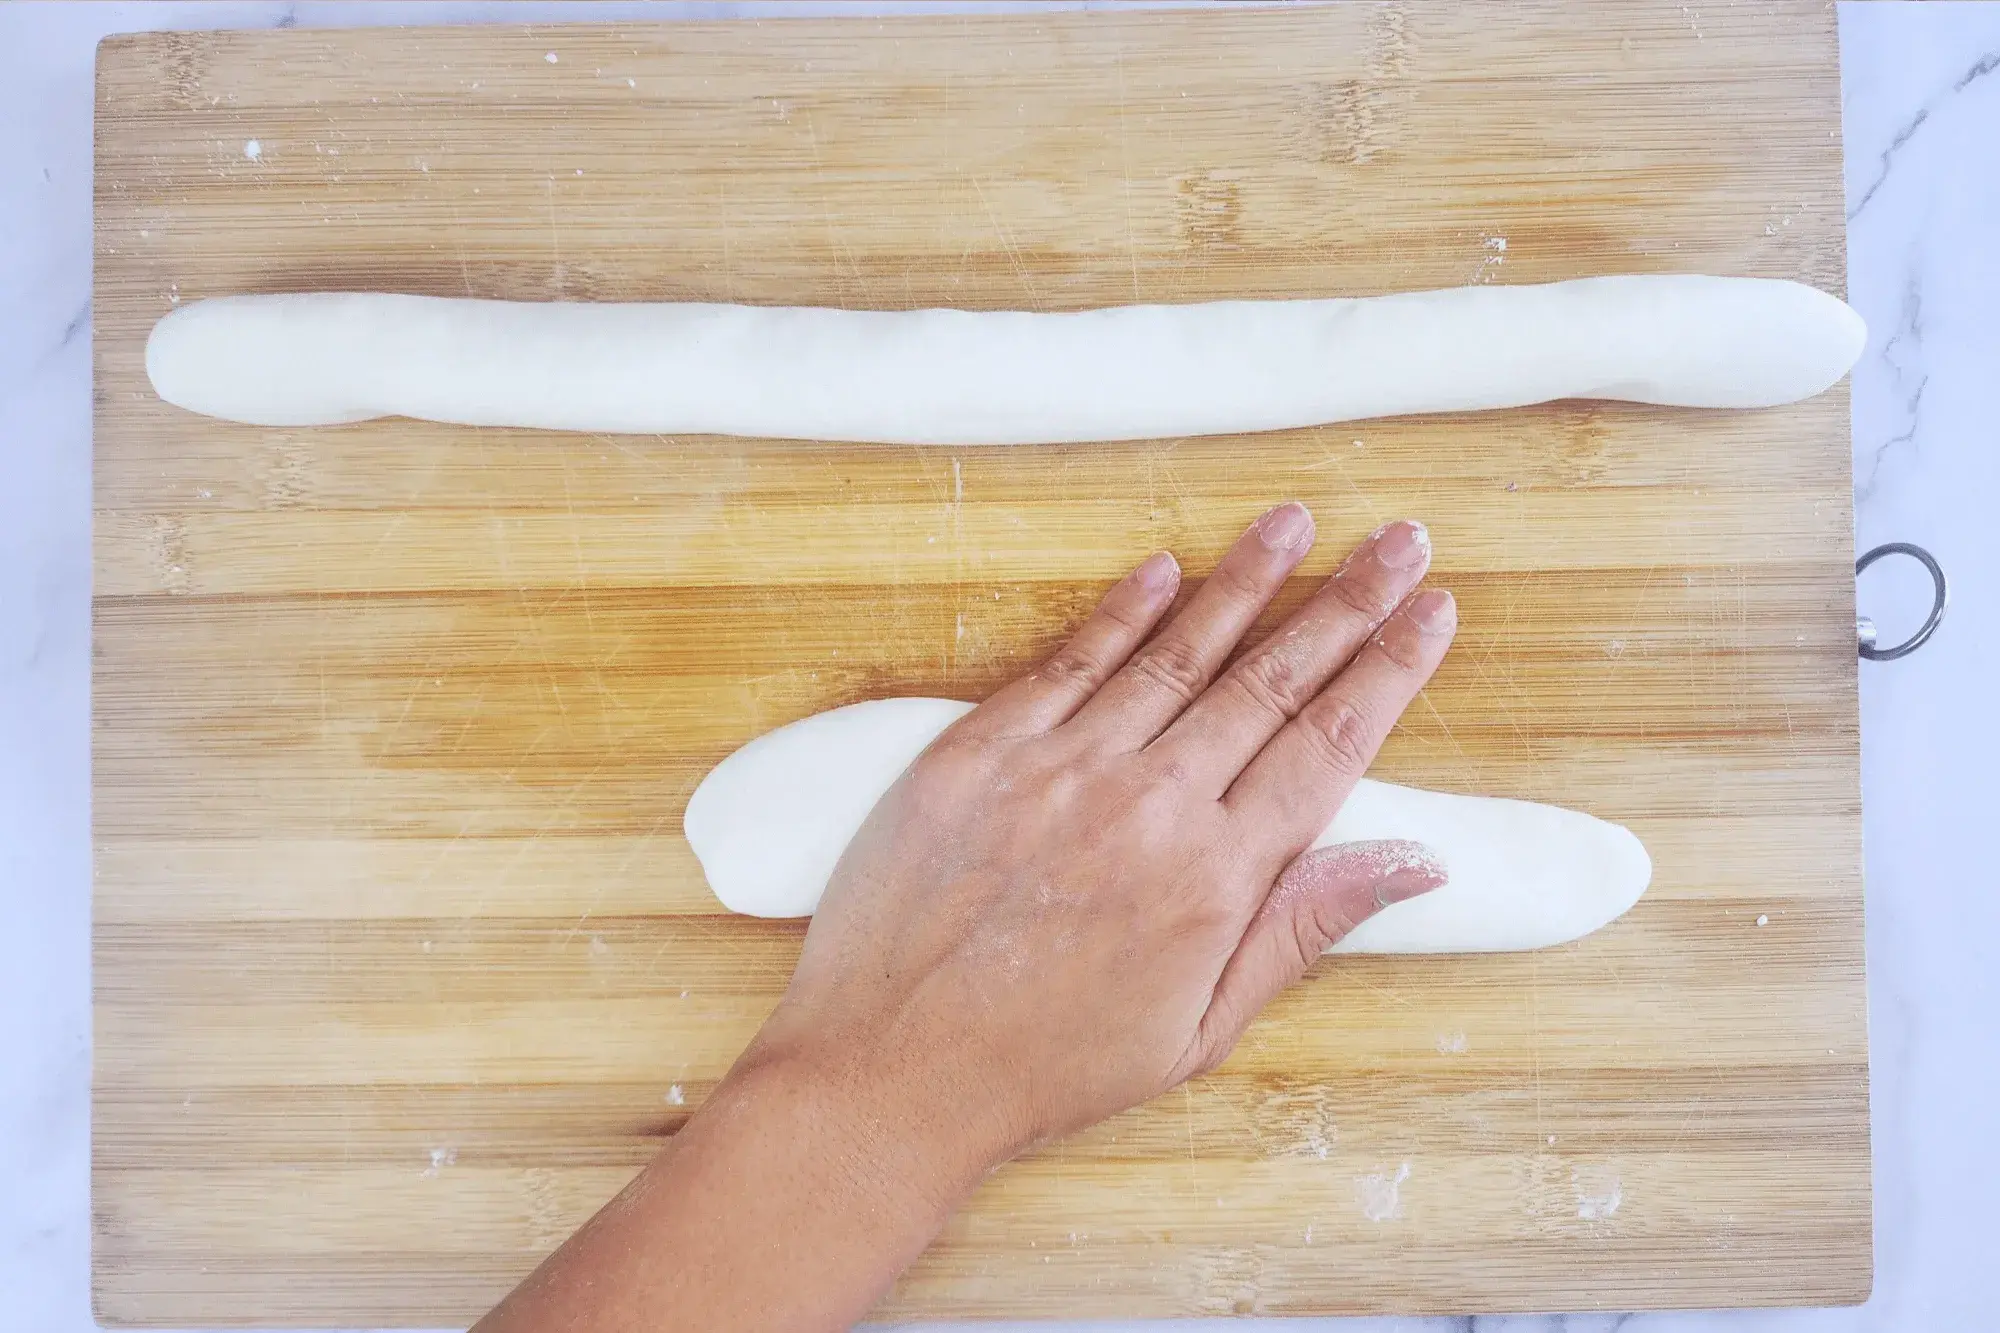
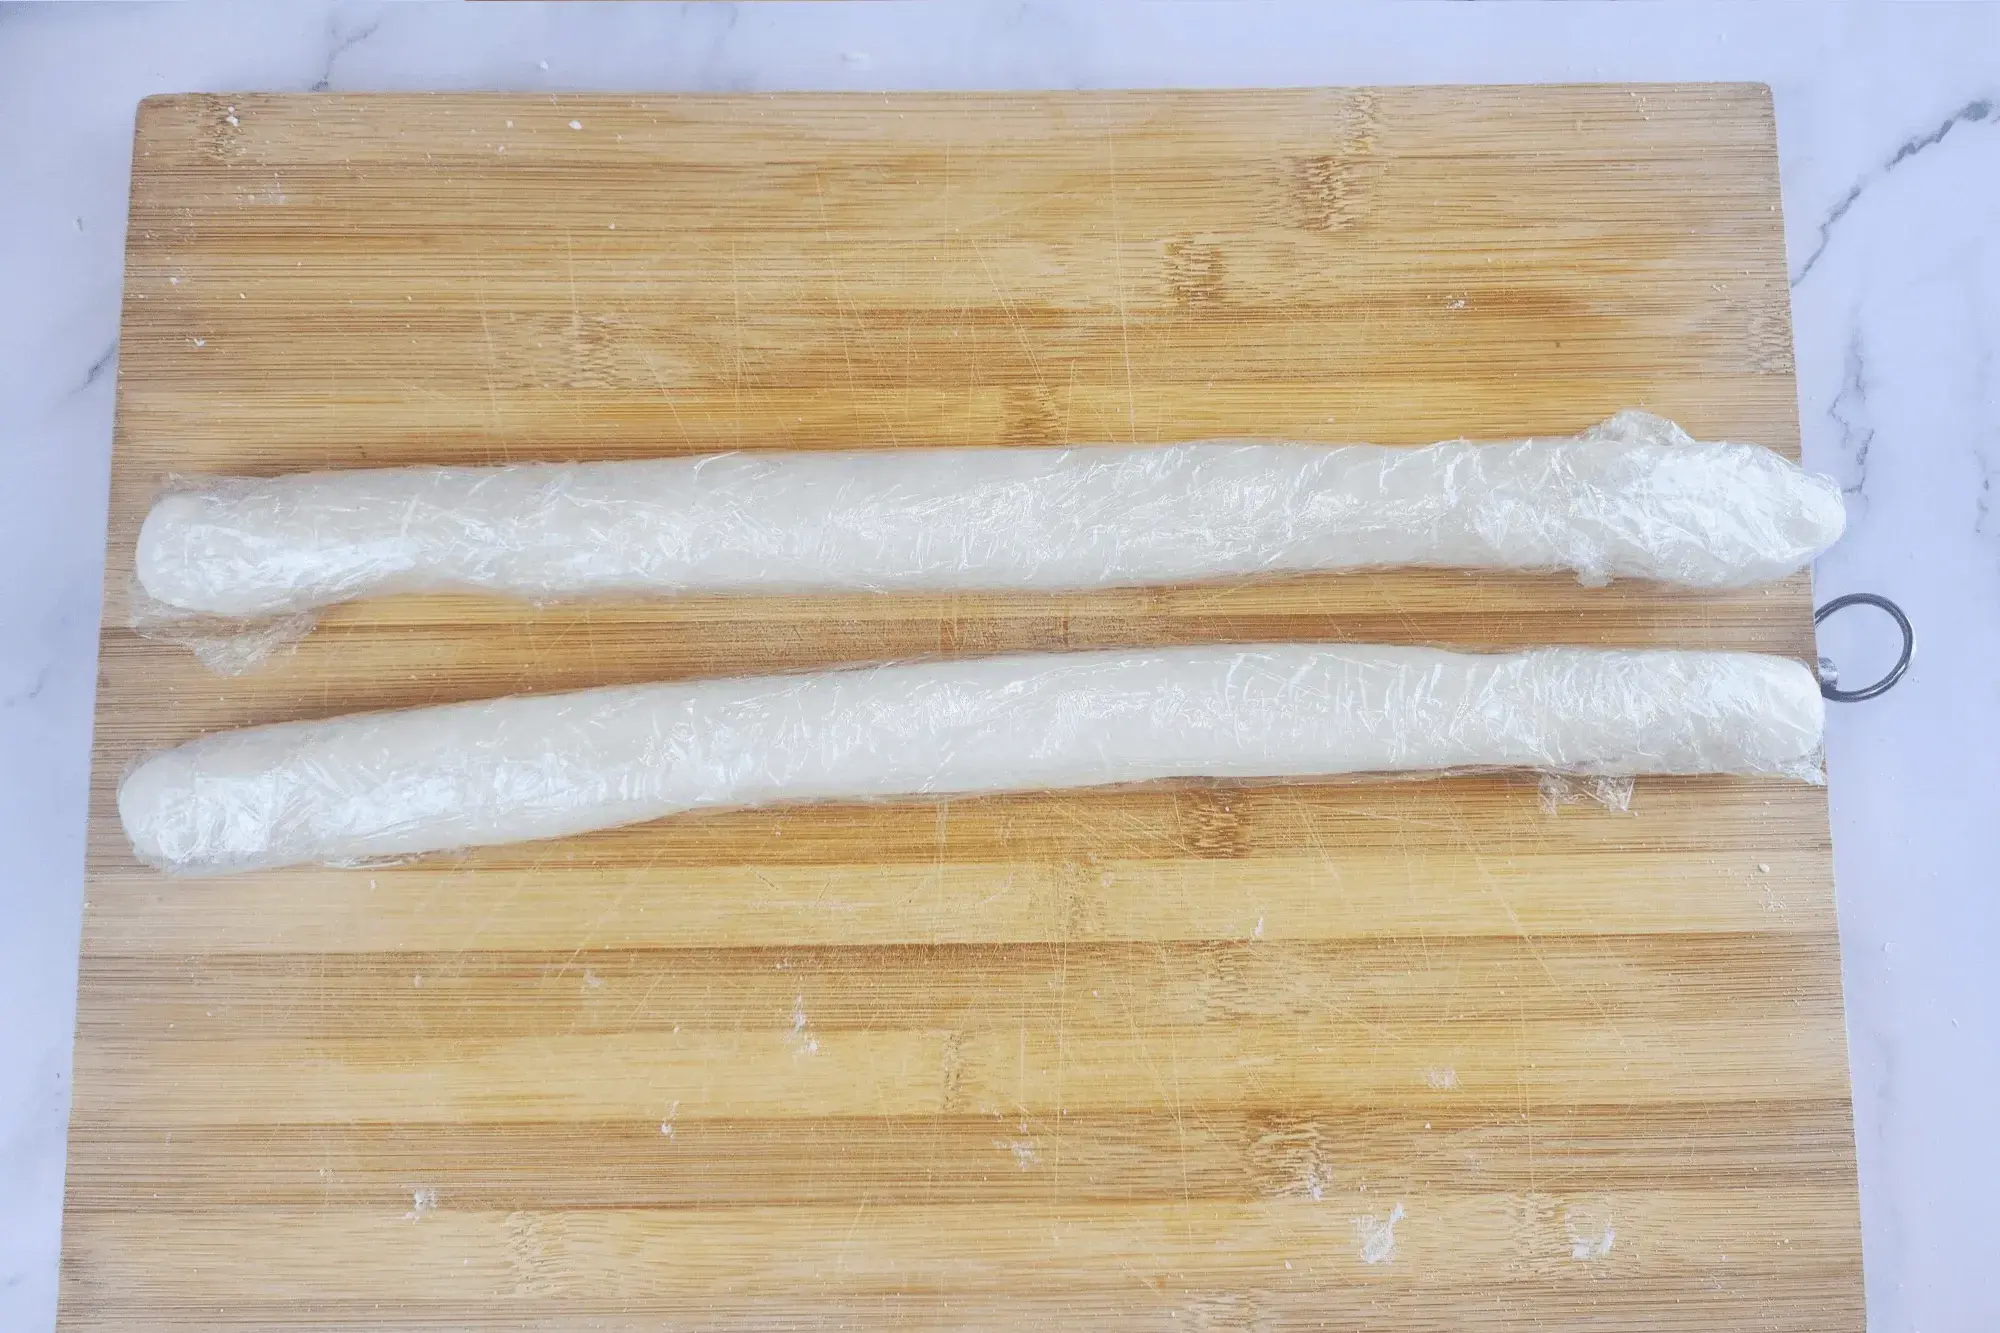
After kneading, cut the dough in half using a dough scraper (it doesn’t have to be perfectly even). Roll each half into a log about 1½ inches (3.8 cm) thick. Don’t worry about perfection—you can adjust when rolling them out later!
-
Wrap each log in plastic wrap and let it rest for 30 minutes. This step helps relax the gluten, making the dough easier to work with.
-
-
🥟 How to Roll & Shape Gyoza Wrappers – Step by Step!:
-
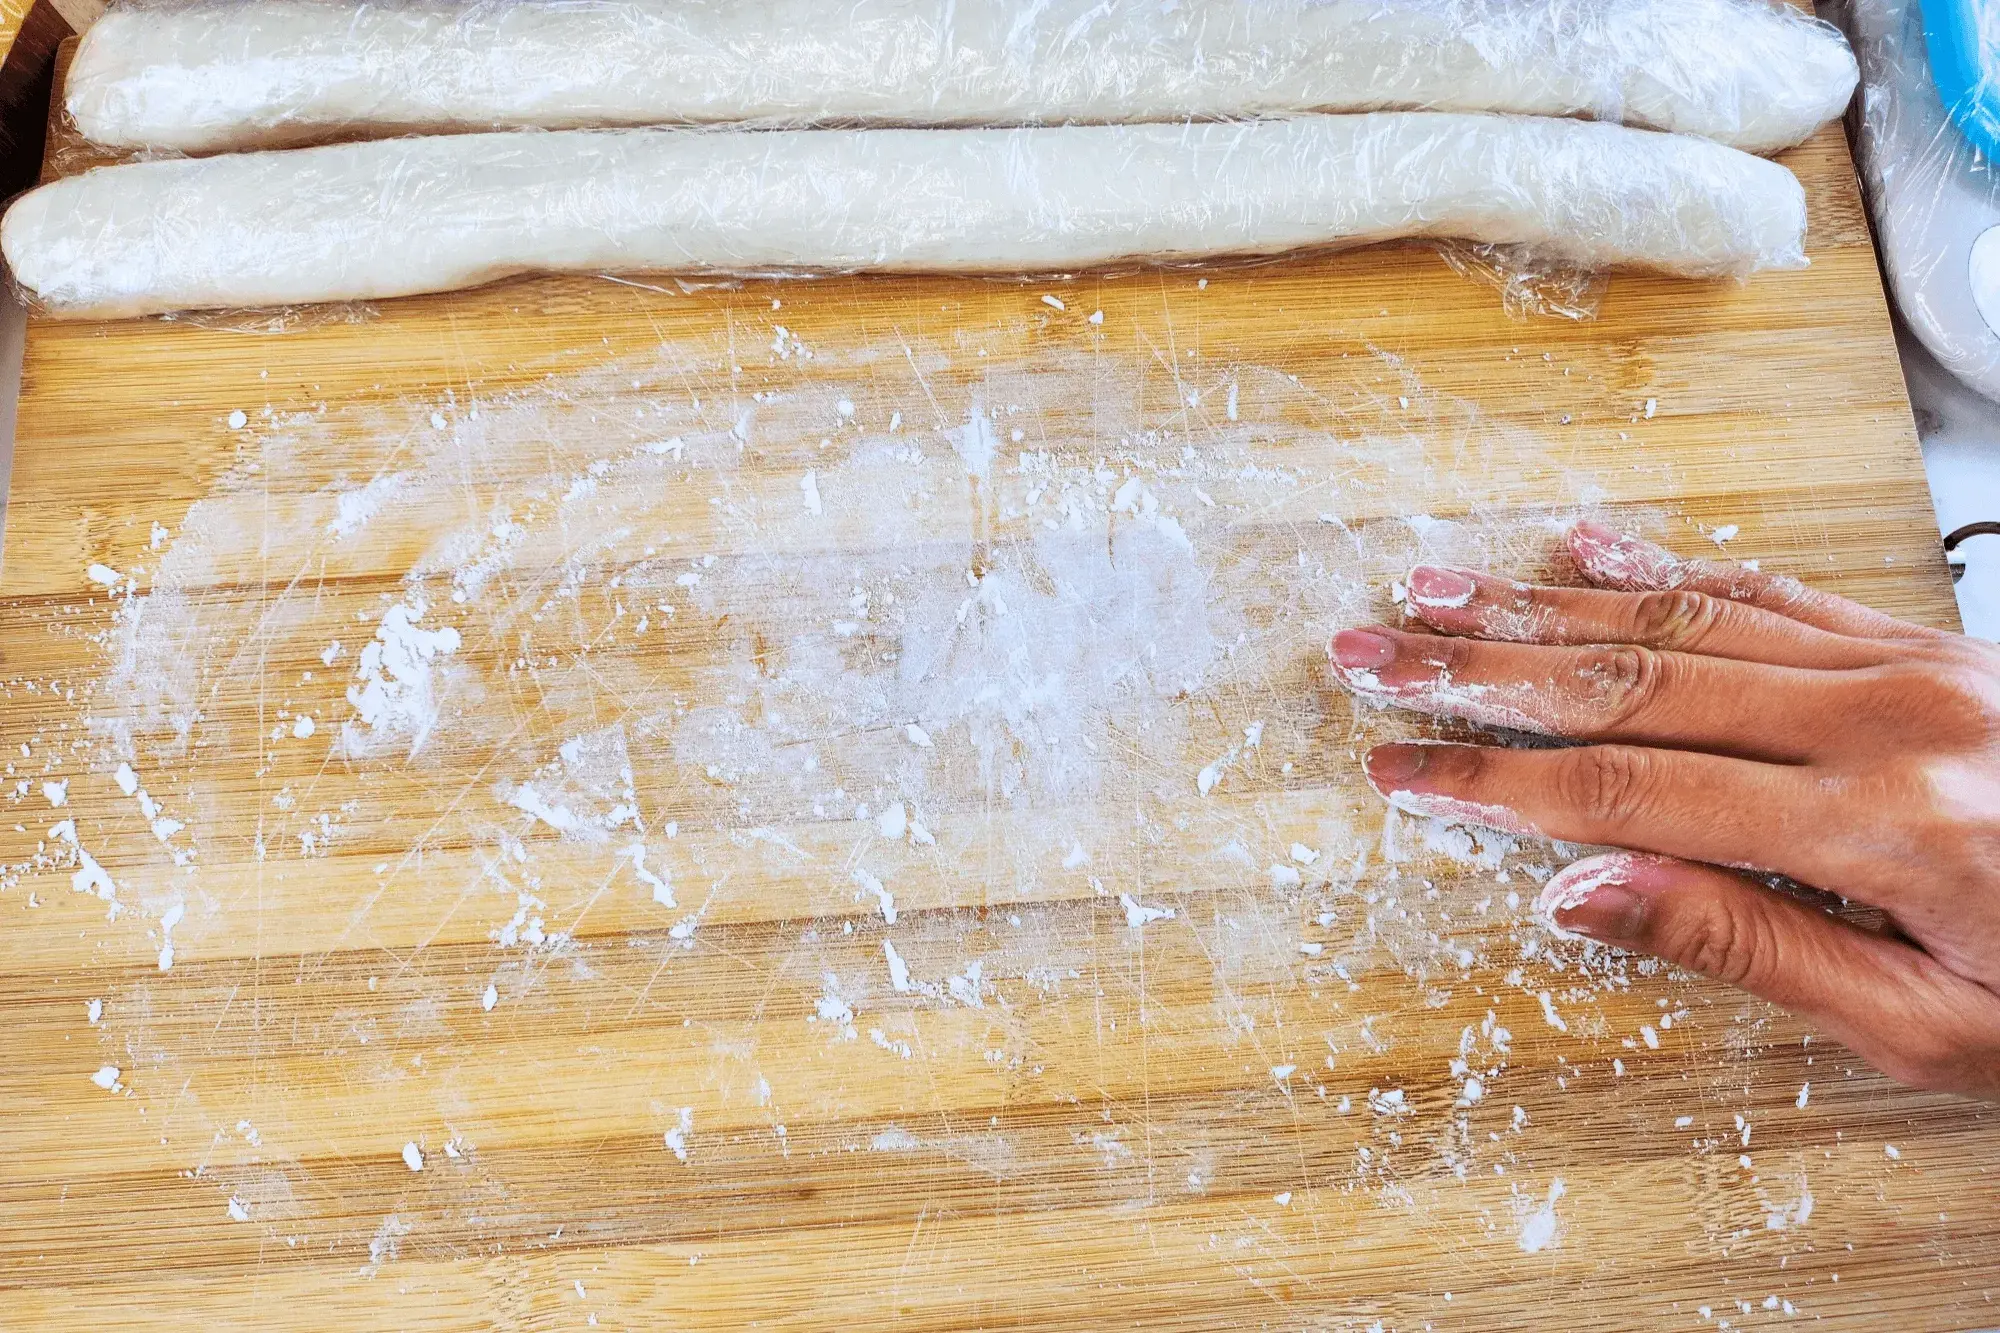
Unwrap the dough and lightly dust your work surface with potato starch (or cornstarch).
-
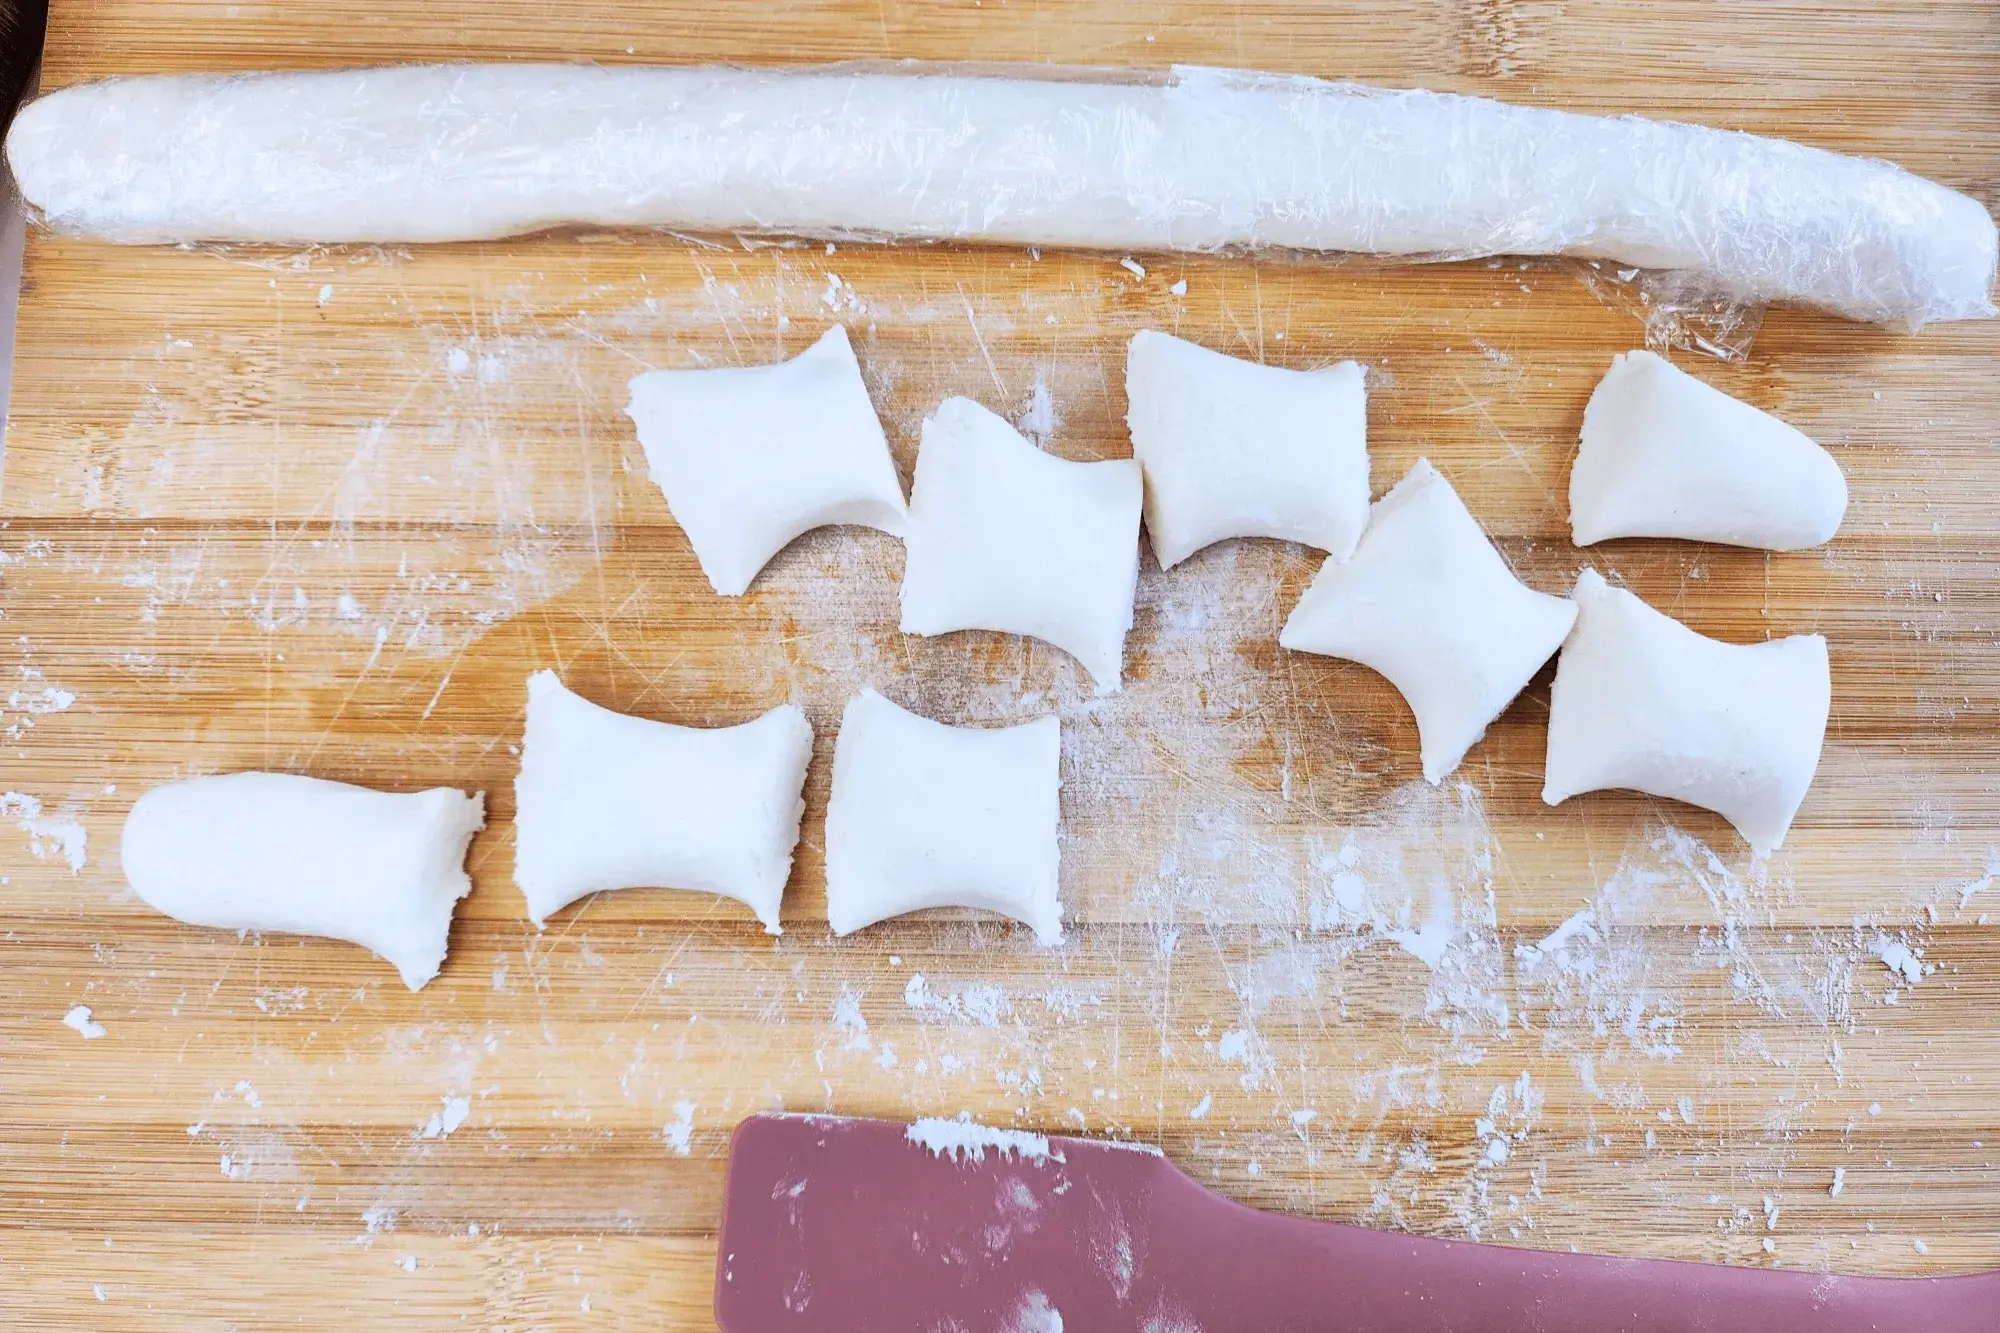
Cut each log crosswise into ¾-inch (2 cm) wide pieces. No need to stress about getting them exactly the same size—we’ll fix that later! Pro tip: If you’re freezing the wrappers, avoid using flour for dusting since it makes them stick together. Stick to potato starch or cornstarch instead!
-
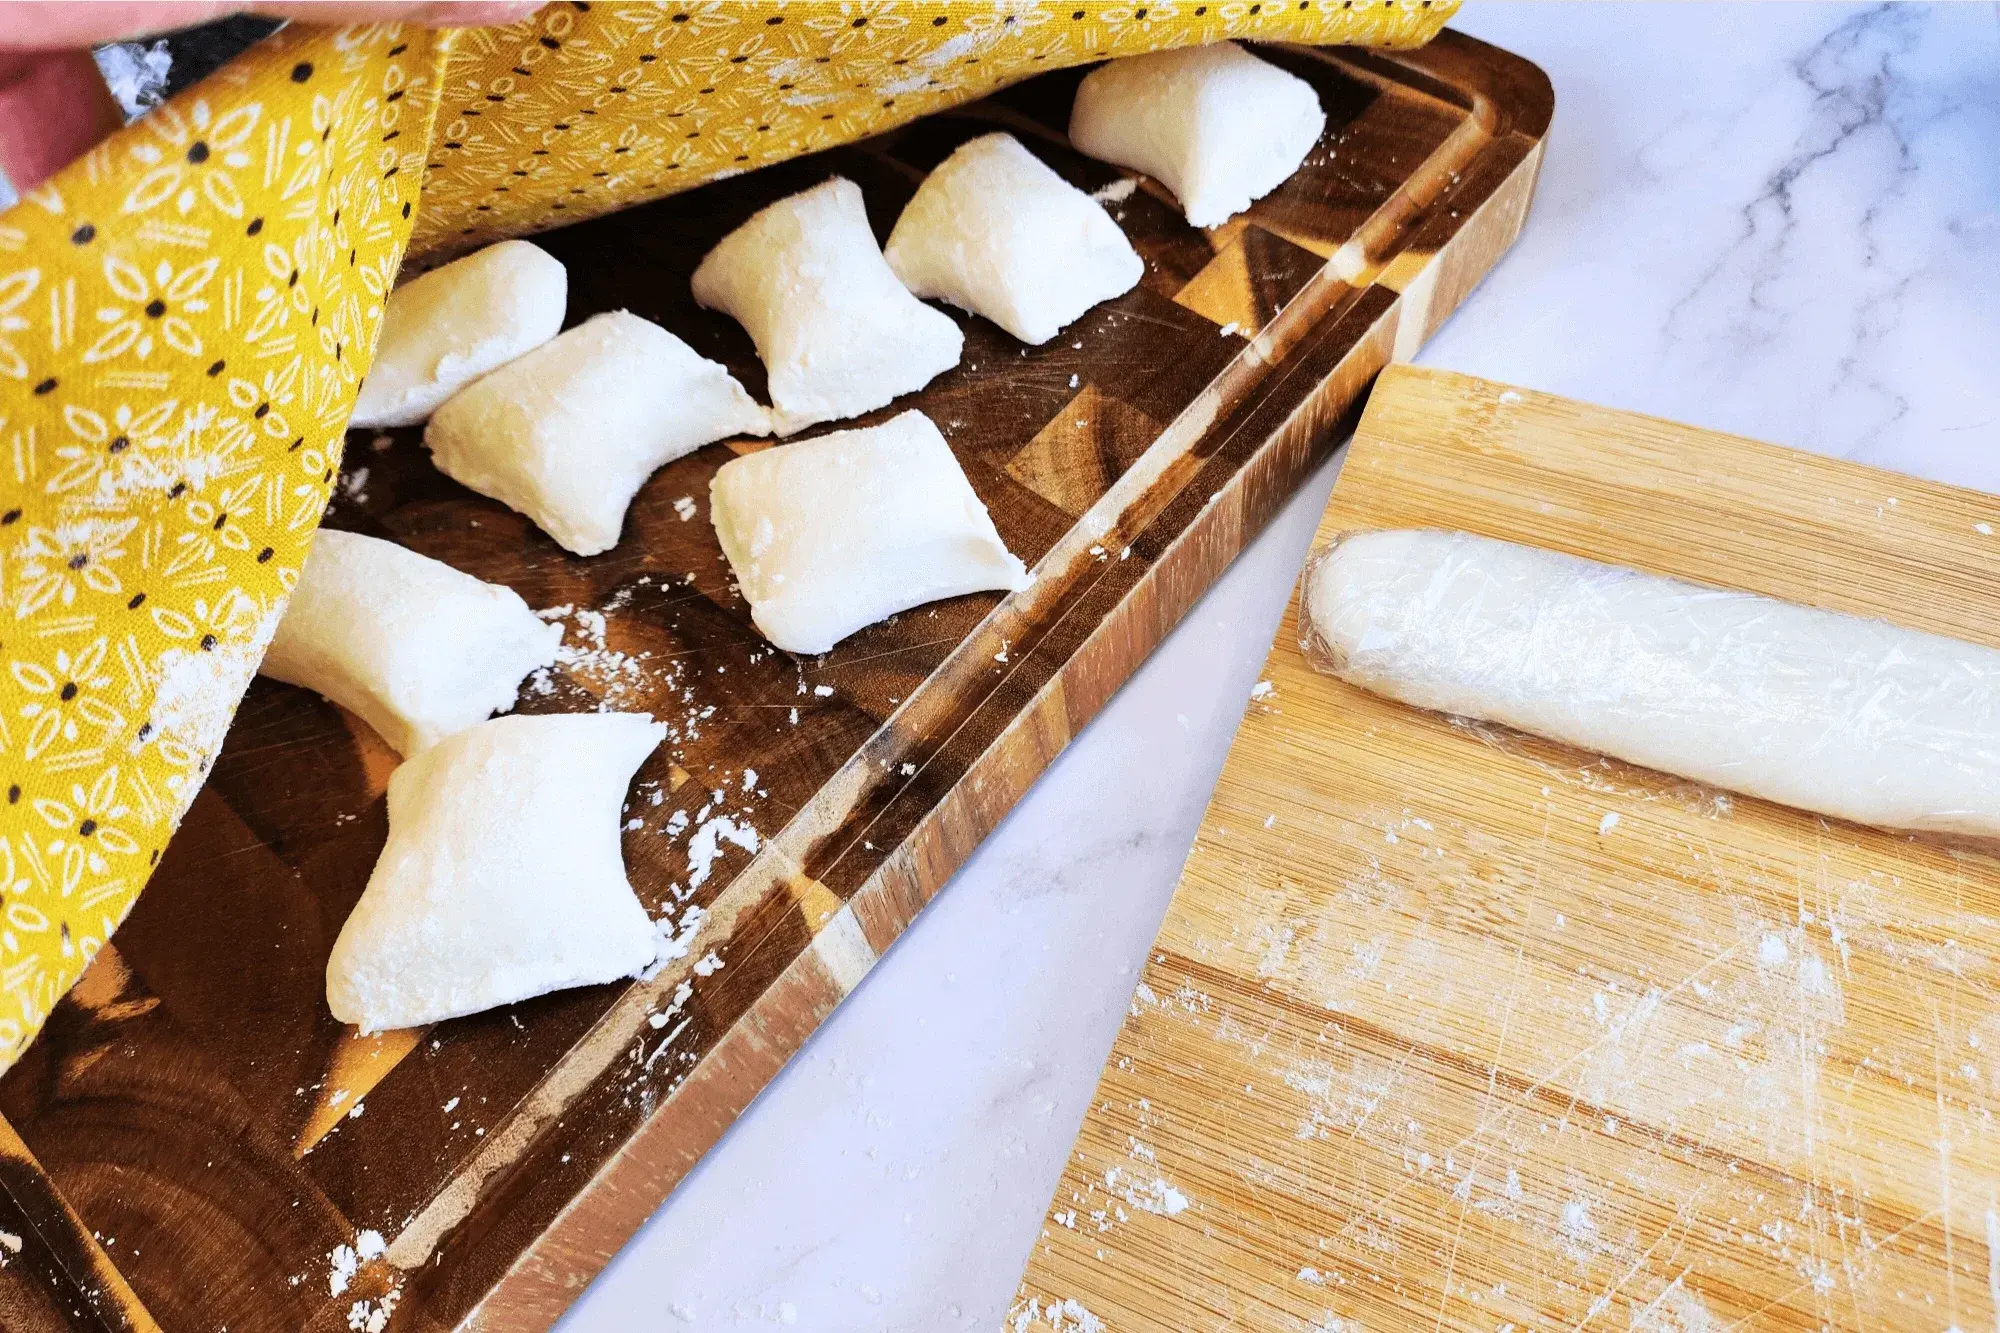
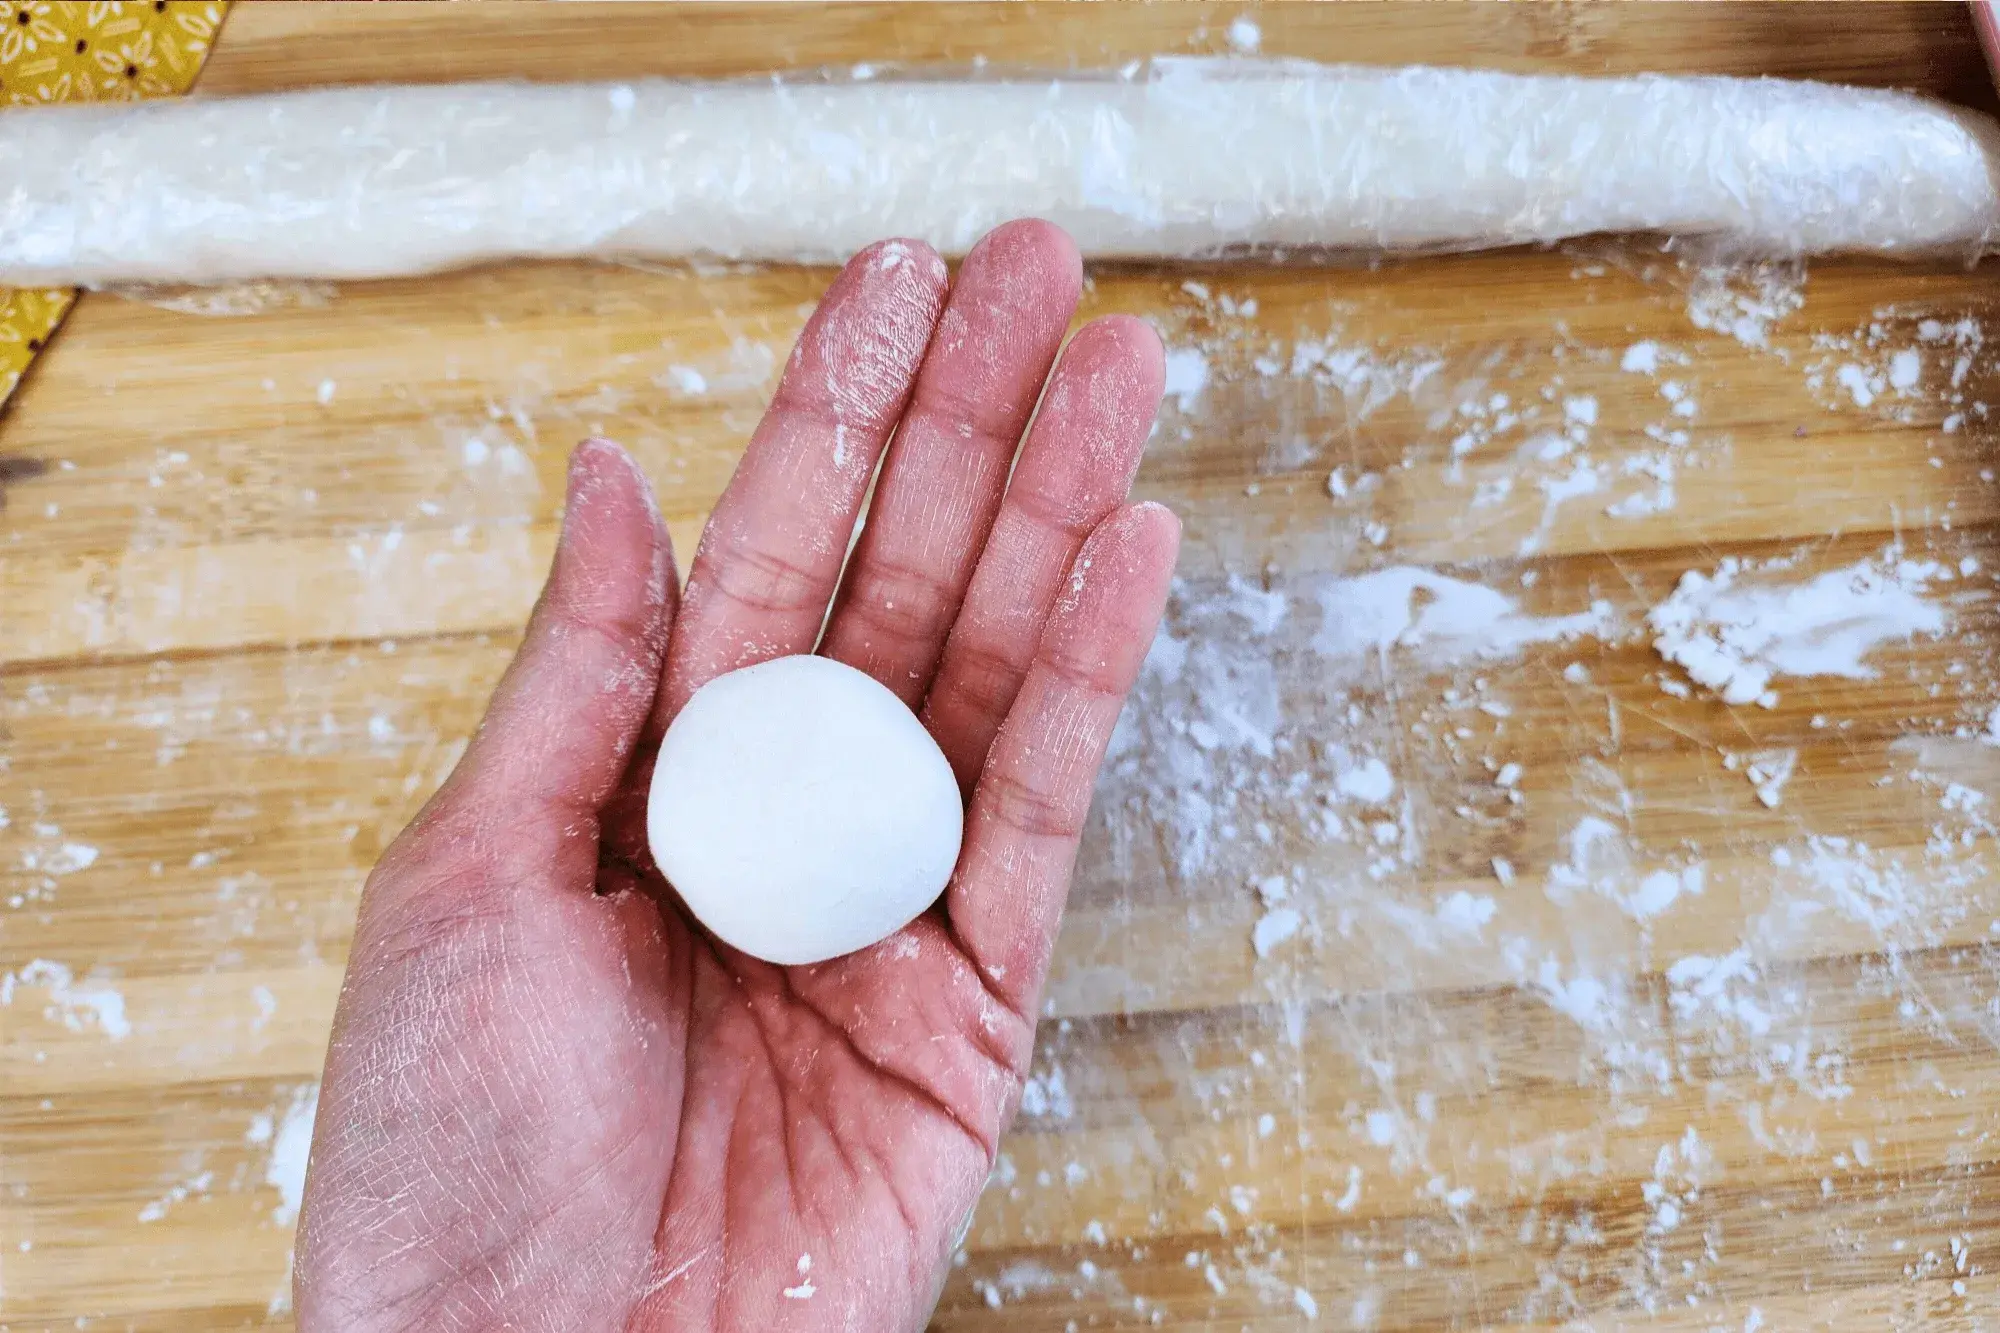
Always cover the dough with a damp kitchen towel so it doesn’t dry out. This is super important!
-
Take each piece and roll it into a ball using your hands.
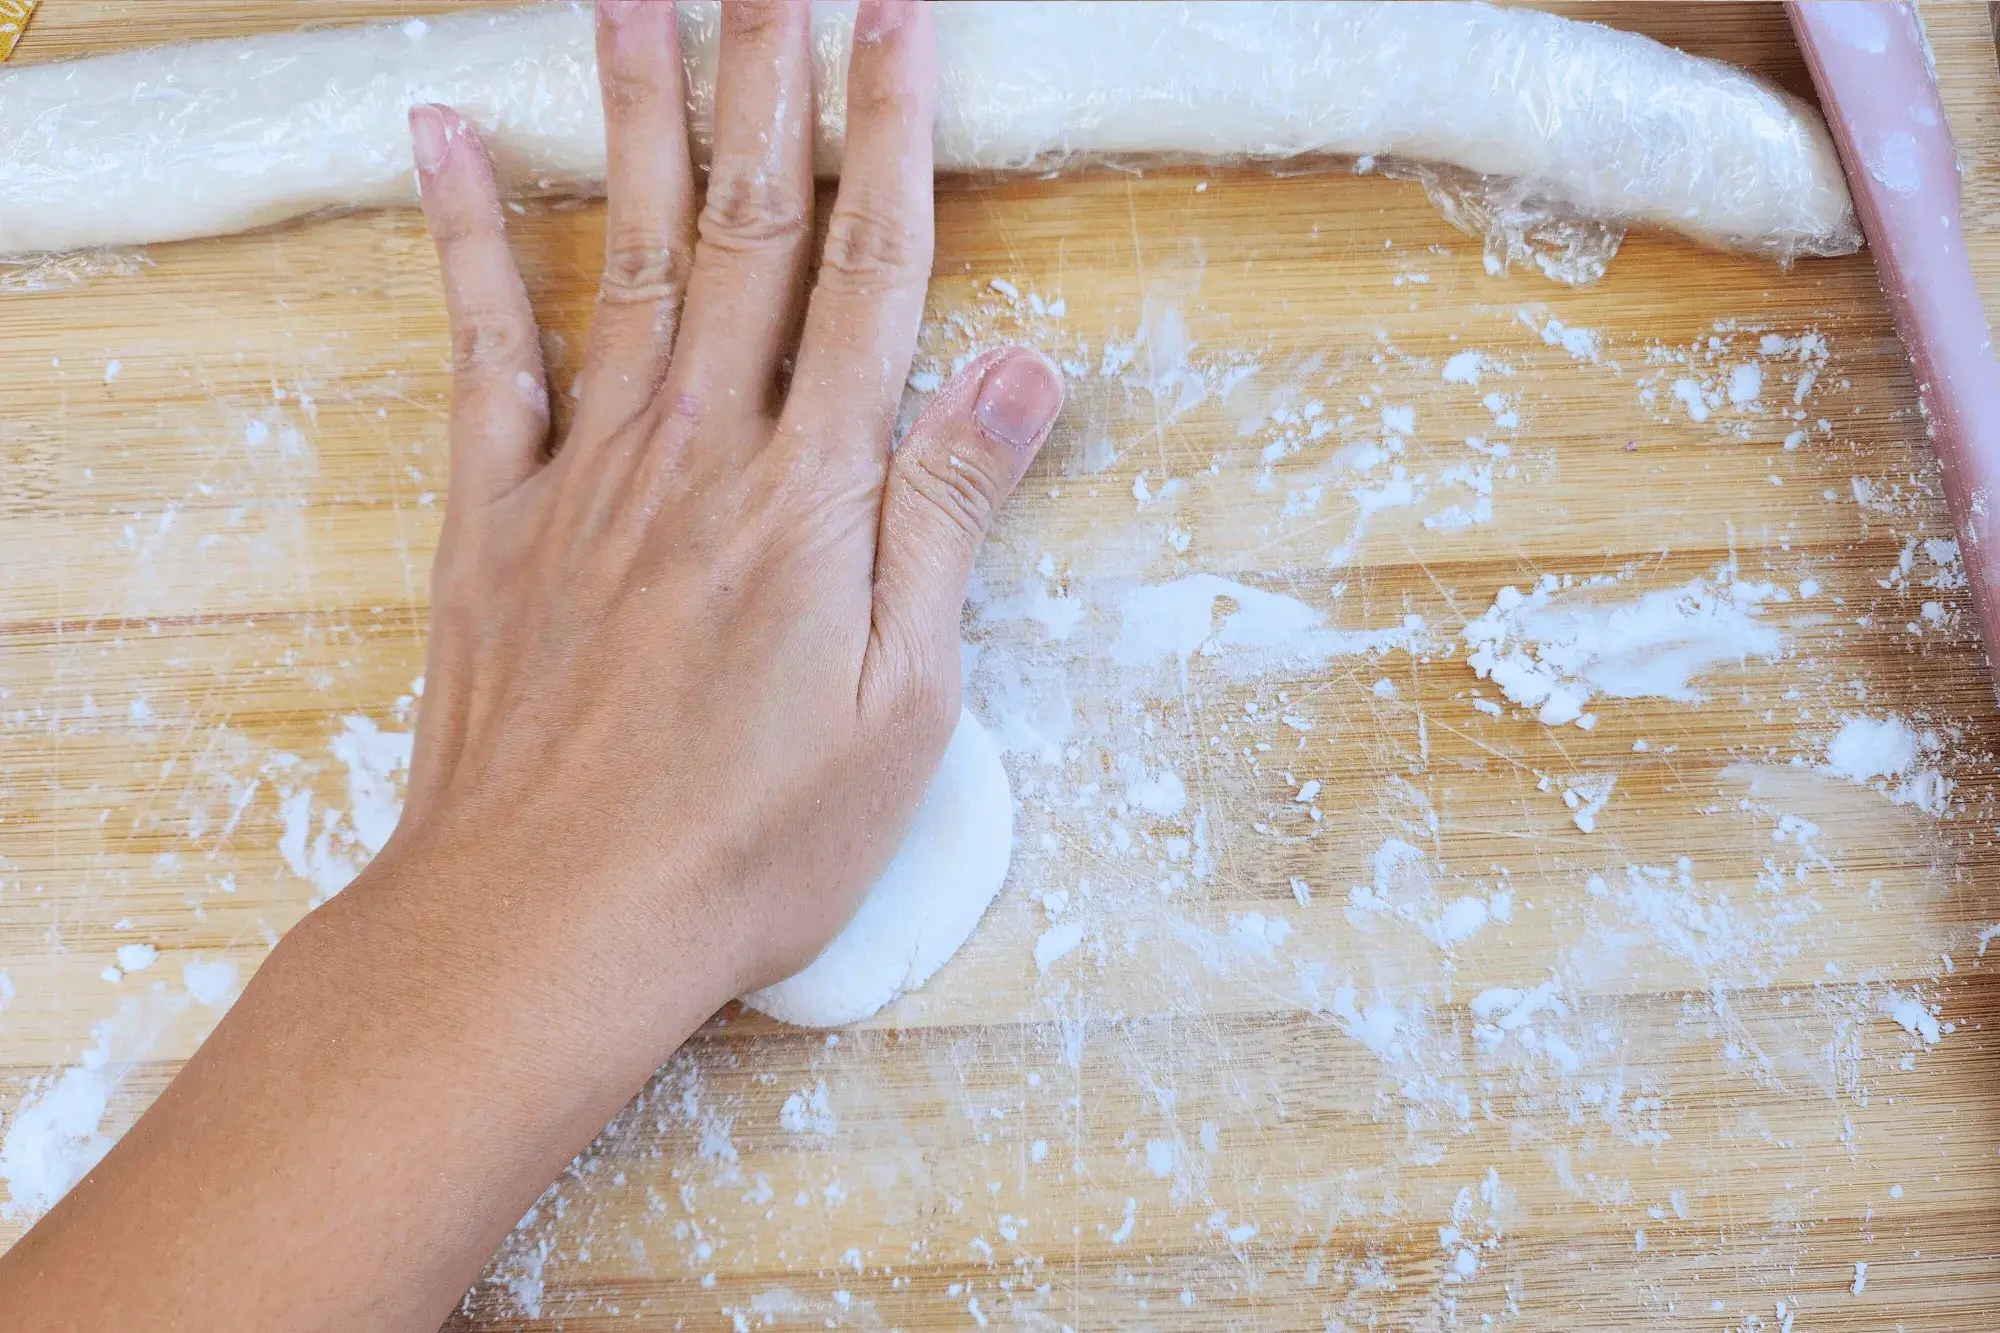
-
Press it gently onto your work surface to flatten it slightly.
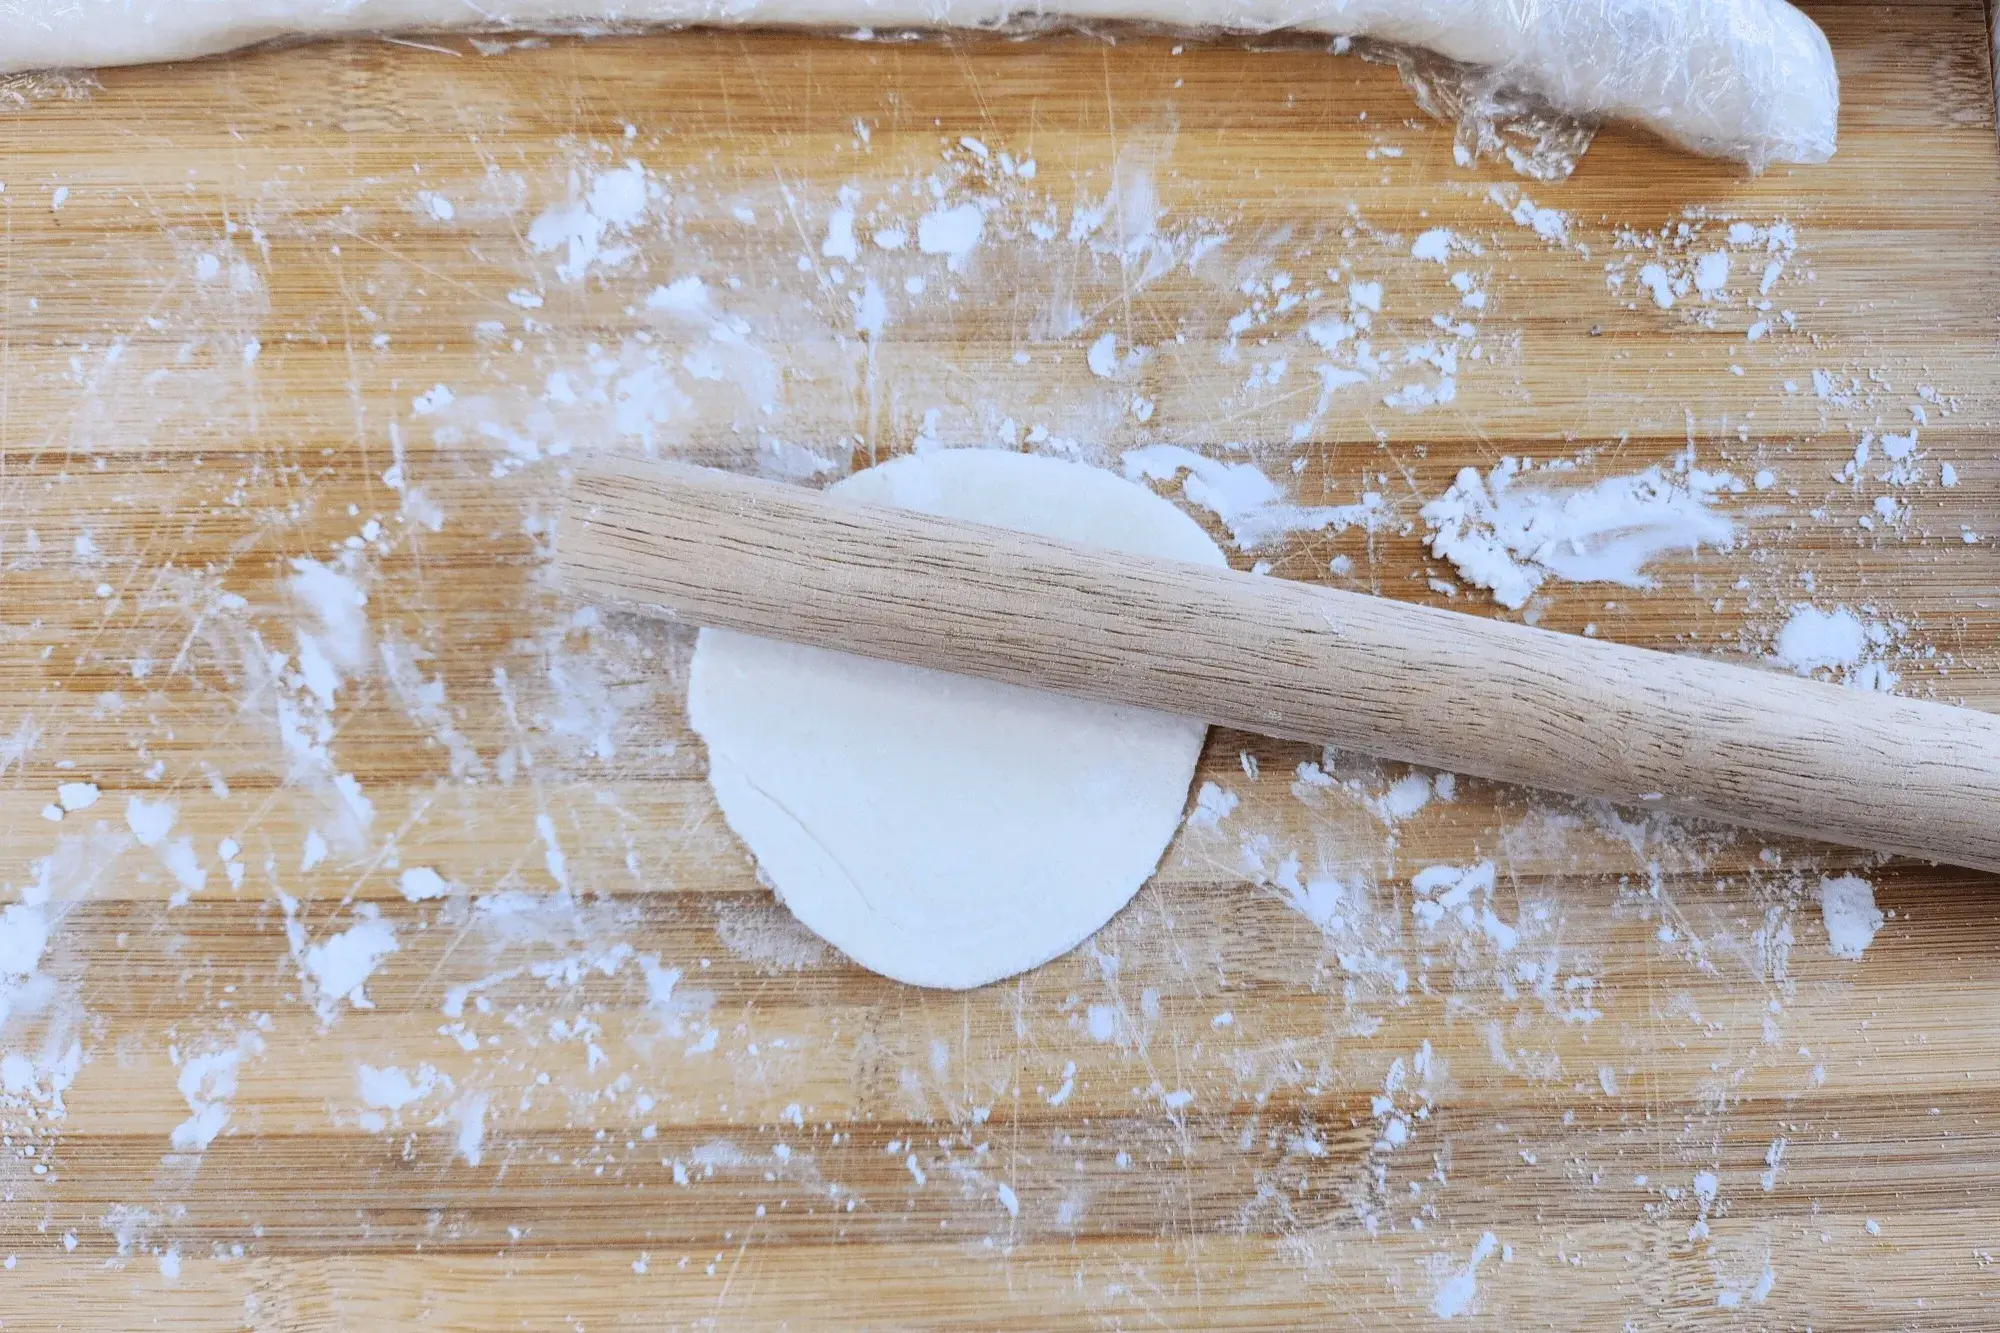
-
Use a rolling pin to roll out the dough, but DON’T flatten the top and bottom edges! This little trick helps create a nice, even round shape.
-
Rotate the dough 90 degrees and roll again, trying to form a thin circle. If the dough shrinks back, let it rest for a few minutes to relax the gluten before rolling again.
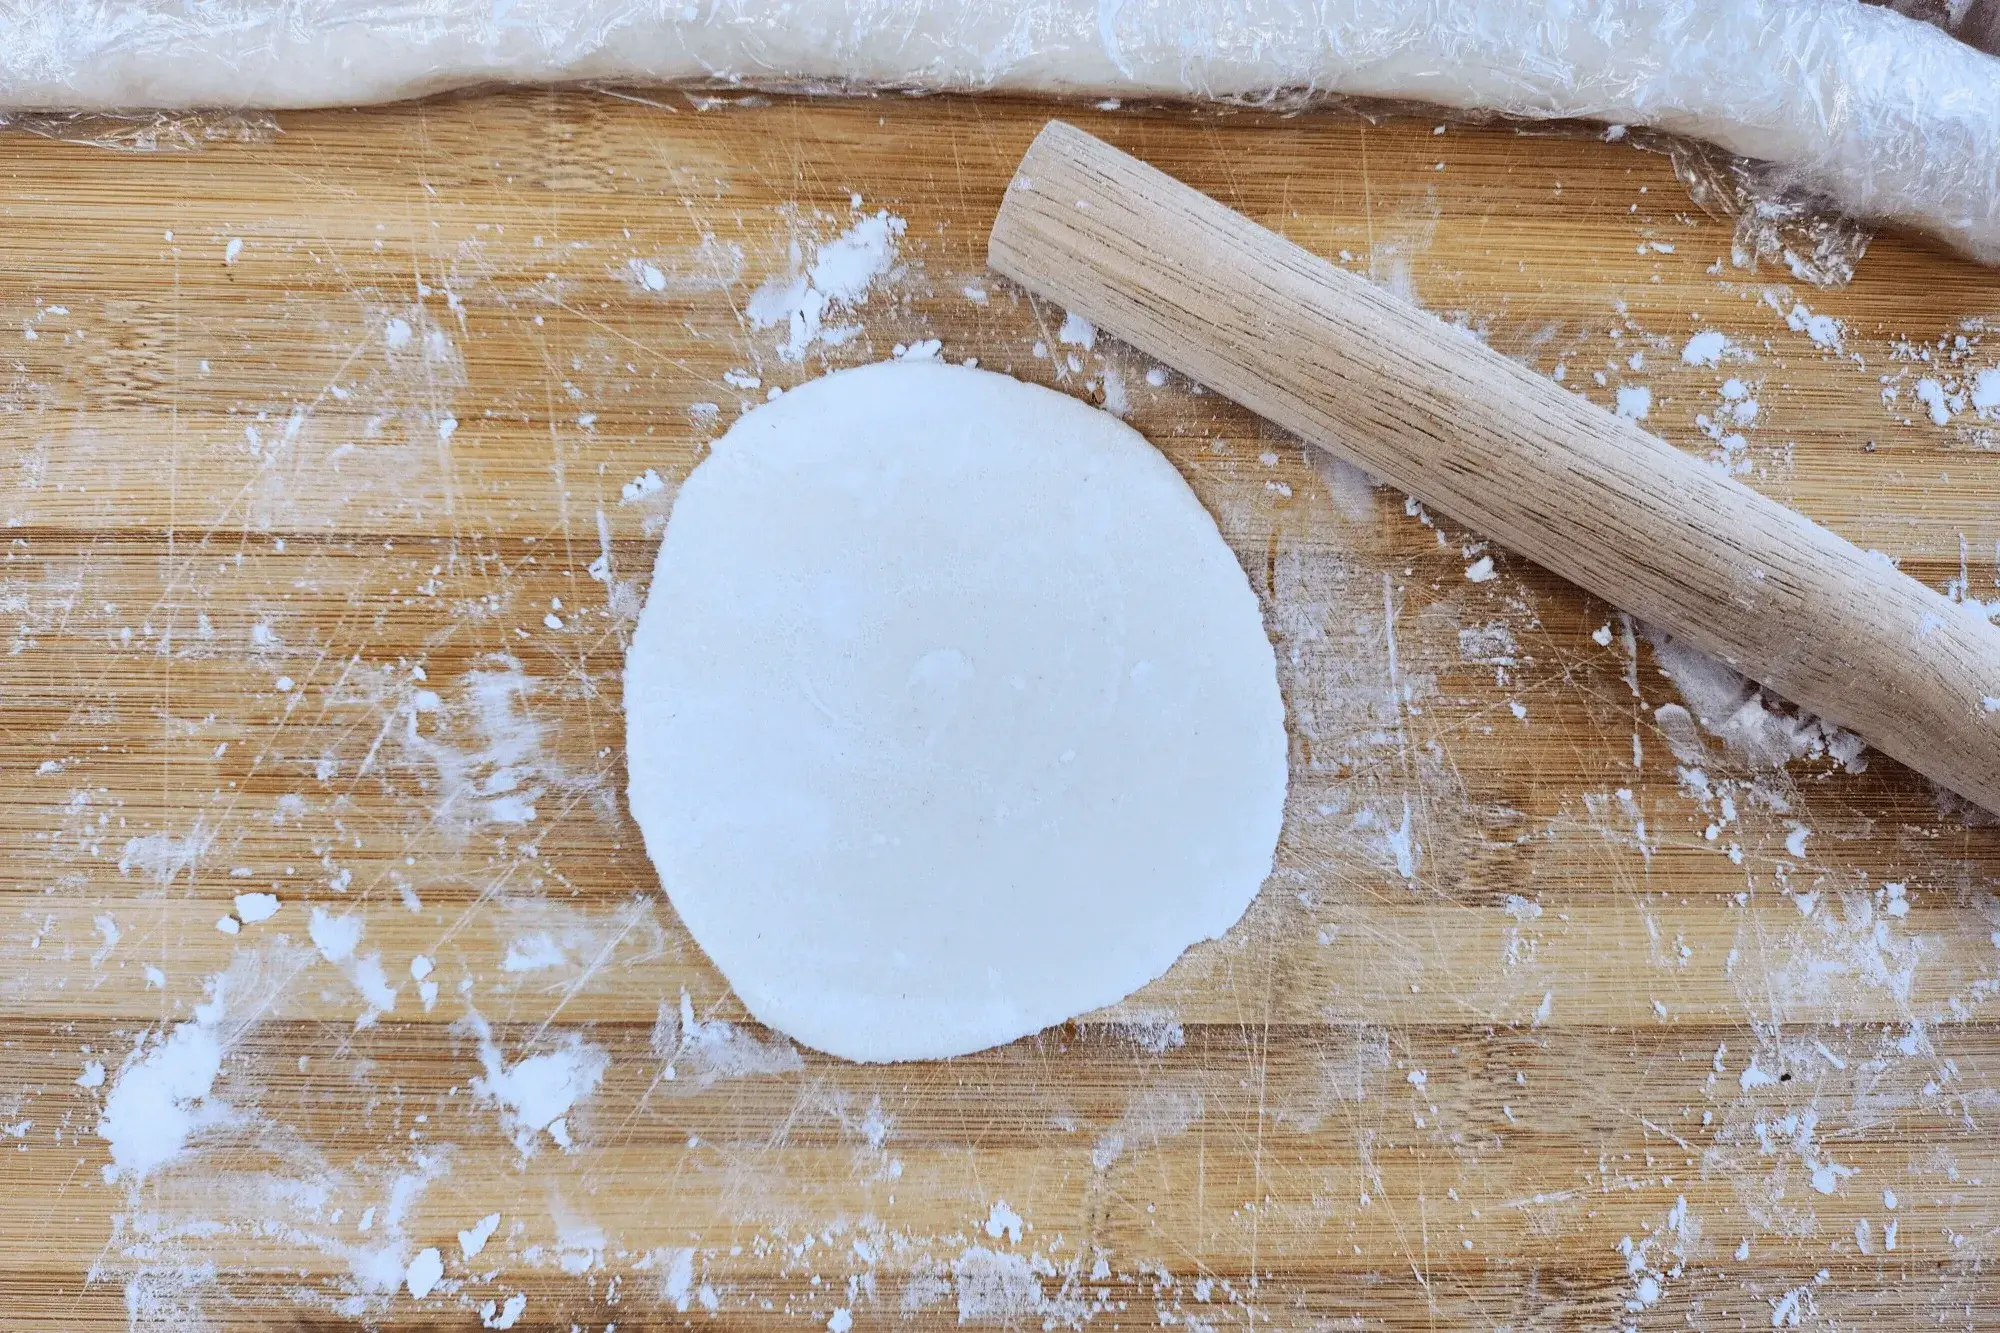
-
If you want perfect circles, use a 3-inch (8 cm) cookie cutter to cut out your wrappers. If the dough rolls back after cutting, let it sit for a few seconds, then cut again. Gather any dough scraps, cover them with a damp towel, and re-roll them to make more wrappers!
-
Lightly dust each wrapper with potato starch to prevent sticking. Stack the wrappers and keep them covered with a damp towel while you roll out the rest. Once done, your wrappers are ready to use! You can also freeze or refrigerate them for later.
-


Nutritional info
% of daily valueCalorie Breakdown
Protein
107 cal
Fat
23 cal
Carbs
1267 cal
Tips
If the wrappers feel a little dry after storage, just brush them lightly with water before filling to make them pliable again.
Leave A Comment
More recipes to try…

How to Cook Thai Jasmine Rice in the Microwave – Perfect Every Time
9th September 2025
If you love fragrant, fluffy Thai Jasmine rice but don’t have a rice cooker or Instant Pot on hand, don’t worry! Cooking Jasmine rice in the microwave is quick, easy, and perfect for small portions or solo meals. This method gives you the same soft, slightly sweet, and aromatic rice you’d expect from traditional Thai cooking—without any fuss. Whether you’re at home, traveling, or just craving a taste of Thailand, you’ll have perfect Jasmine rice every time.

Easy Sticky Rice
25th January 2025
Sticky rice, also known as glutinous rice, is a type of rice known for its naturally sticky texture when cooked—thanks to its high starch content. It’s a staple food in many Asian cuisines. In Thailand, it’s often paired with Isan food or grilled meat, making it an absolutely perfect meal. It’s also a must-have in Thai desserts, where its chewy texture complements sweet ingredients like coconut milk and tropical fruits.

Spicy Yogurt Dip
29th December 2024
Spicy Yogurt Dip is a creamy and tangy accompaniment that adds a delightful kick to your favorite starters. Perfect for any appetizer platter, this versatile dip is sure to be a crowd-pleaser!