Homemade Vegetable Gyoza (Vegan/ Vegetarian)
By Sho @ Hungry for Thai
on
Mar 7th 2025 
Prep time
40 minutes
Cook time
30 minutes
Serves
80
Ingredients: Firm Tofu , Green Cabbage, Shiitake Mushrooms, Carrot Sticks, Onion, Spring Onions/Scallions , Cornstarch/Potato Flour, Soy Sauce, Dark Miso Paste, Toasted Sesame Oil, Fresh Ginger, Minced Garlic, Sea Salt, White Pepper Powder, Gyoza Wrappers
These Japanese pan-fried dumplings are golden crisp on the bottom and succulent inside. You don't have to be vegetarian or vegan to love vegetable gyoza!


This post may contain affiliate links. As an Amazon Associate, I earn from qualifying purchases—at no extra cost to you. Thanks for supporting Hungry For Thai!
Table of Contents
FREE DOWNLOAD
Get My Top 10 Easy Thai Recipes!
Download my top 10 easy Thai recipes absolutely free!
You guys already know—I'm obsessed with Thai dumplings! But gyoza also has a special place in my heart.
The fun part? You can make gyoza wrappers from scratch! You’ll love the process and get to enjoy as many as you want. They’re also perfect for sharing or as a budget-friendly party food.
If you’re hosting, these gyoza will impress everyone—they’ll love them and definitely ask for more!

What You'll Need
- Firm Tofu – if your tofu is not extra firm, squeeze out more liquid to keep the filling dry.
- Cabbage – classic for its mild sweetness, or try napa cabbage for a softer texture.
- Mushrooms – brings a deep, savory umami flavor, while king oyster mushrooms add a meaty bite.
- Carrot – lends a natural sweetness and a pop of vivid orange color.
- Onion – develops a subtle sweetness and depth of flavor when cooked.
- Spring Onions – or use garlic chives (nira) for a more pronounced garlic taste.
- Cornstarch – can be substituted with Potato Flour to help bind the filling together.
- Soy Sauce – provides a salty, rich umami flavor that enhances the ingredients.
- Dark Miso Paste – adds a fermented, complex depth of flavor that makes the filling irresistible.
- Sesame Oil – a few drops offer an unmistakable aroma and nutty taste.
- Ginger – brings a bright, slightly spicy note that balances the richness.
- Minced Garlic – adds fragrance, pungency, and that irresistible savory punch.
- Salt – enhances the overall taste without overpowering the ingredients.
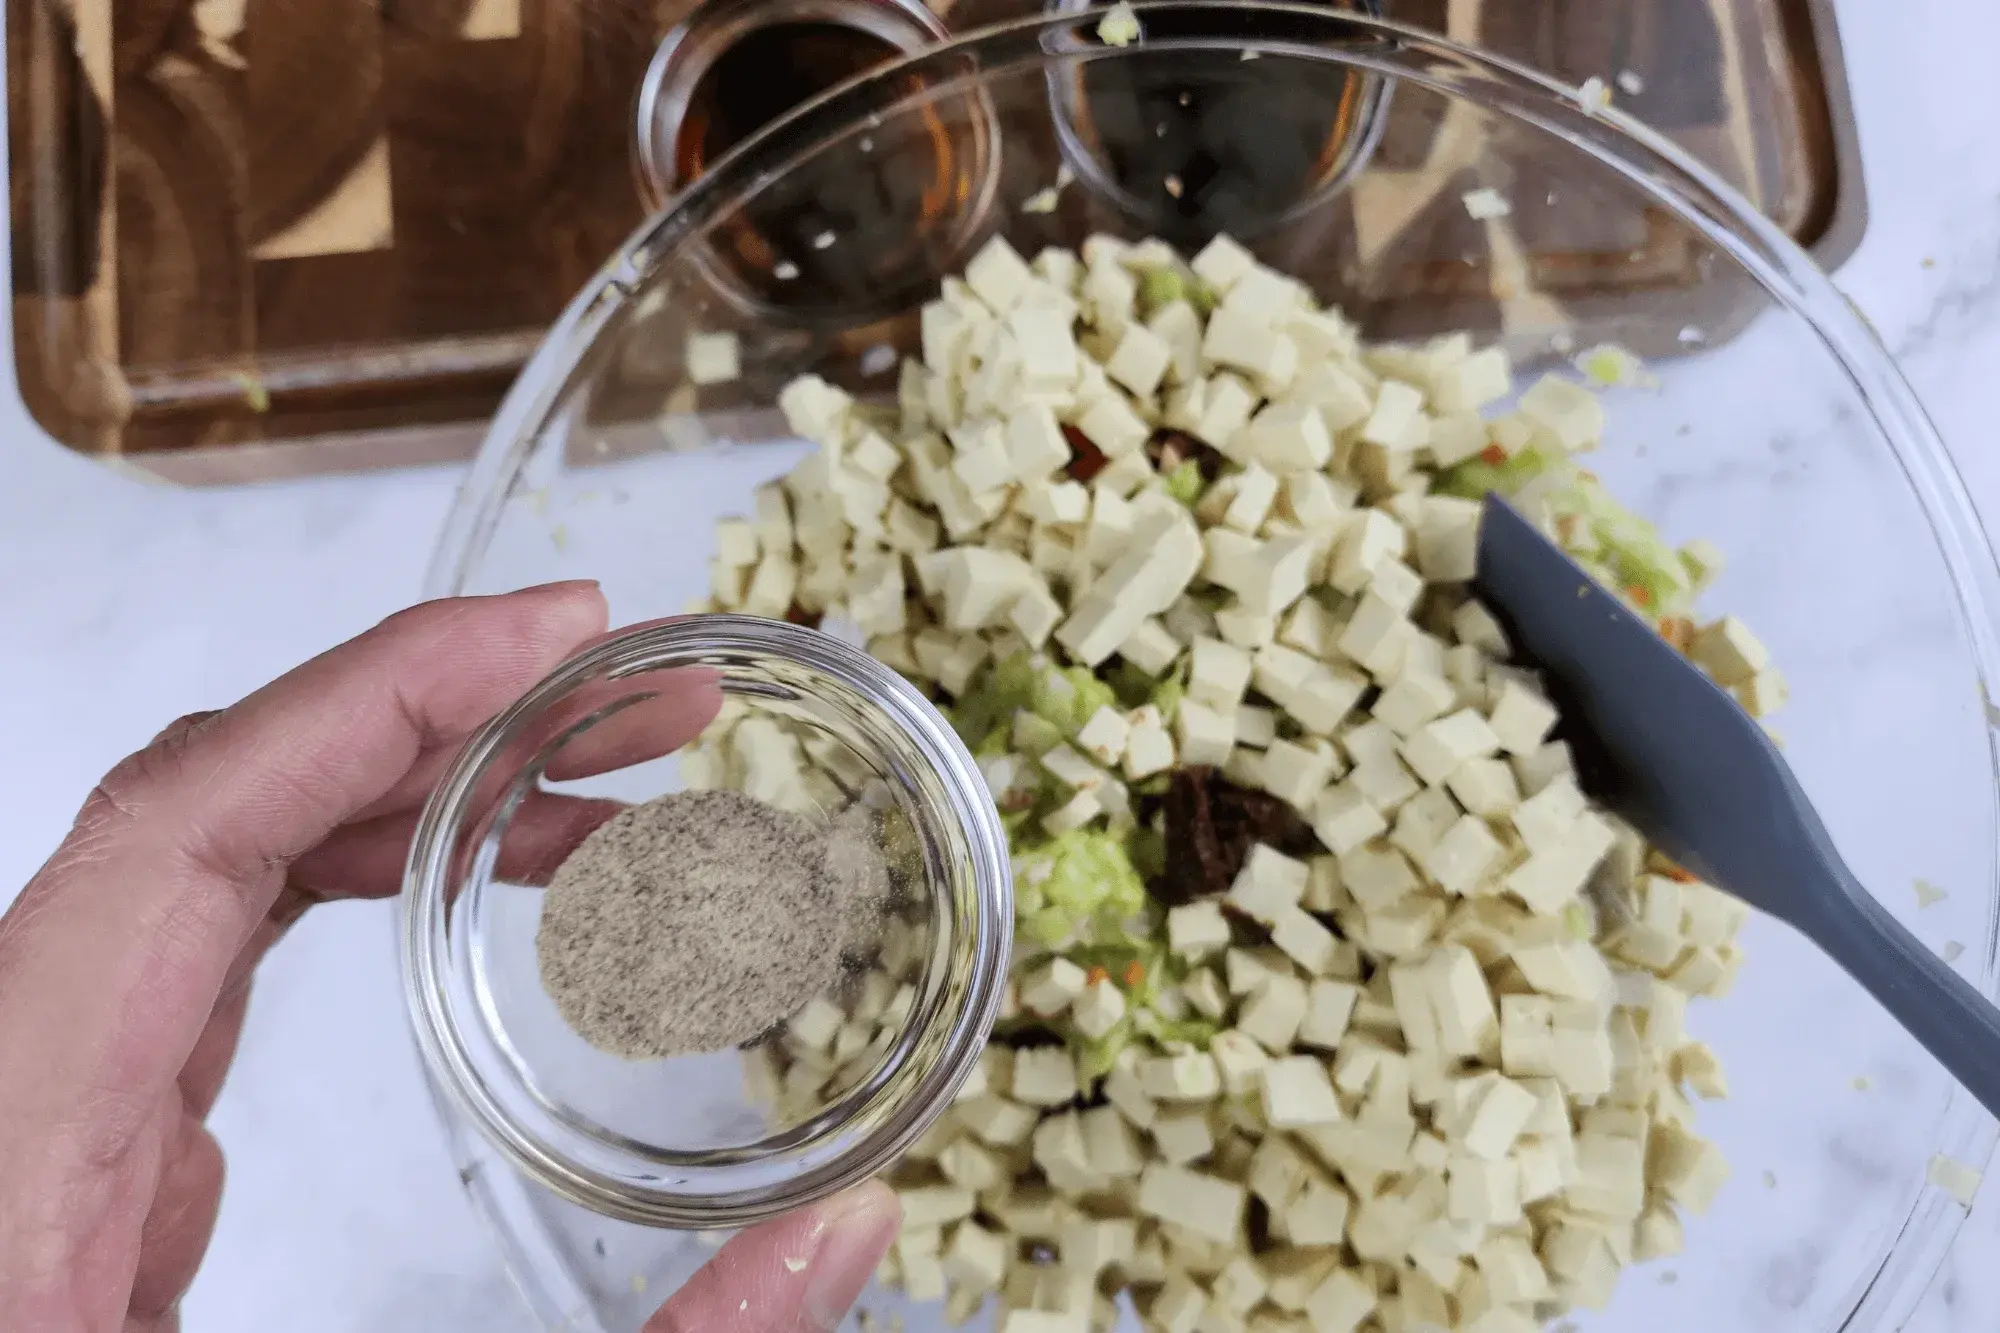
- White Pepper Powder – gives a subtle, warm spiciness that complements the dish.
- Round Gyoza Wrappers – store-bought or try making fresh homemade dumpling wrappers.
- Water – helps to properly seal the wrappers when folding the dumplings.
Why You’ll Love This Homemade Vegetable Gyoza (Vegan/Vegetarian) Recipe🩷
✔ Crispy & Juicy – Perfectly crispy bottoms with a juicy, flavorful filling in every bite.
✔ Vegan & Vegetarian-Friendly – Made entirely with plant-based ingredients, but so delicious that even meat lovers will enjoy them!
✔ Customizable – Swap veggies or adjust seasonings to match your taste.
✔ Fun to Make – Wrapping gyoza is easy and satisfying, plus a great activity to do with family or friends.
✔ Budget-Friendly – Homemade potstickers cost way less than takeout and taste even better!
✔ Cook It Your Way – Pan-fry, steam, air-fry, or even boil—whichever method you prefer.
✔ Perfect for Meal Prep – Make a big batch and freeze for quick, homemade gyoza anytime.
How to Cook Homemade Vegetable Gyoza (Vegan/Vegetarian)
These are some options to enjoy your homemade gyoza. Let me know which one is your favorite!
🔸 Pan-Fry (Classic Method) – Sear gyoza in a pan with oil until golden brown, then add water, cover, and steam until cooked through.
🔸 Air-Fry (Crispy & Easy) – Brush with oil and air-fry at 375°F (190°C) for 8-10 minutes, shaking halfway.
🔸 Steam (Soft & Juicy) – Place in a steamer over boiling water and steam for 8-10 minutes until tender.
🔸 Boil (Light & Tender) – Drop into boiling water and cook for 3-5 minutes until they float.
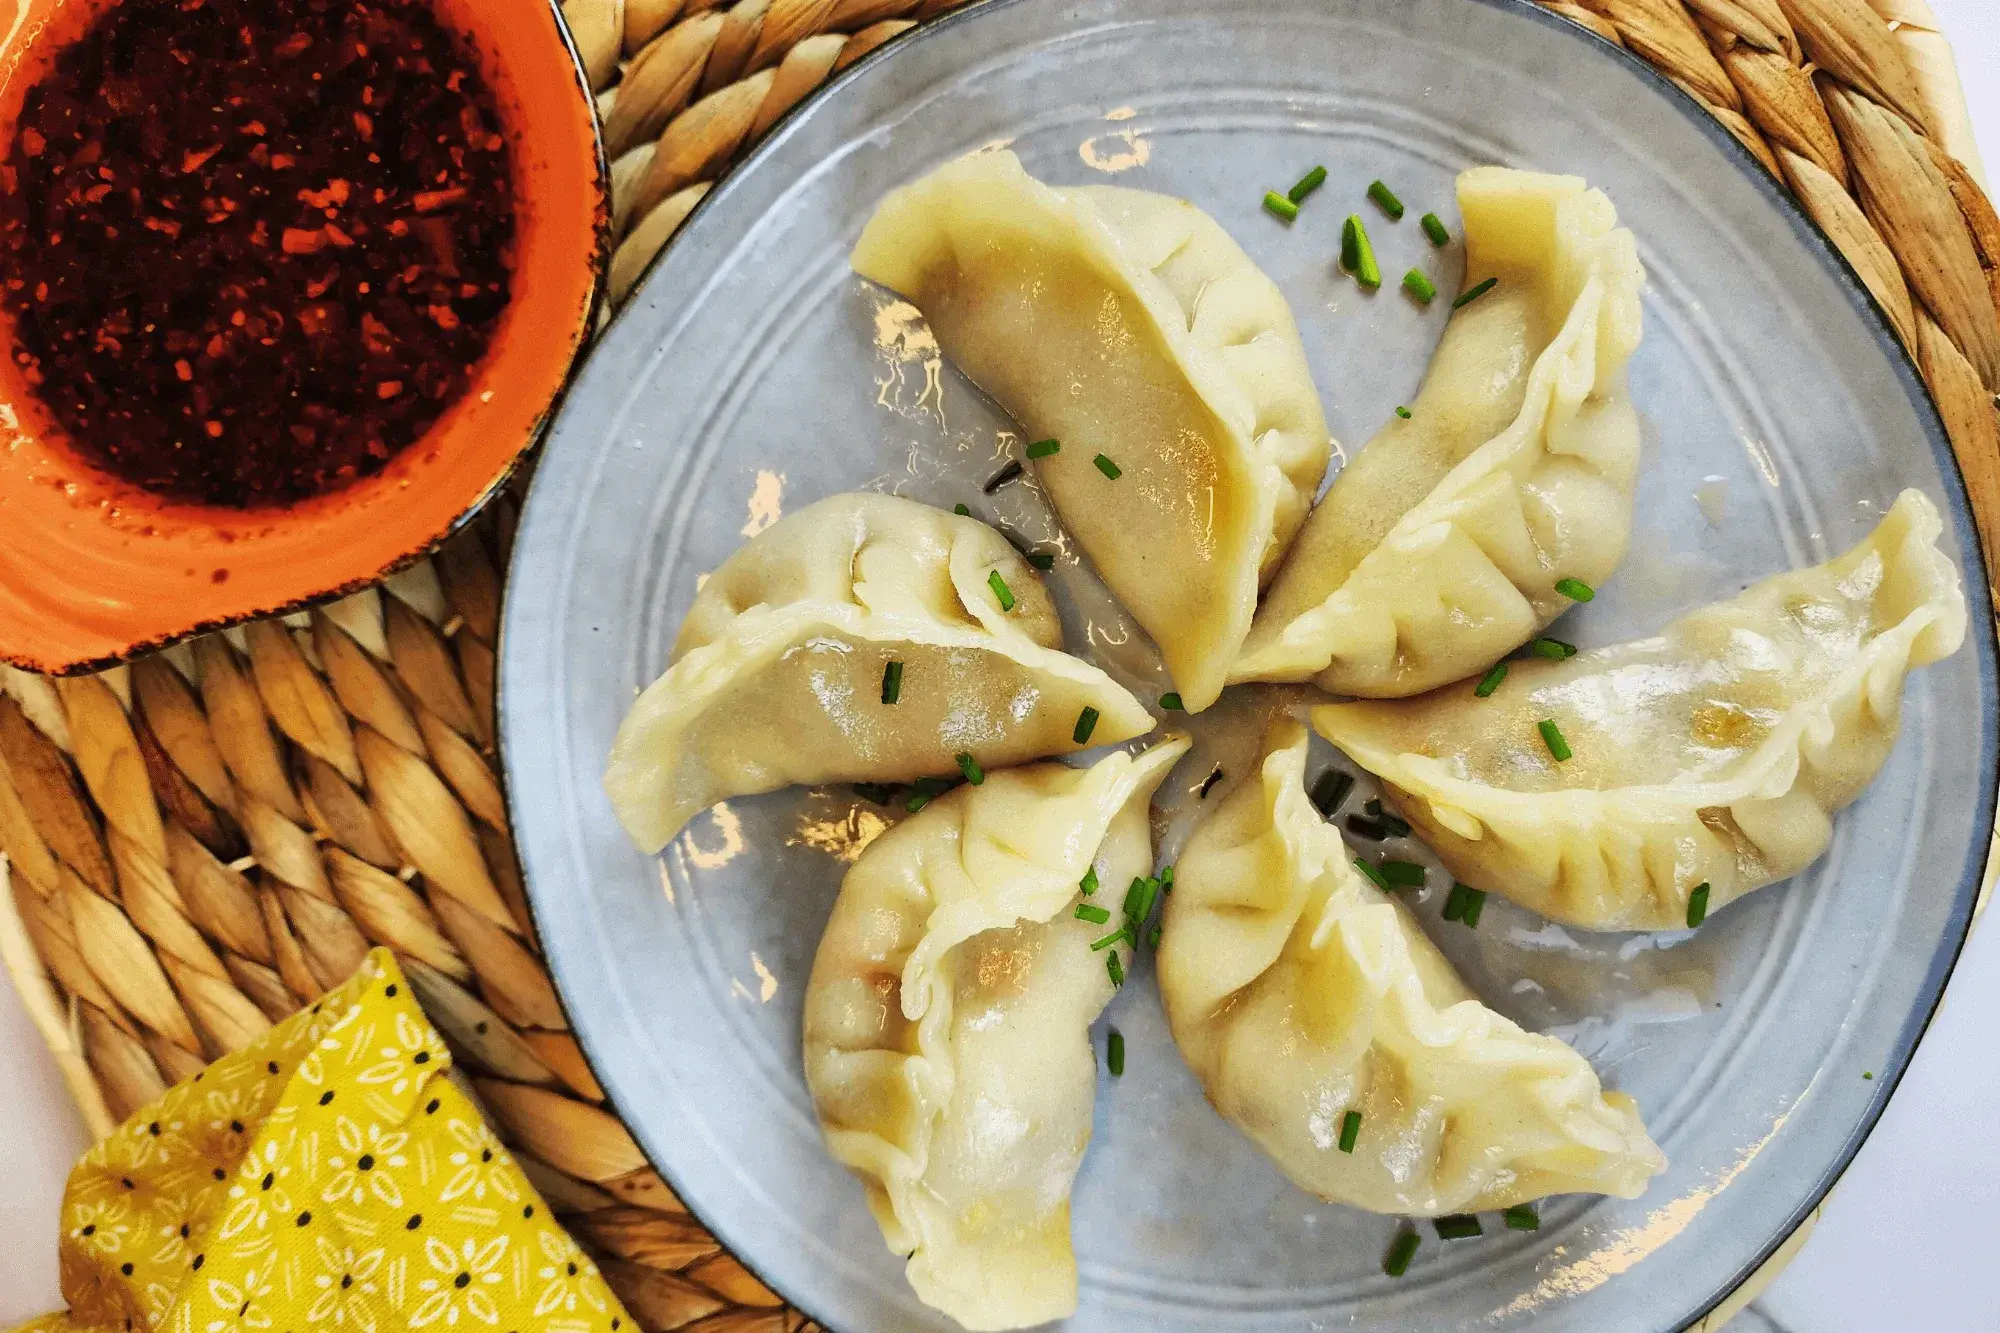
These homemade vegetable gyoza are just as irresistible as your favorite potstickers! 🥟✨
Crispy on the bottom, tender on top, and packed with a flavorful, juicy filling, they’re perfect for any occasion.
Whether you pan-fry them for that classic golden crust, air-fry for a lighter crisp, or steam them for a softer bite, they always turn out delicious.
Plus, making your own gyoza wrappers from scratch (using my recipe!) takes them to the next level.
Serve them up with my go-to dipping sauce, and you’ve got a plate of potstickers that will have everyone coming back for more! 🤤🔥
If you’re still in the mood for Asian flavors, try making Hainanese chicken in a rice cooker.
Having a cozy Asian meal night is perfect for any time of year—whether it’s a quiet weeknight or a weekend gathering with friends.
FAQs
For uncooked gyoza, refrigerate for 1-2 days in a single layer or freeze for up to 1 month. Cooked gyoza can be refrigerated for up to 2 days or frozen, though freezing is not recommended as it may affect texture.
Pan-fry for 2-3 minutes per side for the best crispiness. Alternatively, bake at 375°F (190°C) for 10-15 minutes. Avoid microwaving, as it can make the gyoza soggy.
Pan-fry for crispy bottoms, steam for soft and juicy texture, or boil for a lighter option. Air frying at 375°F (190°C) for 8-10 minutes is also a great low-oil method.
Yes! Freeze uncooked gyoza in a single layer on a tray, then transfer to a freezer bag. Cook straight from frozen, adding a minute or two to the cooking time.
Cabbage, mushrooms, carrots, spinach, and bean sprouts work great. Be sure to chop them finely and squeeze out excess moisture.
This can happen if the filling is too wet, too much filling is used, or the edges are not sealed properly. Squeeze excess moisture from vegetables and use less filling per wrapper.
Yes, bake at 400°F (200°C) for 15-20 minutes. Brush with oil for better browning, though the texture will be different from traditional crispy-bottom gyoza.
🥟✨ I love them crispy on the outside, juicy on the inside, and packed with flavor in every bite.
Whether I'm pan-frying for that golden crunch or air-frying for a lighter crisp, they always hit the spot.
But let's be real—gyoza aren't complete without my go-to dipping sauce, the perfect balance of tangy, savory, and spicy.
Trust me, once you dip, you won't stop! 🤤🔥


Homemade Vegetable Gyoza (Vegan/ Vegetarian)
Prep time
40 minutes
Cook time
30 minutes
Serves
80

Ingredients
Steps
-
Cooking Gyoza Filling:
-
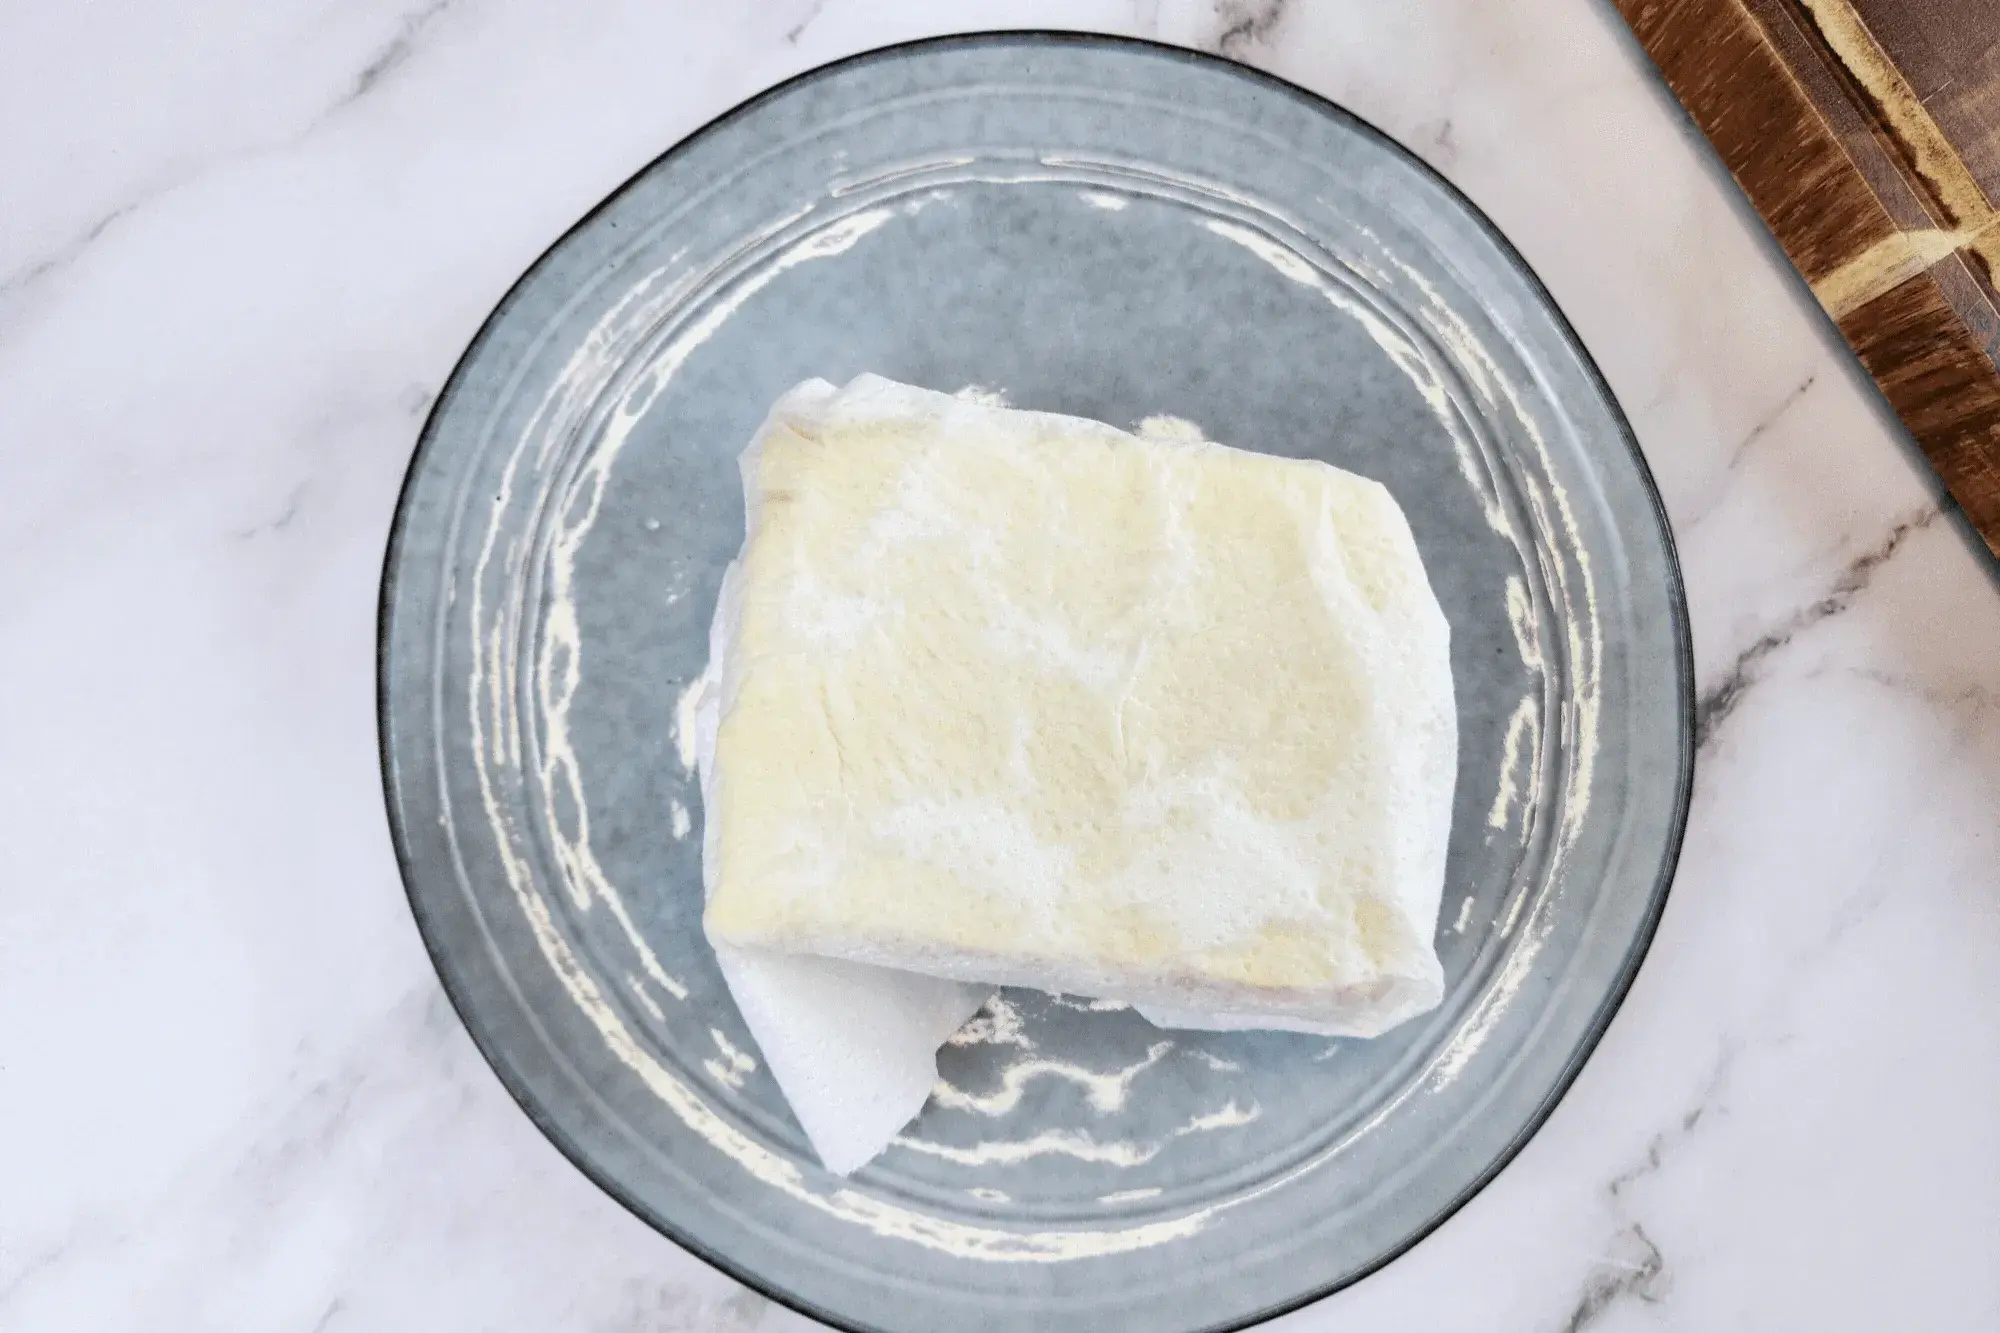
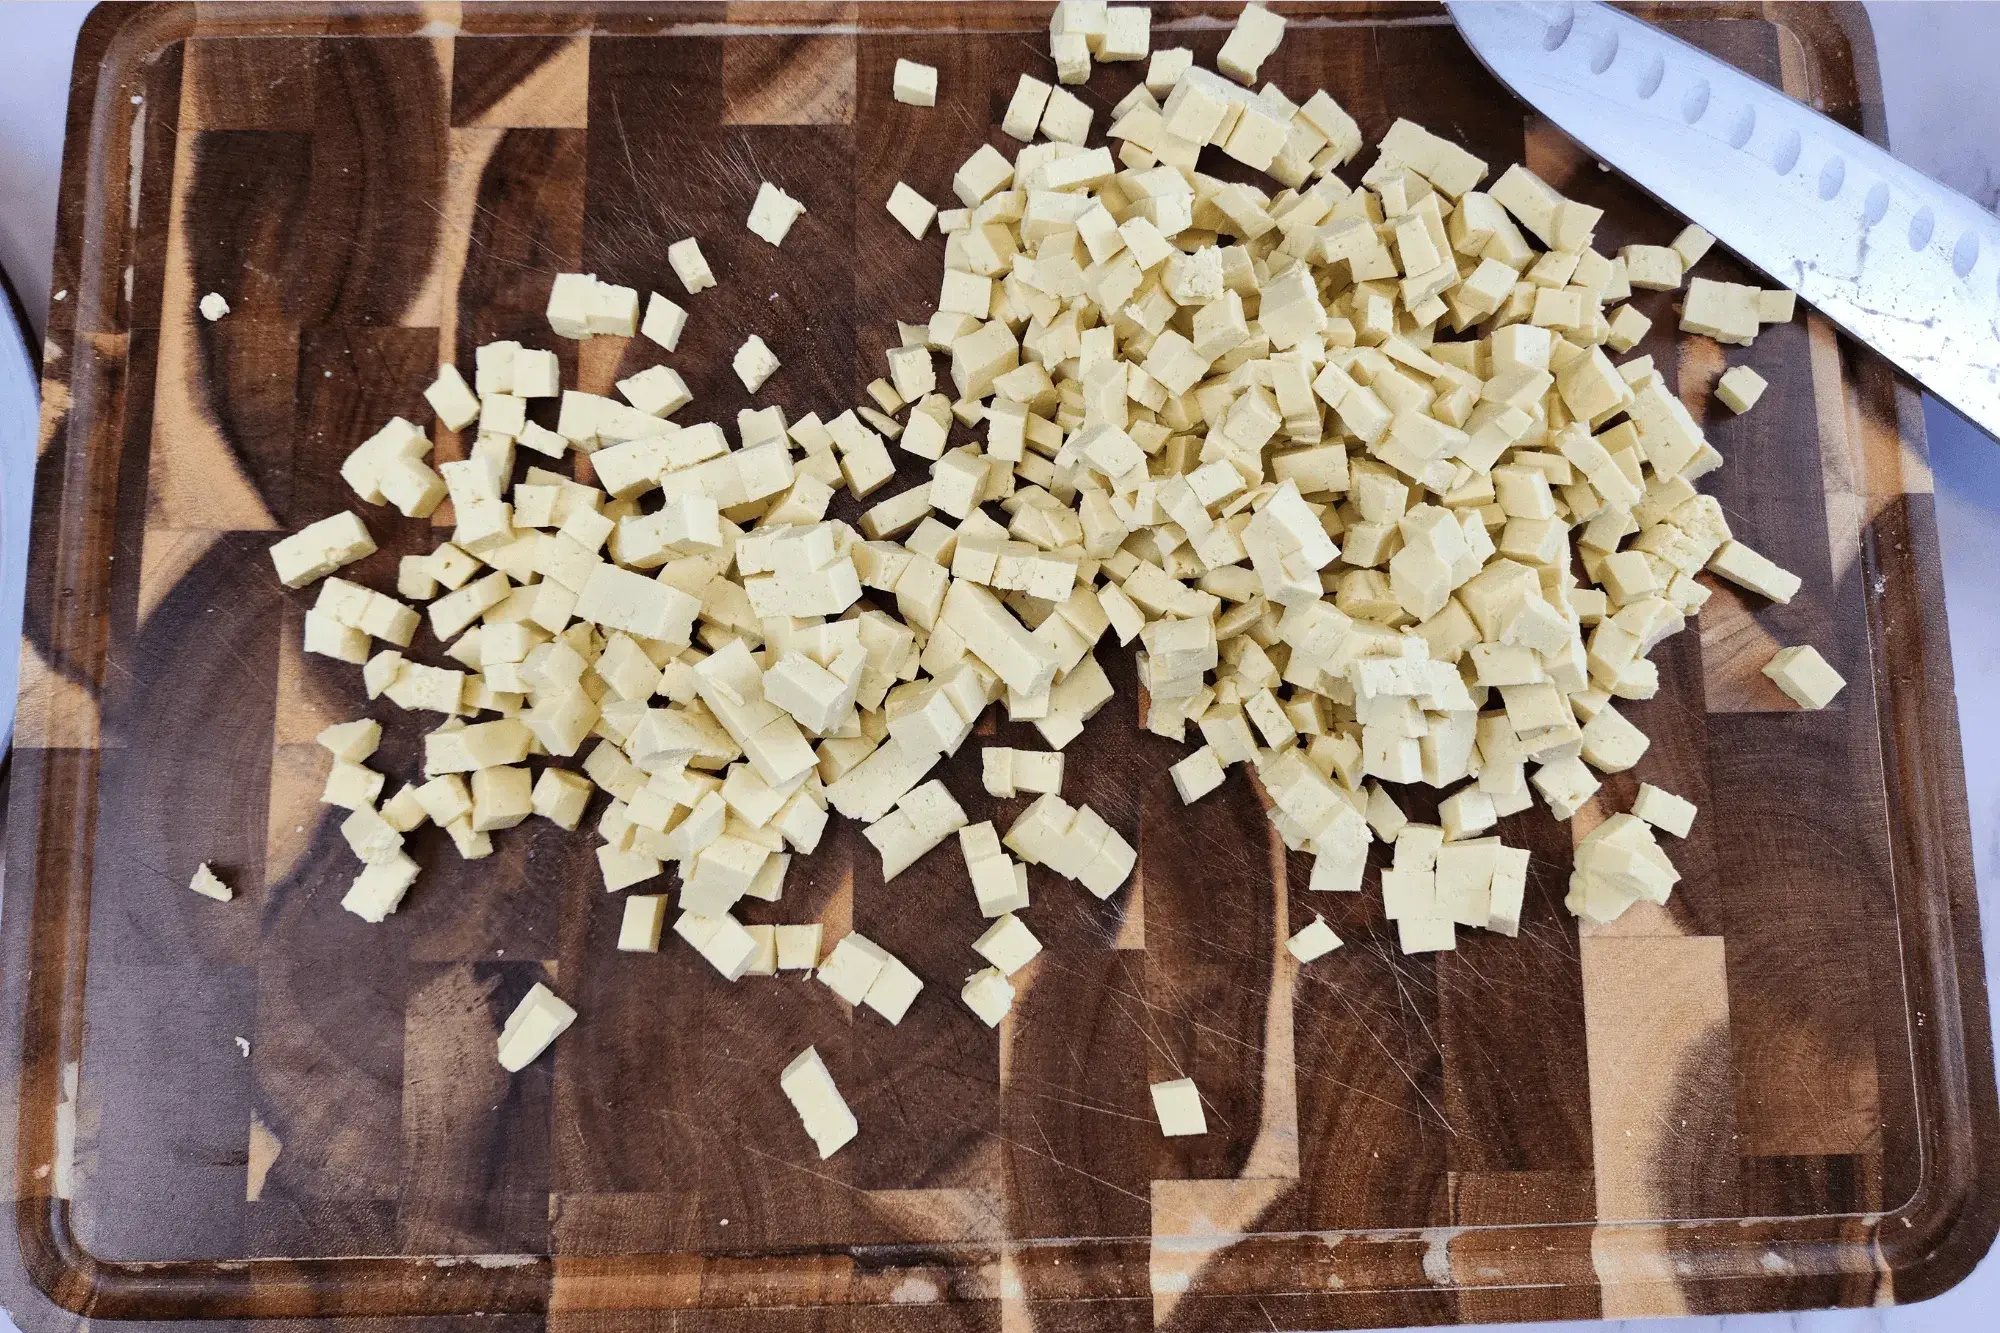
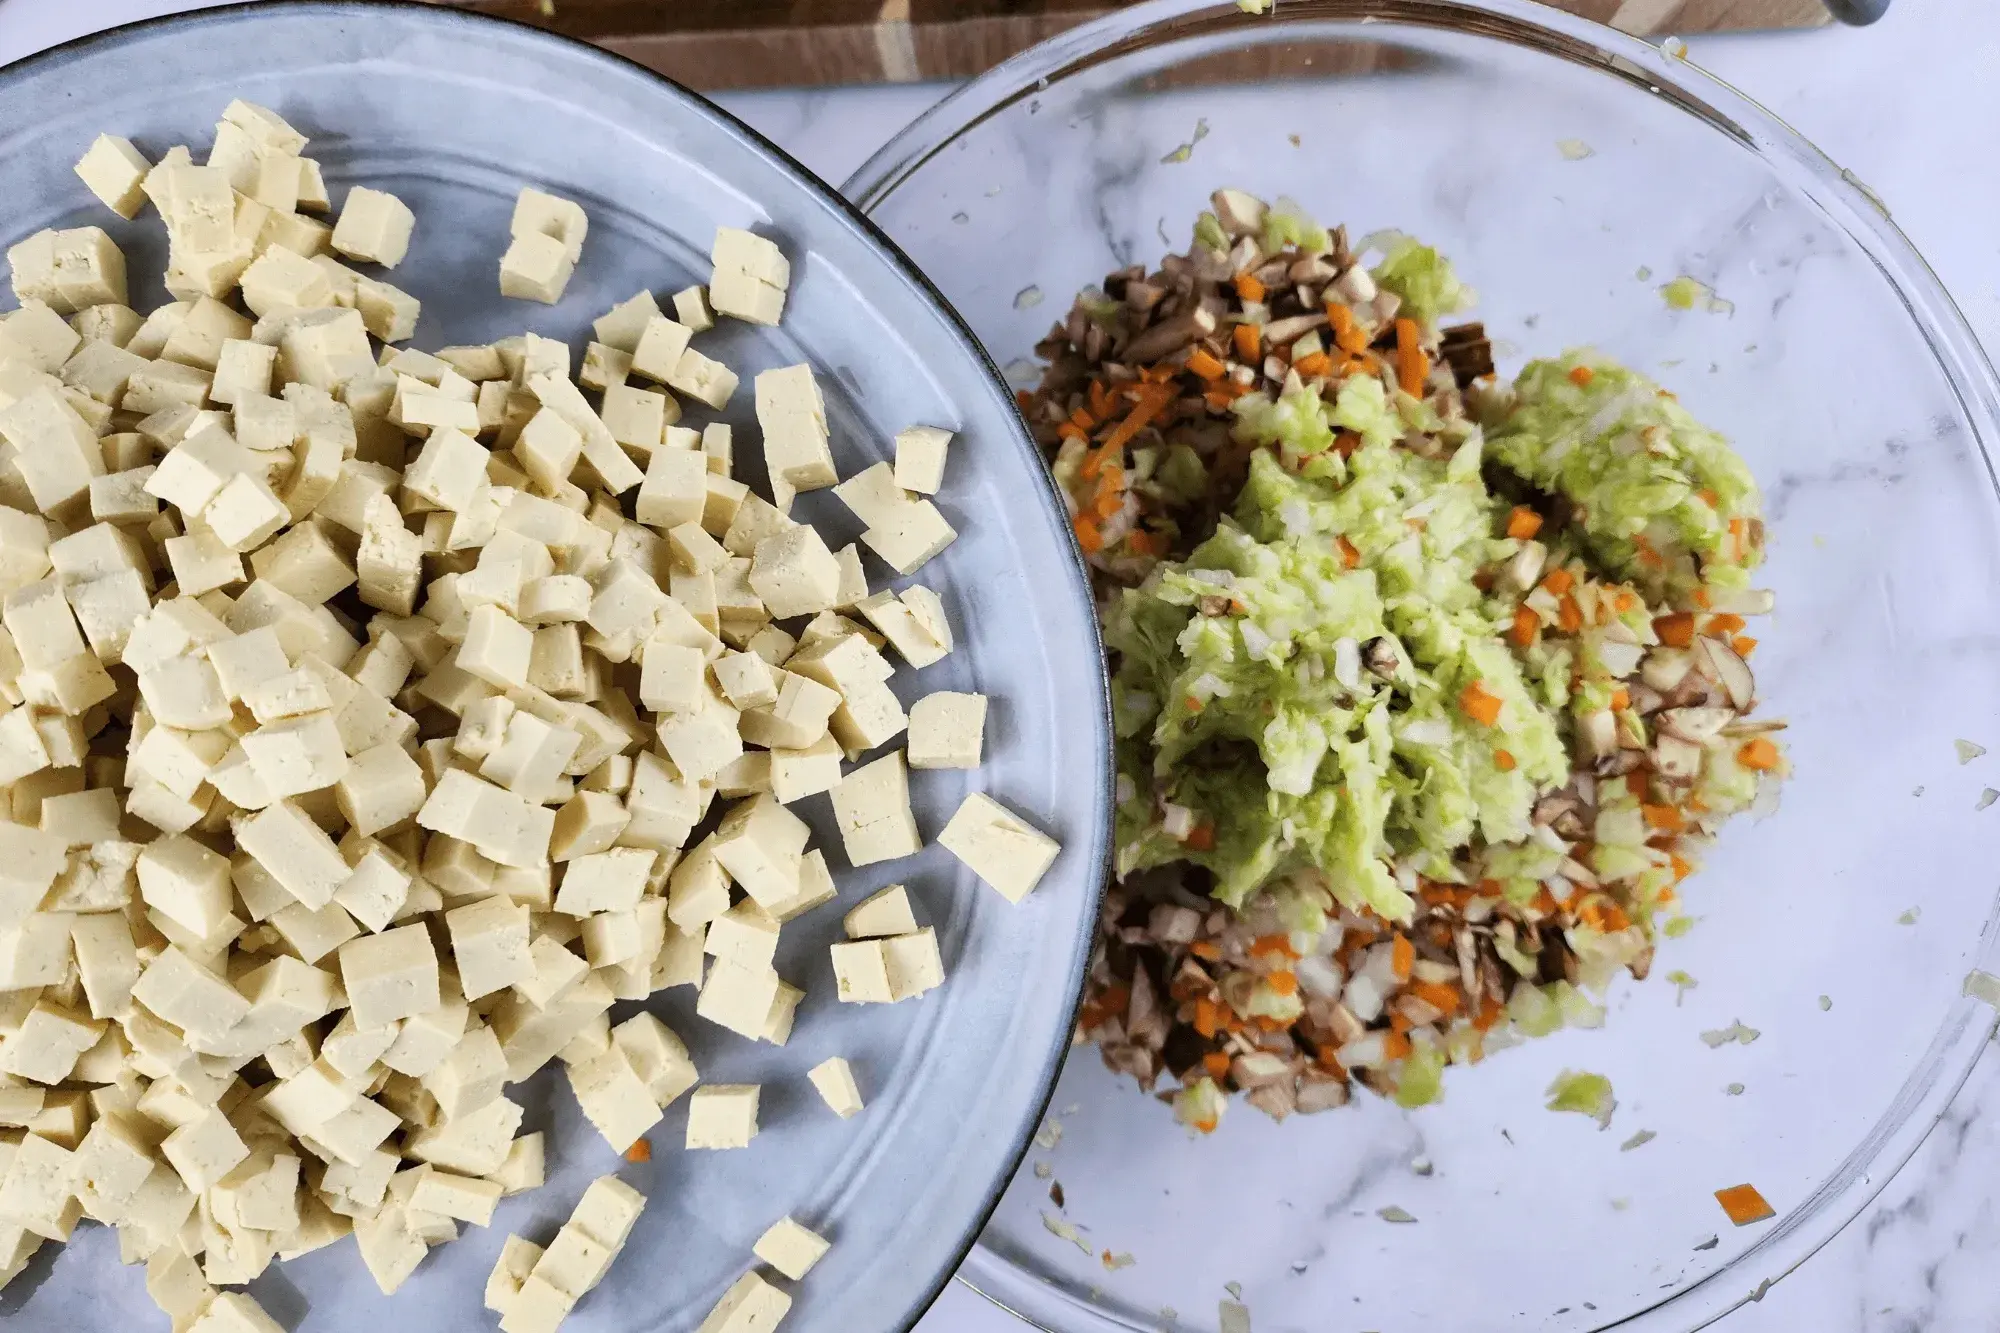
Drain the tofu and press it with a clean towel or paper towels to remove excess moisture for 30-60 mins. Then, cut the tofu into small cubes.
-
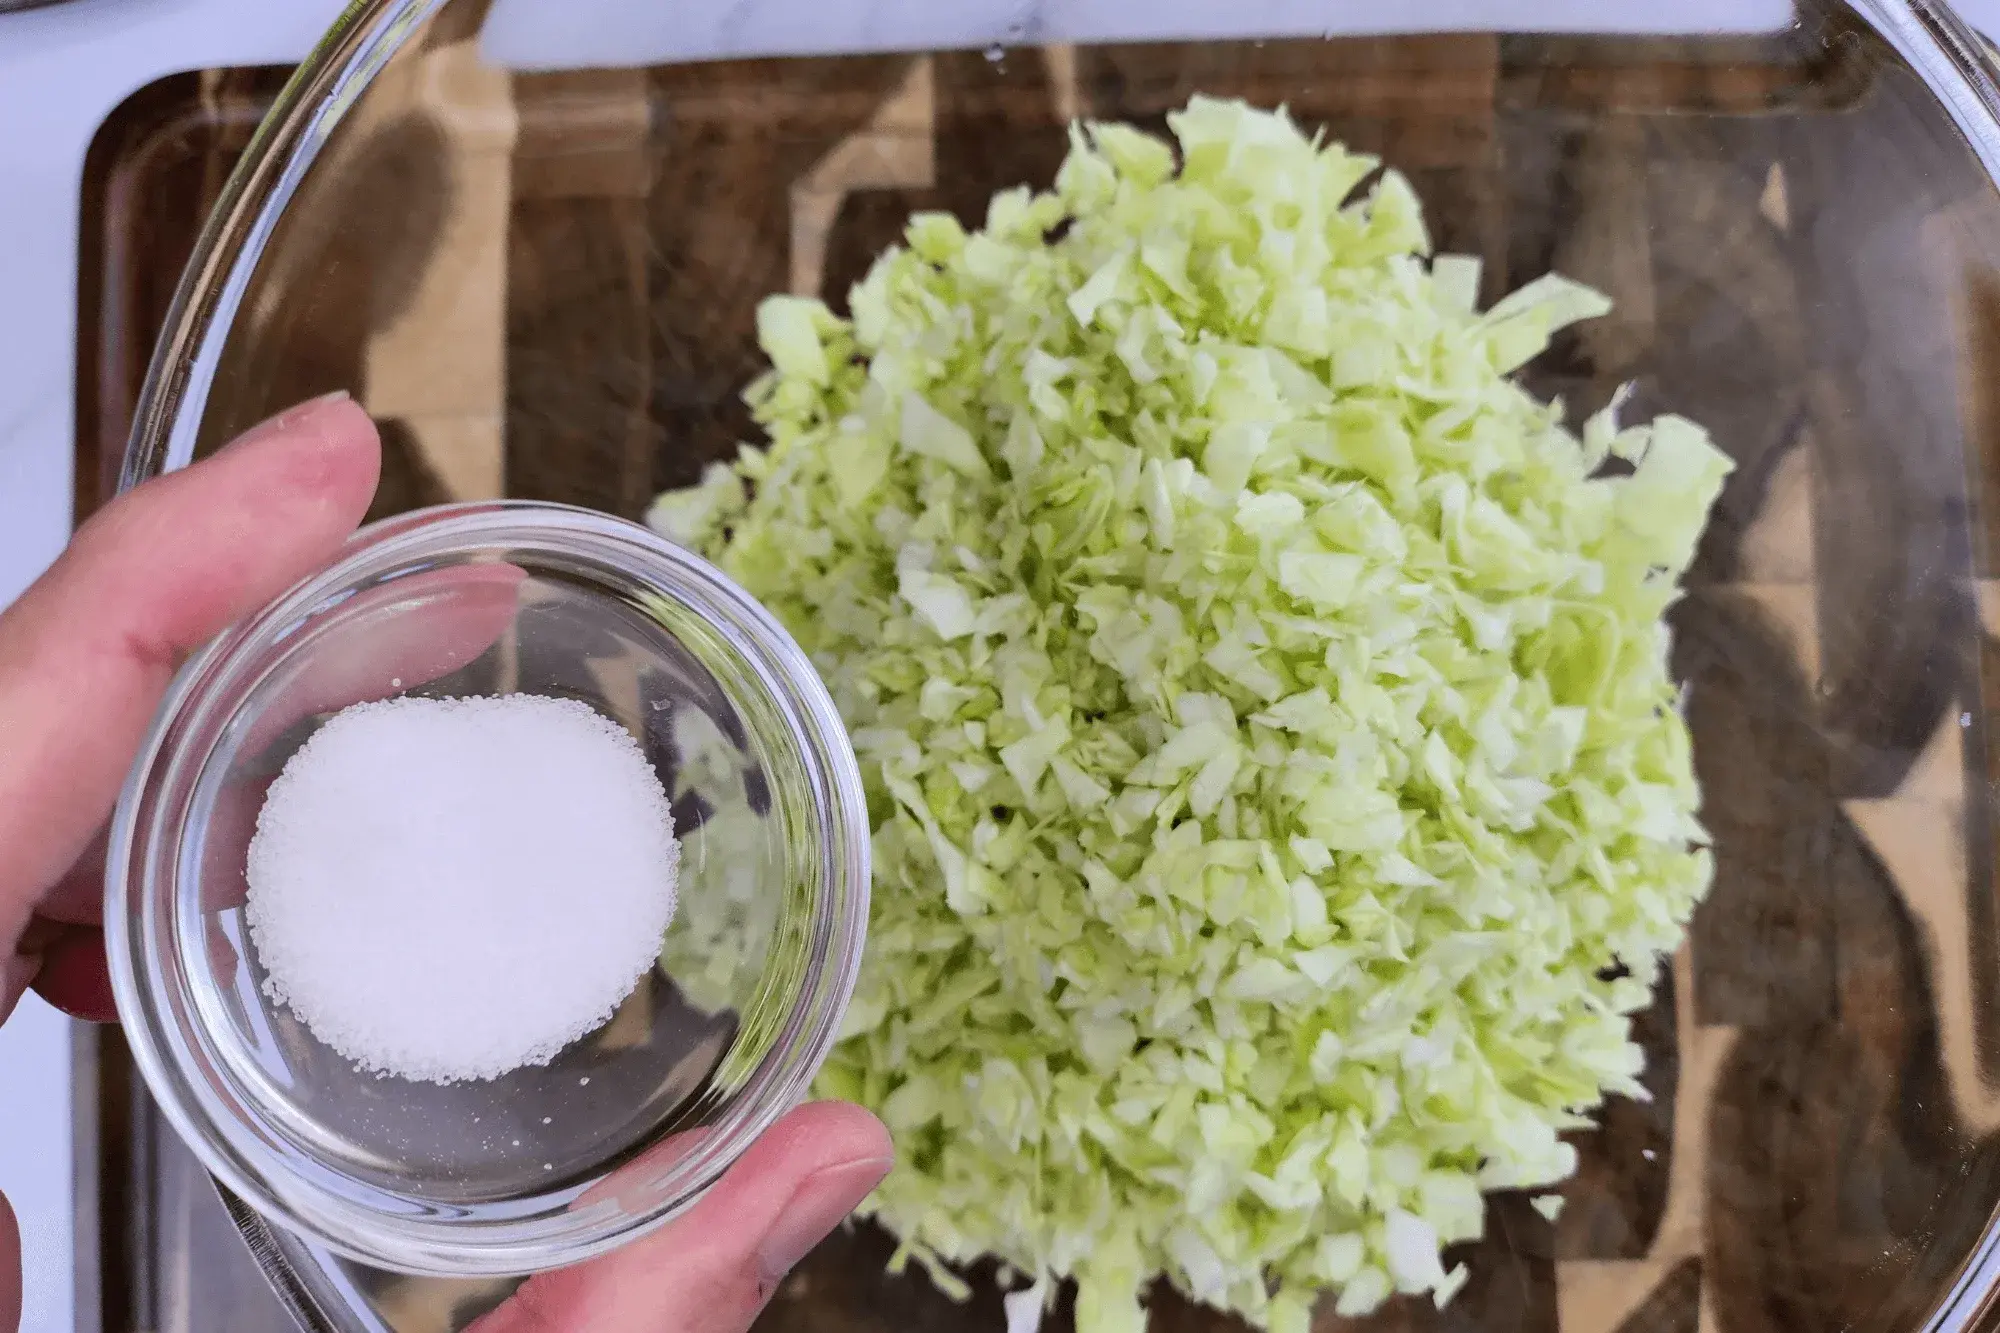
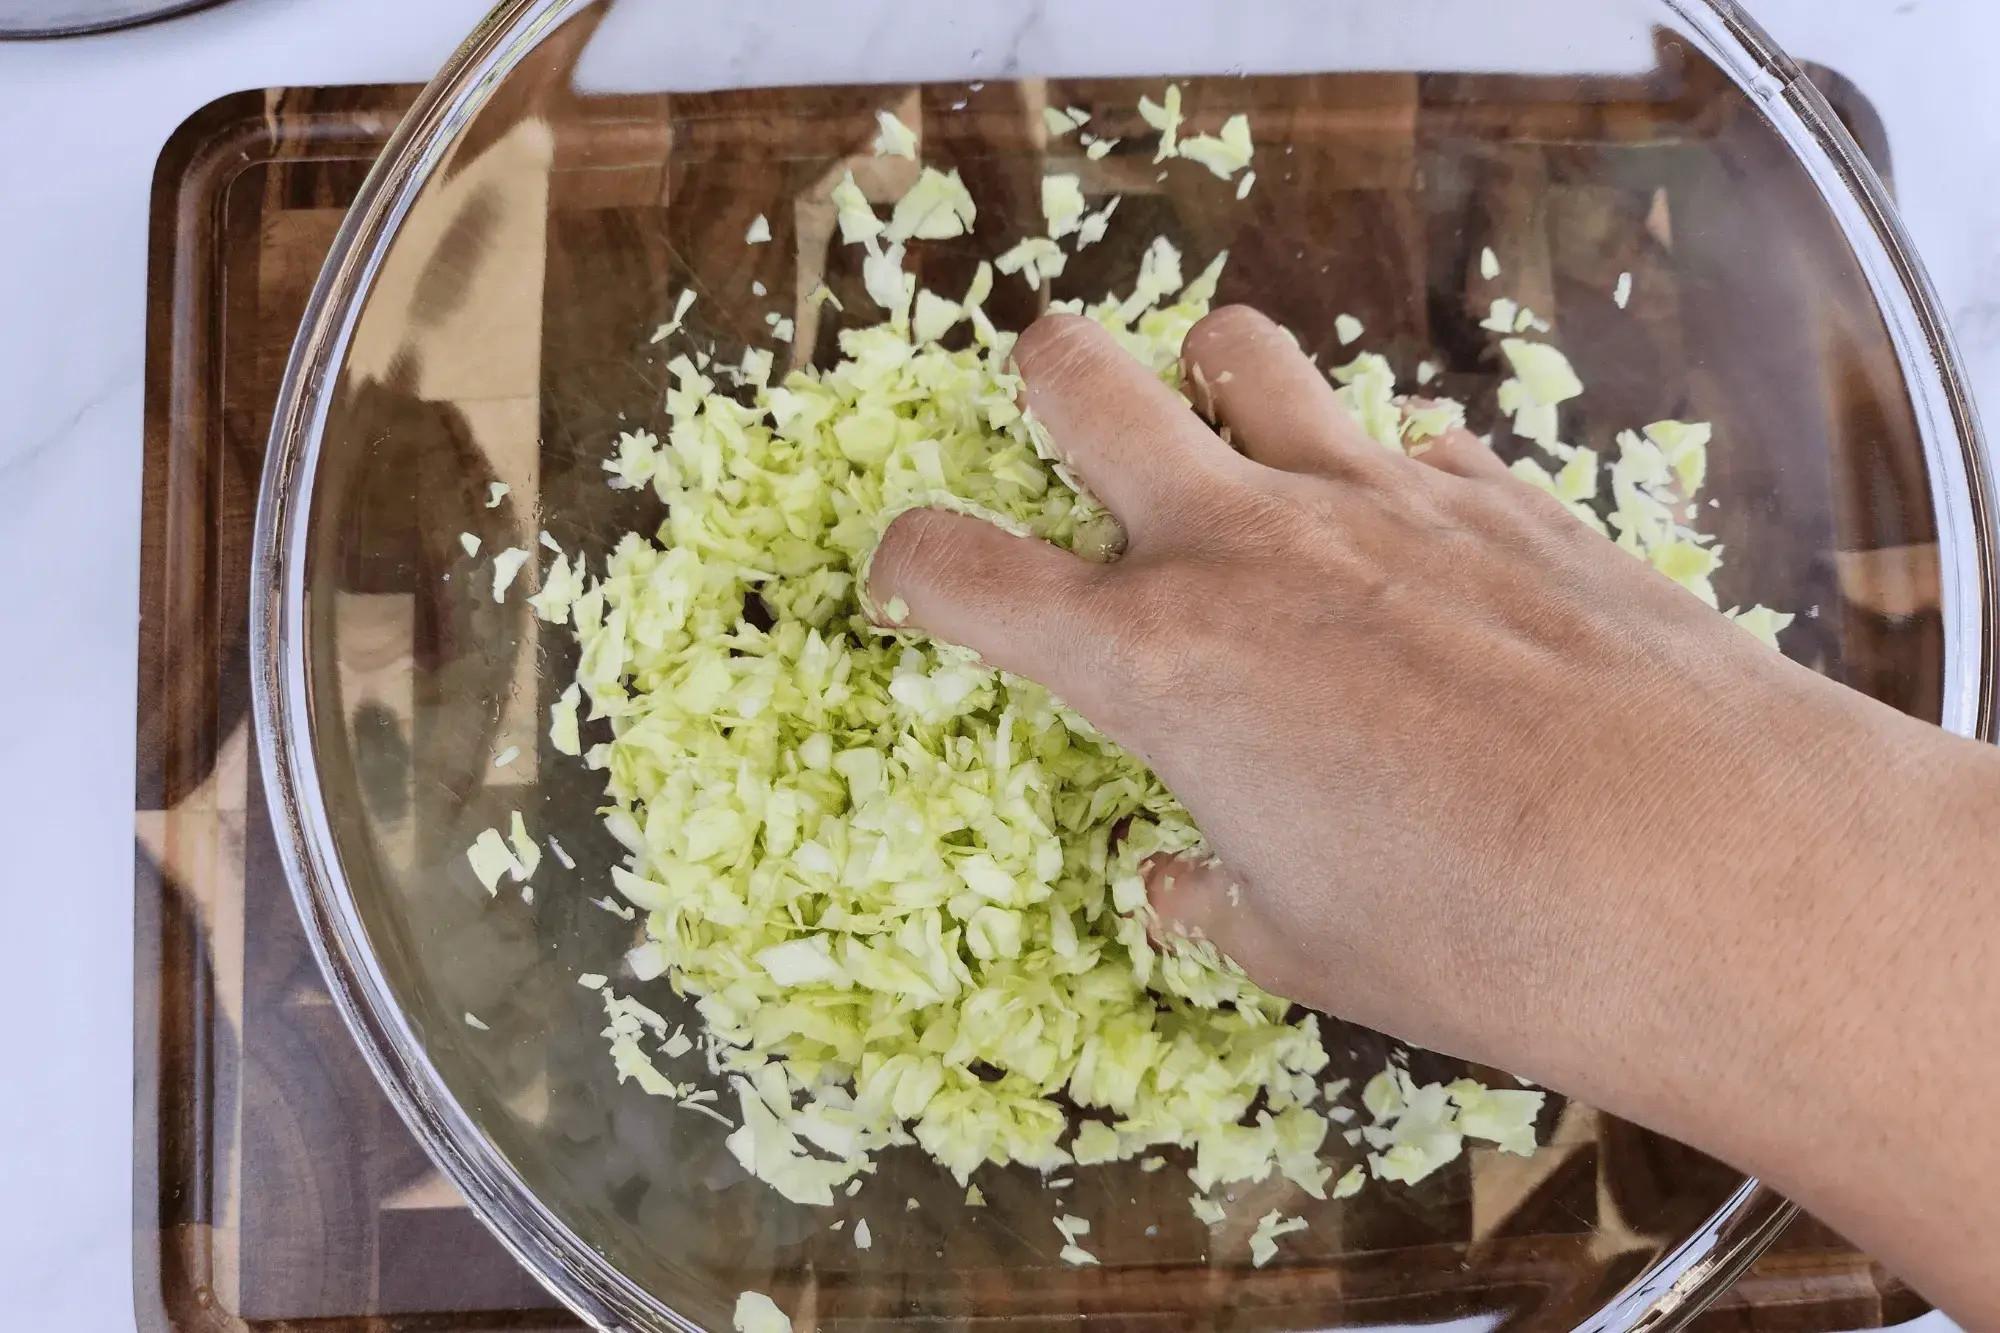
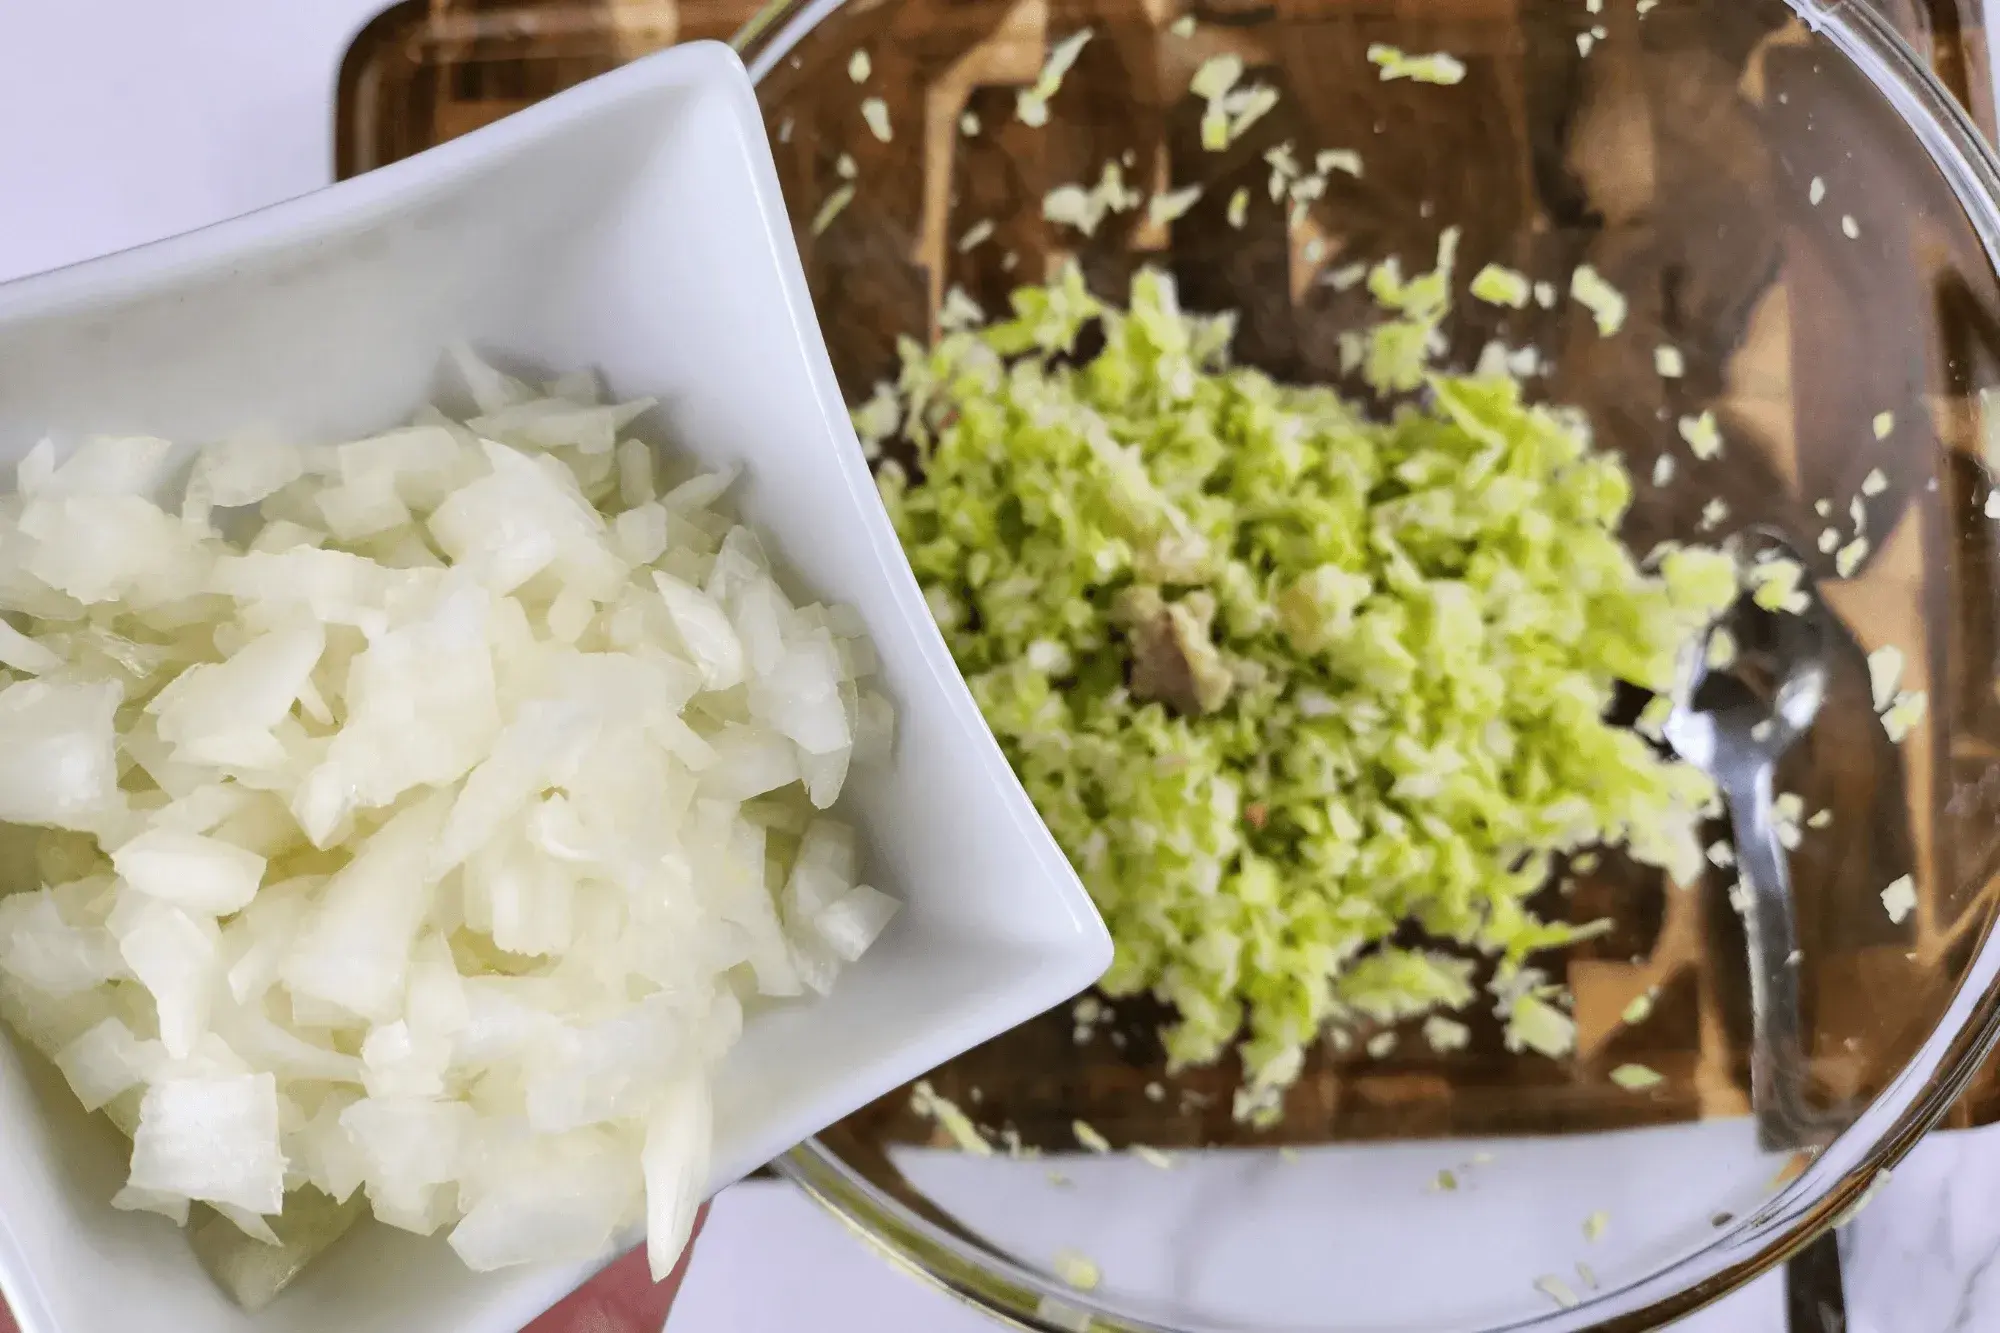
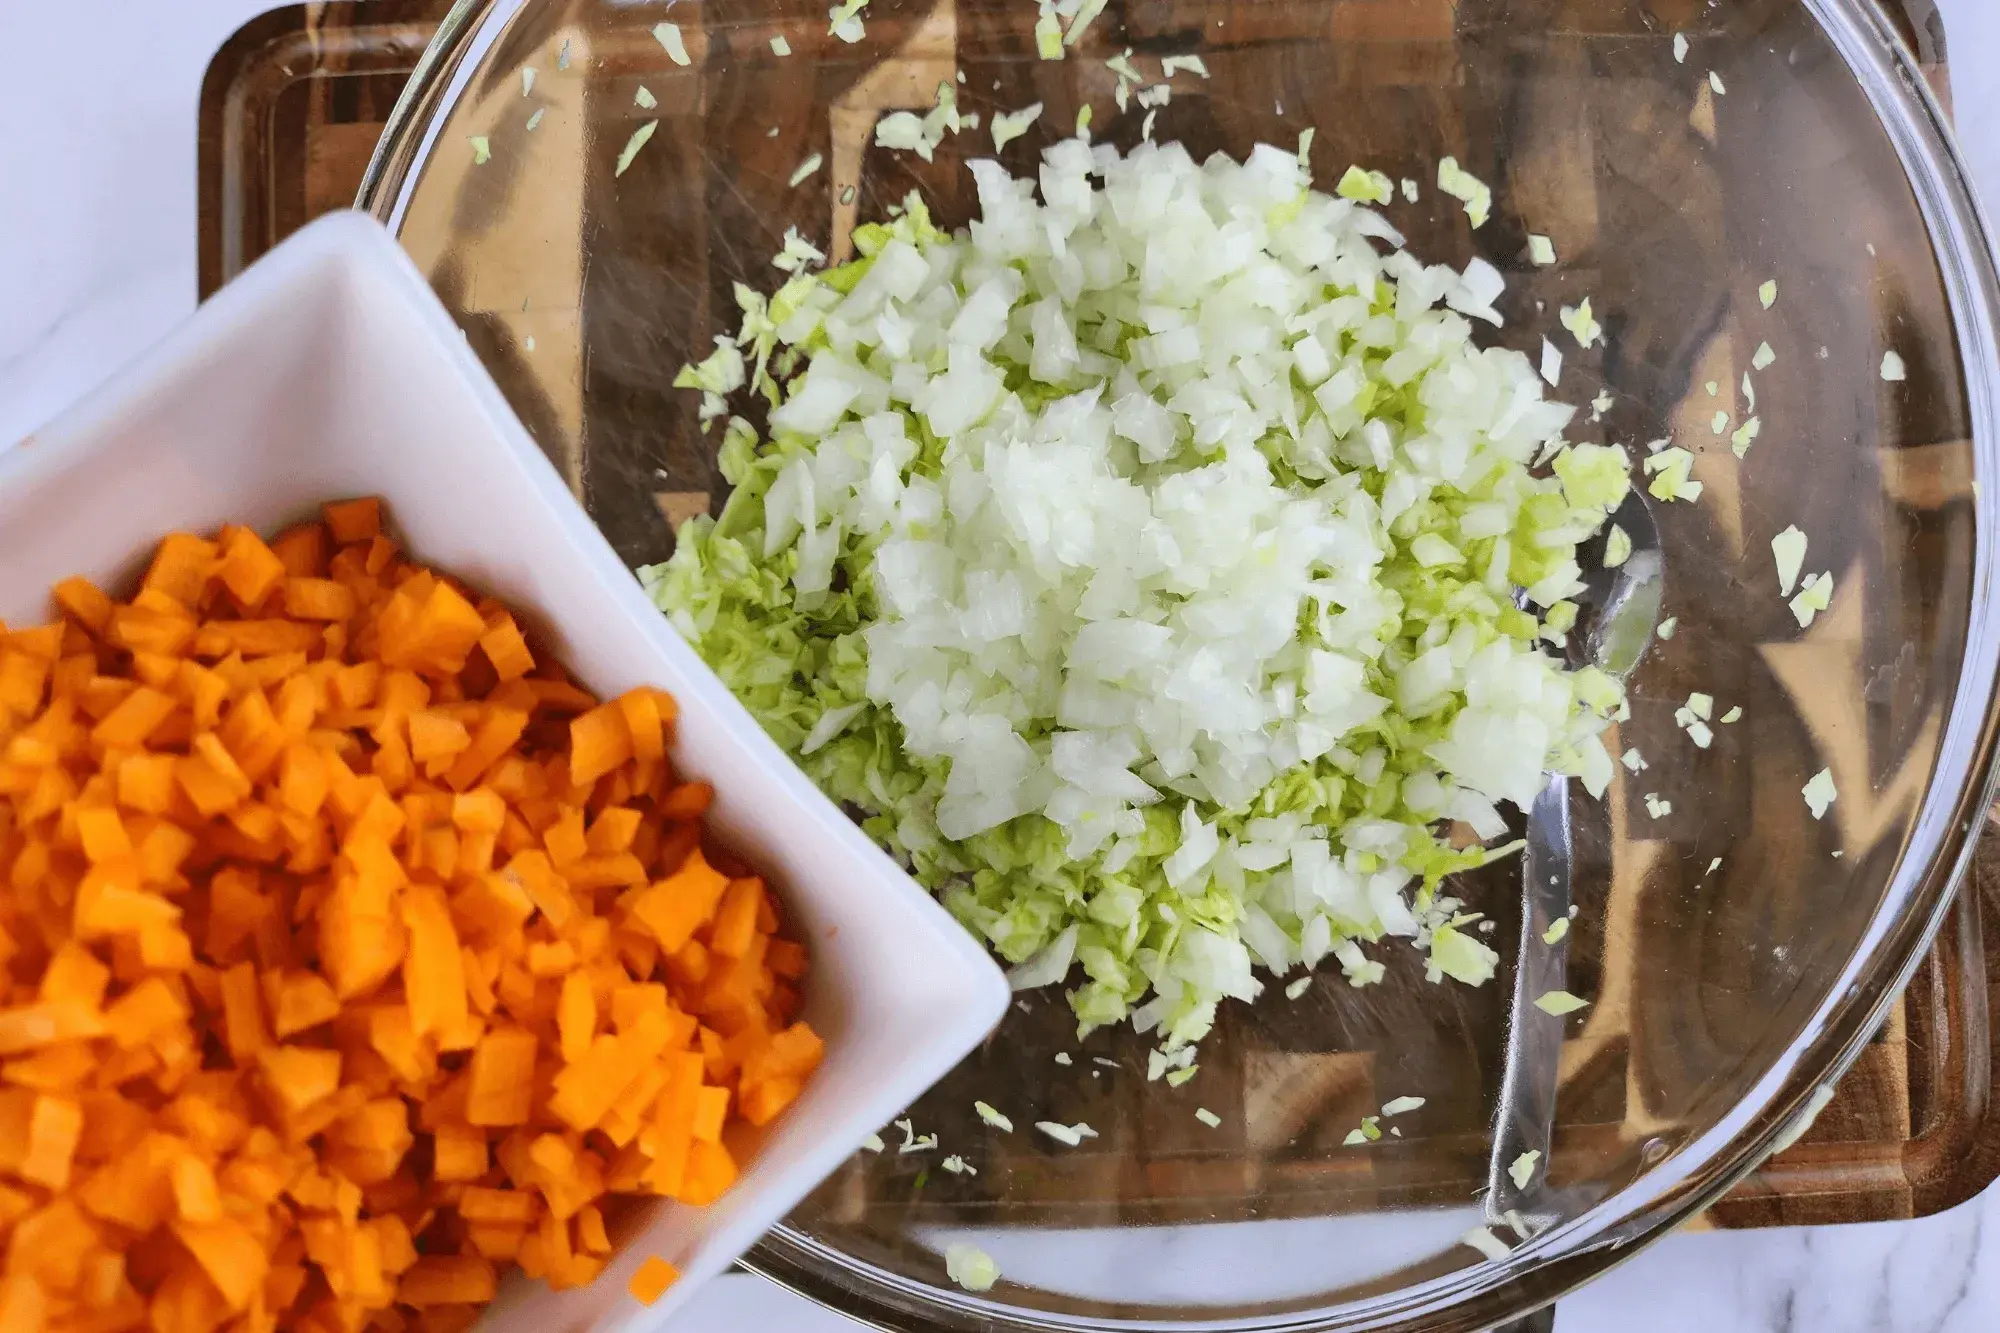
Finely chop the cabbage and sprinkle a little salt over it. Let it sit for 10 minutes, then squeeze out excess water.
-
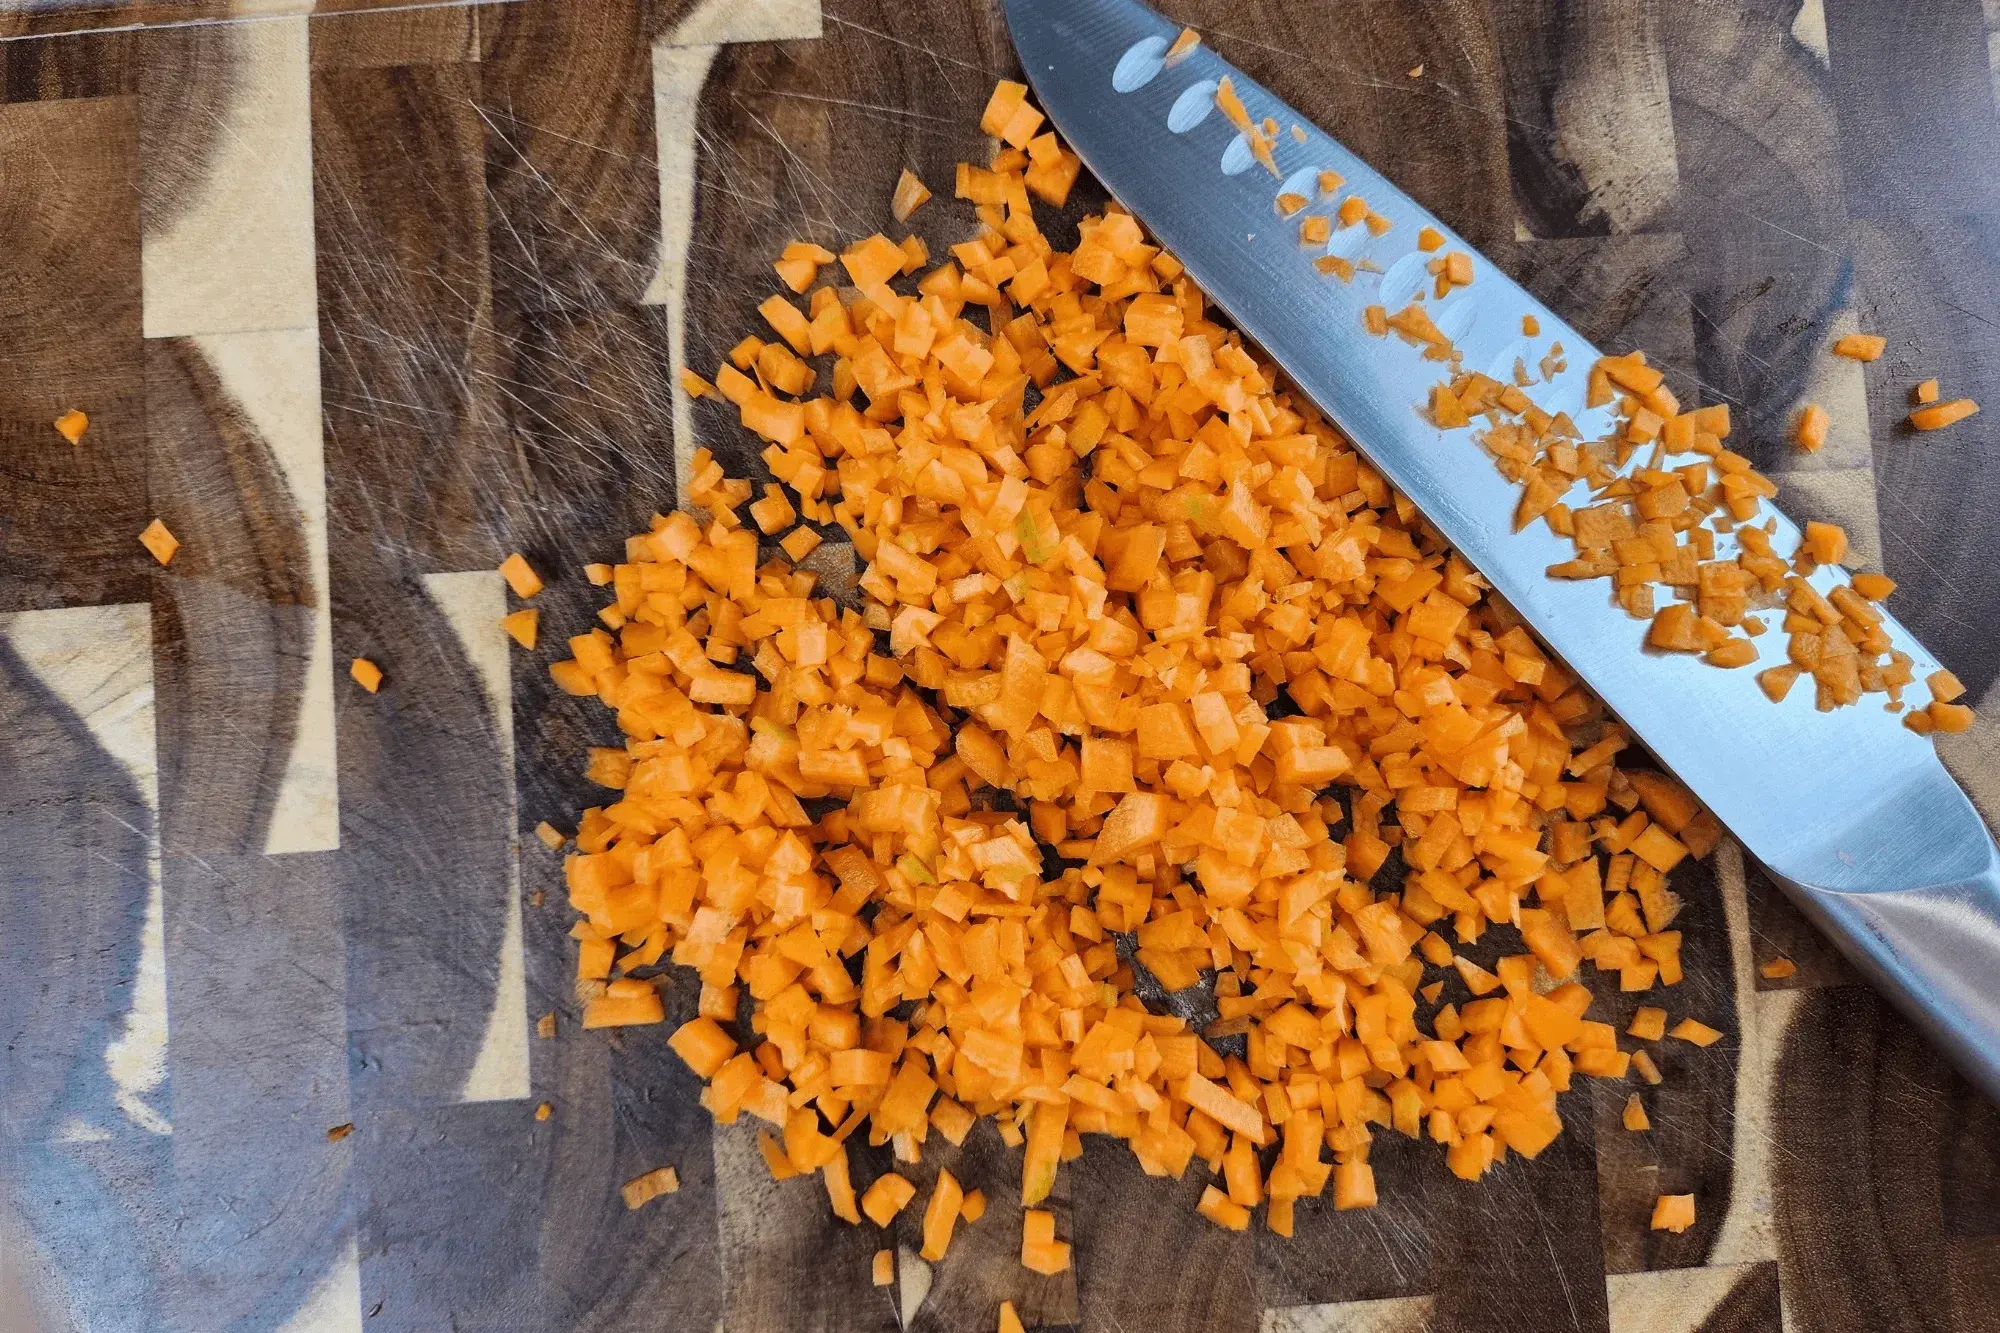
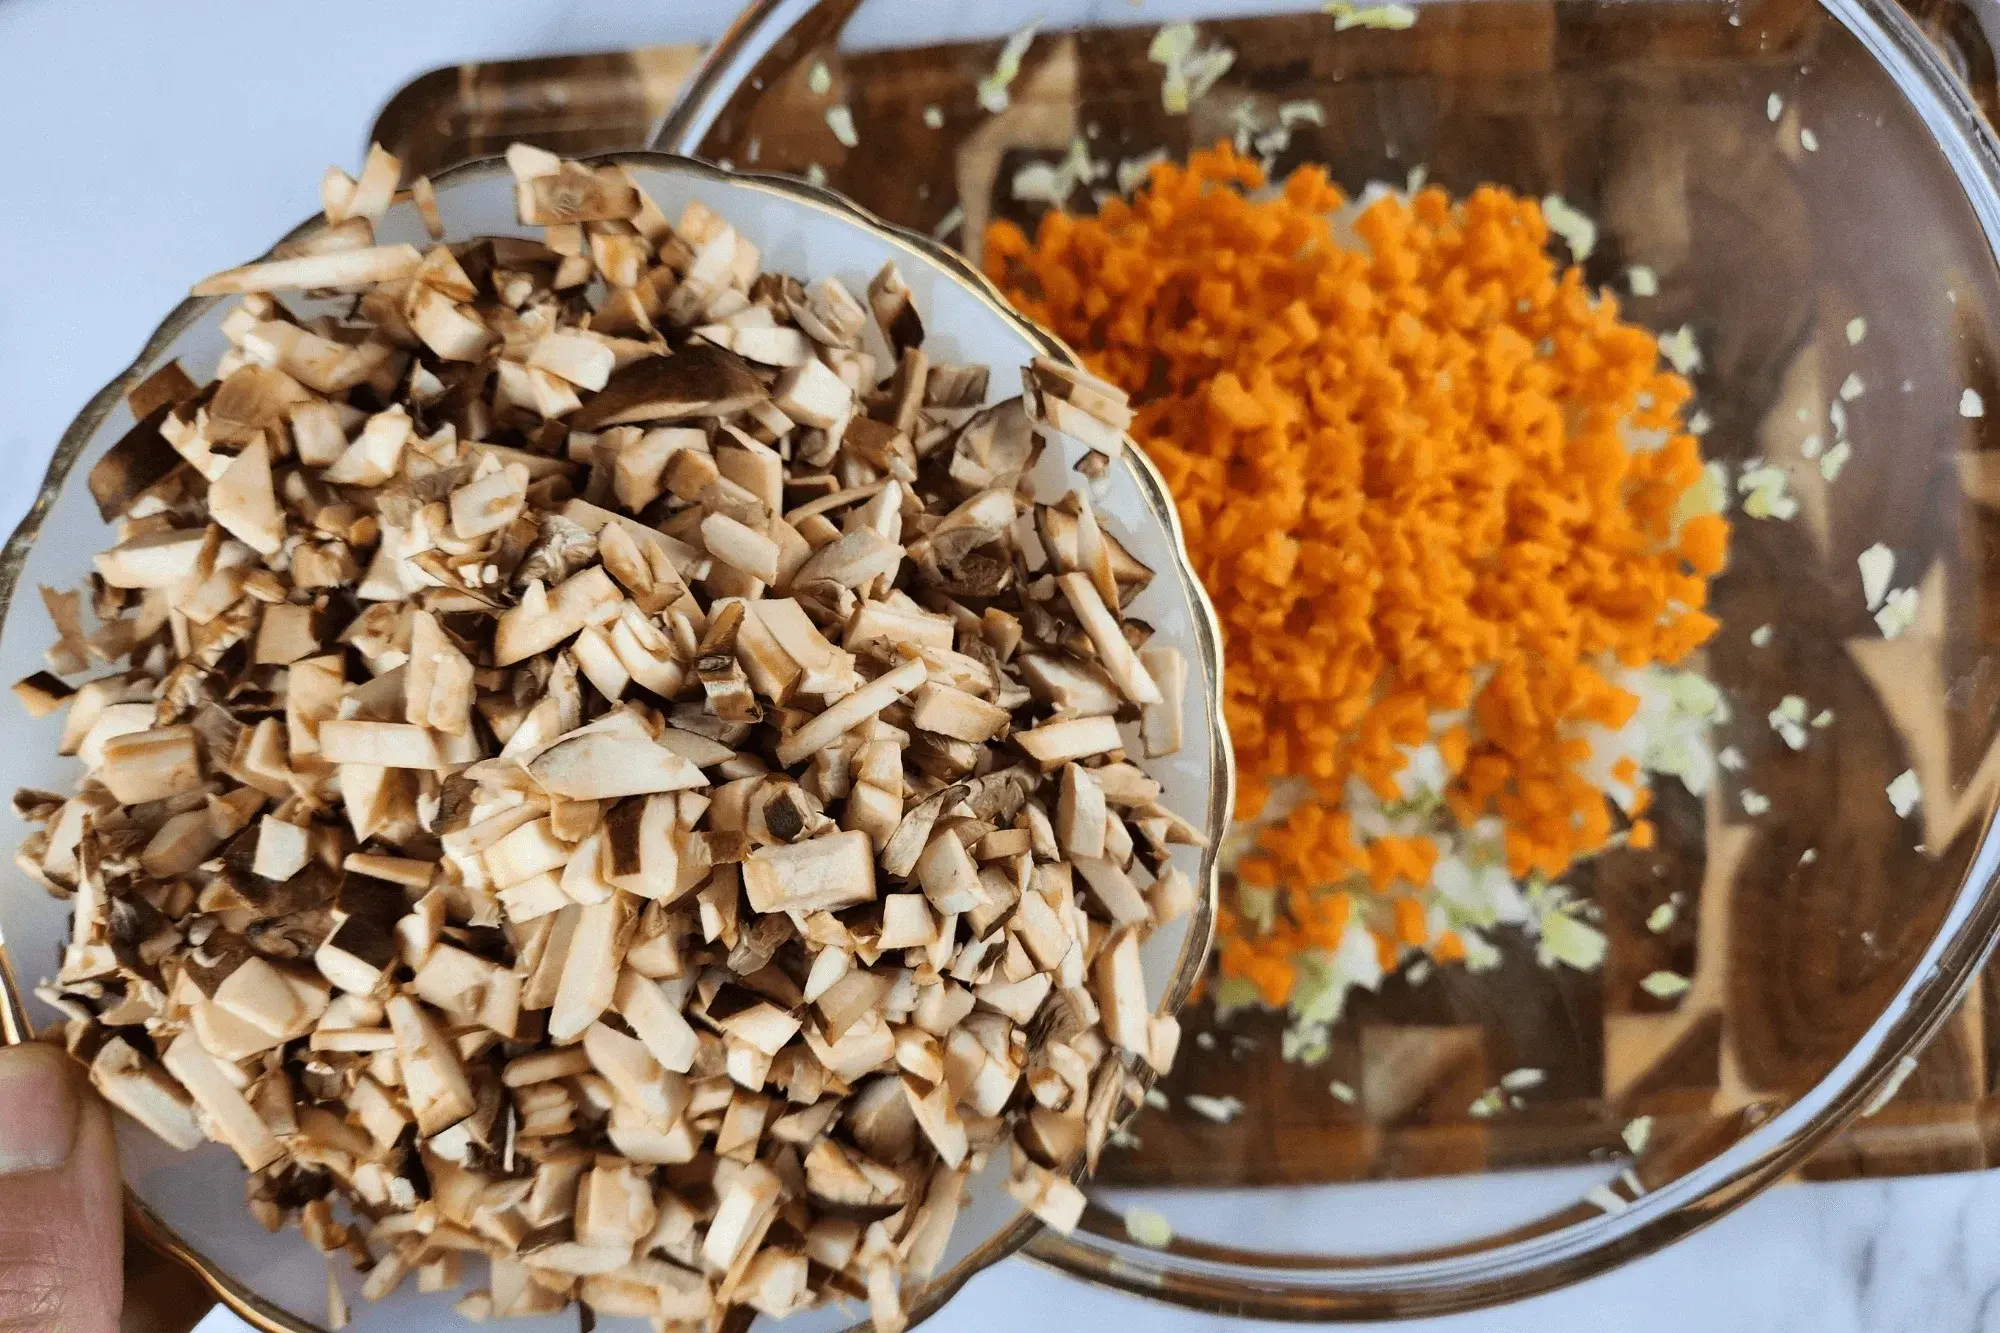
Finely chop the carrots for a touch of sweetness and color.
-
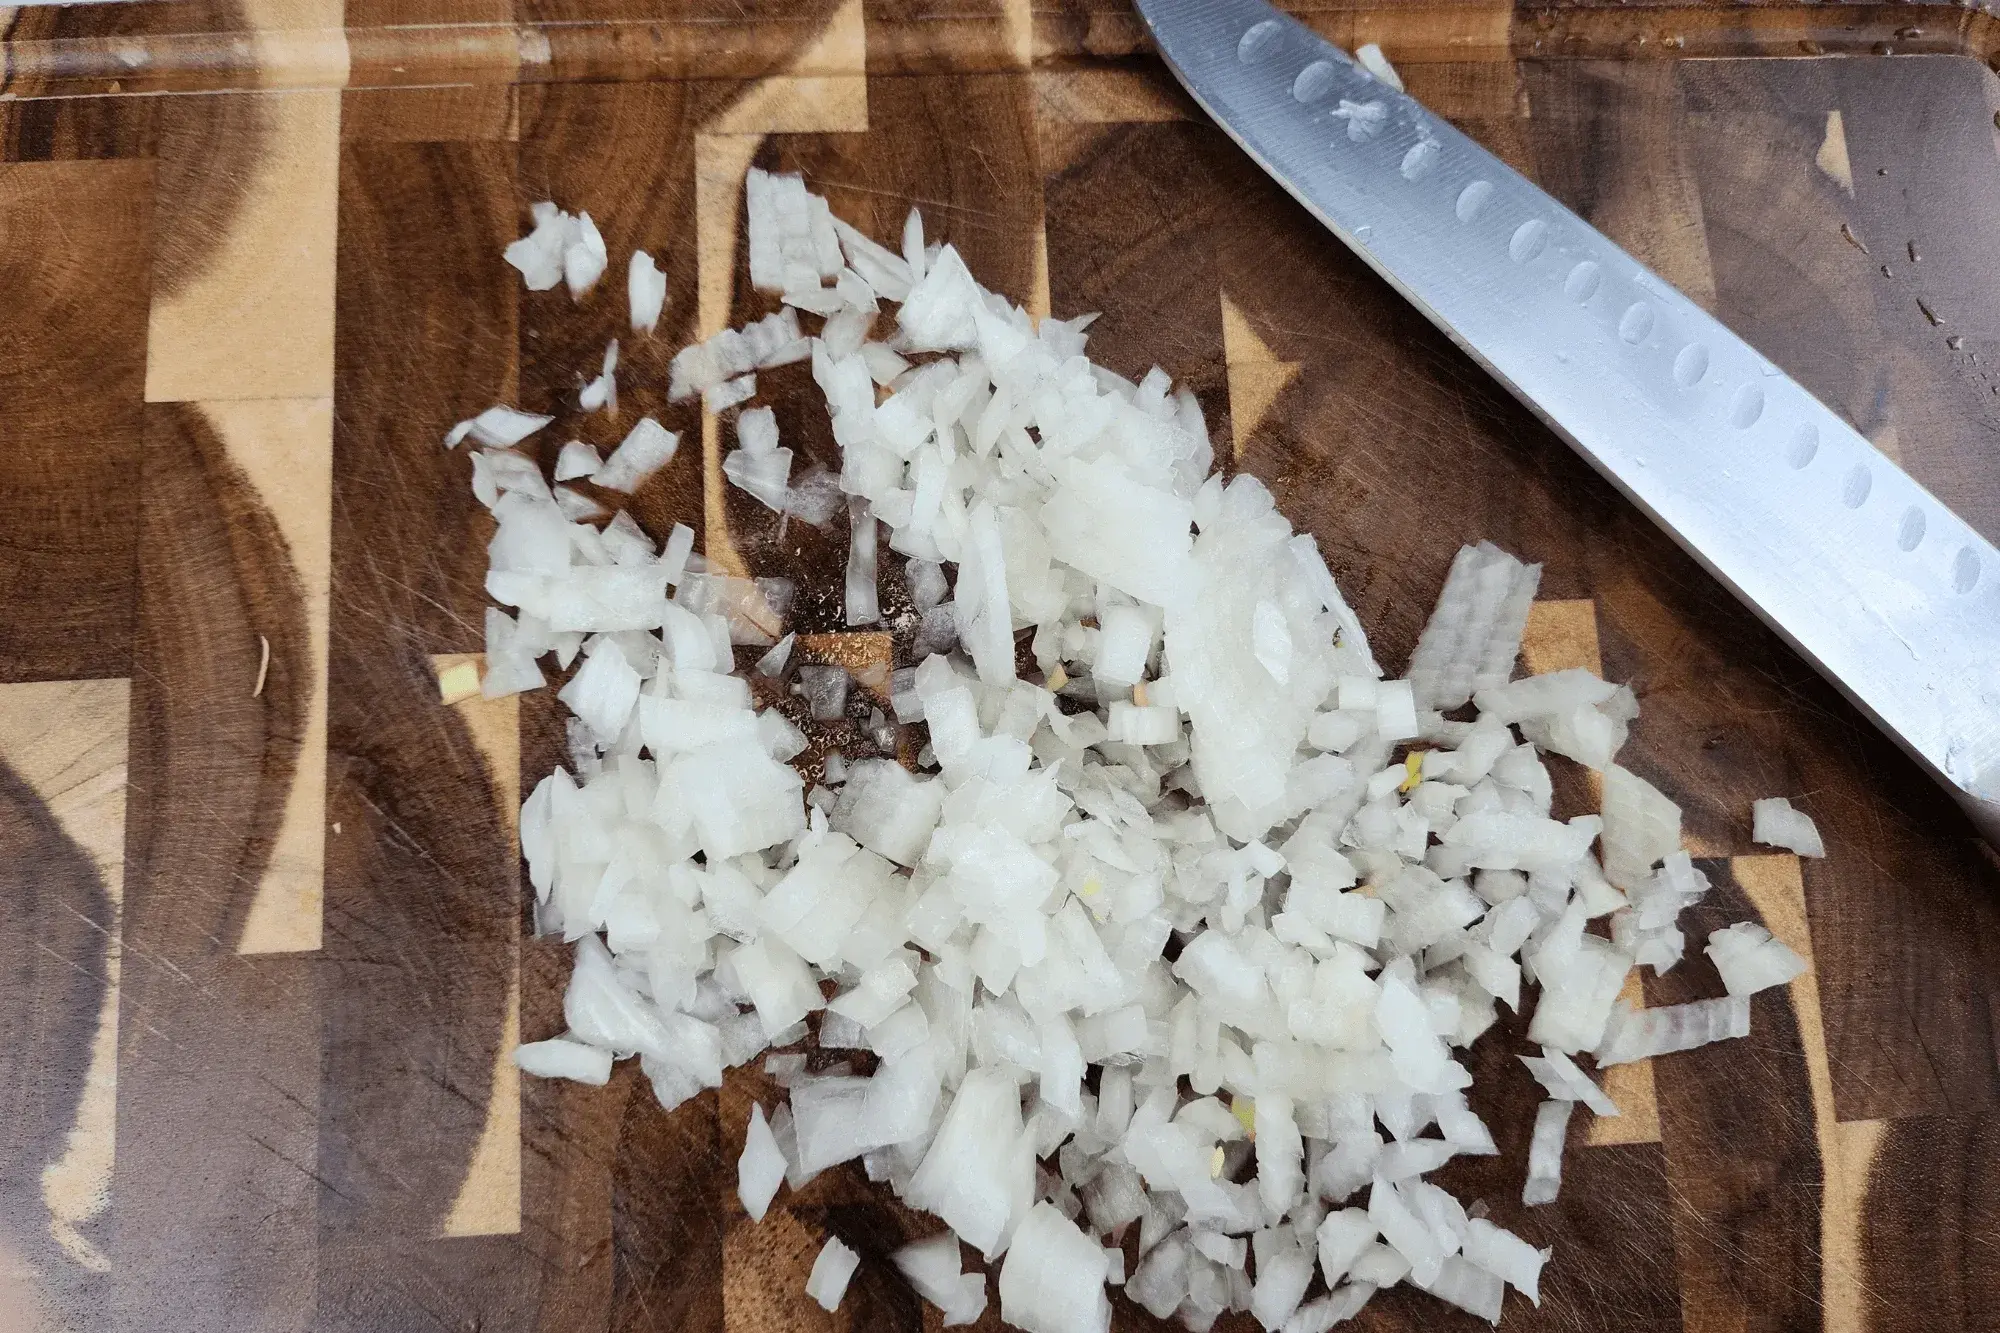
Mince the onion into small pieces to release its natural sweetness.
-
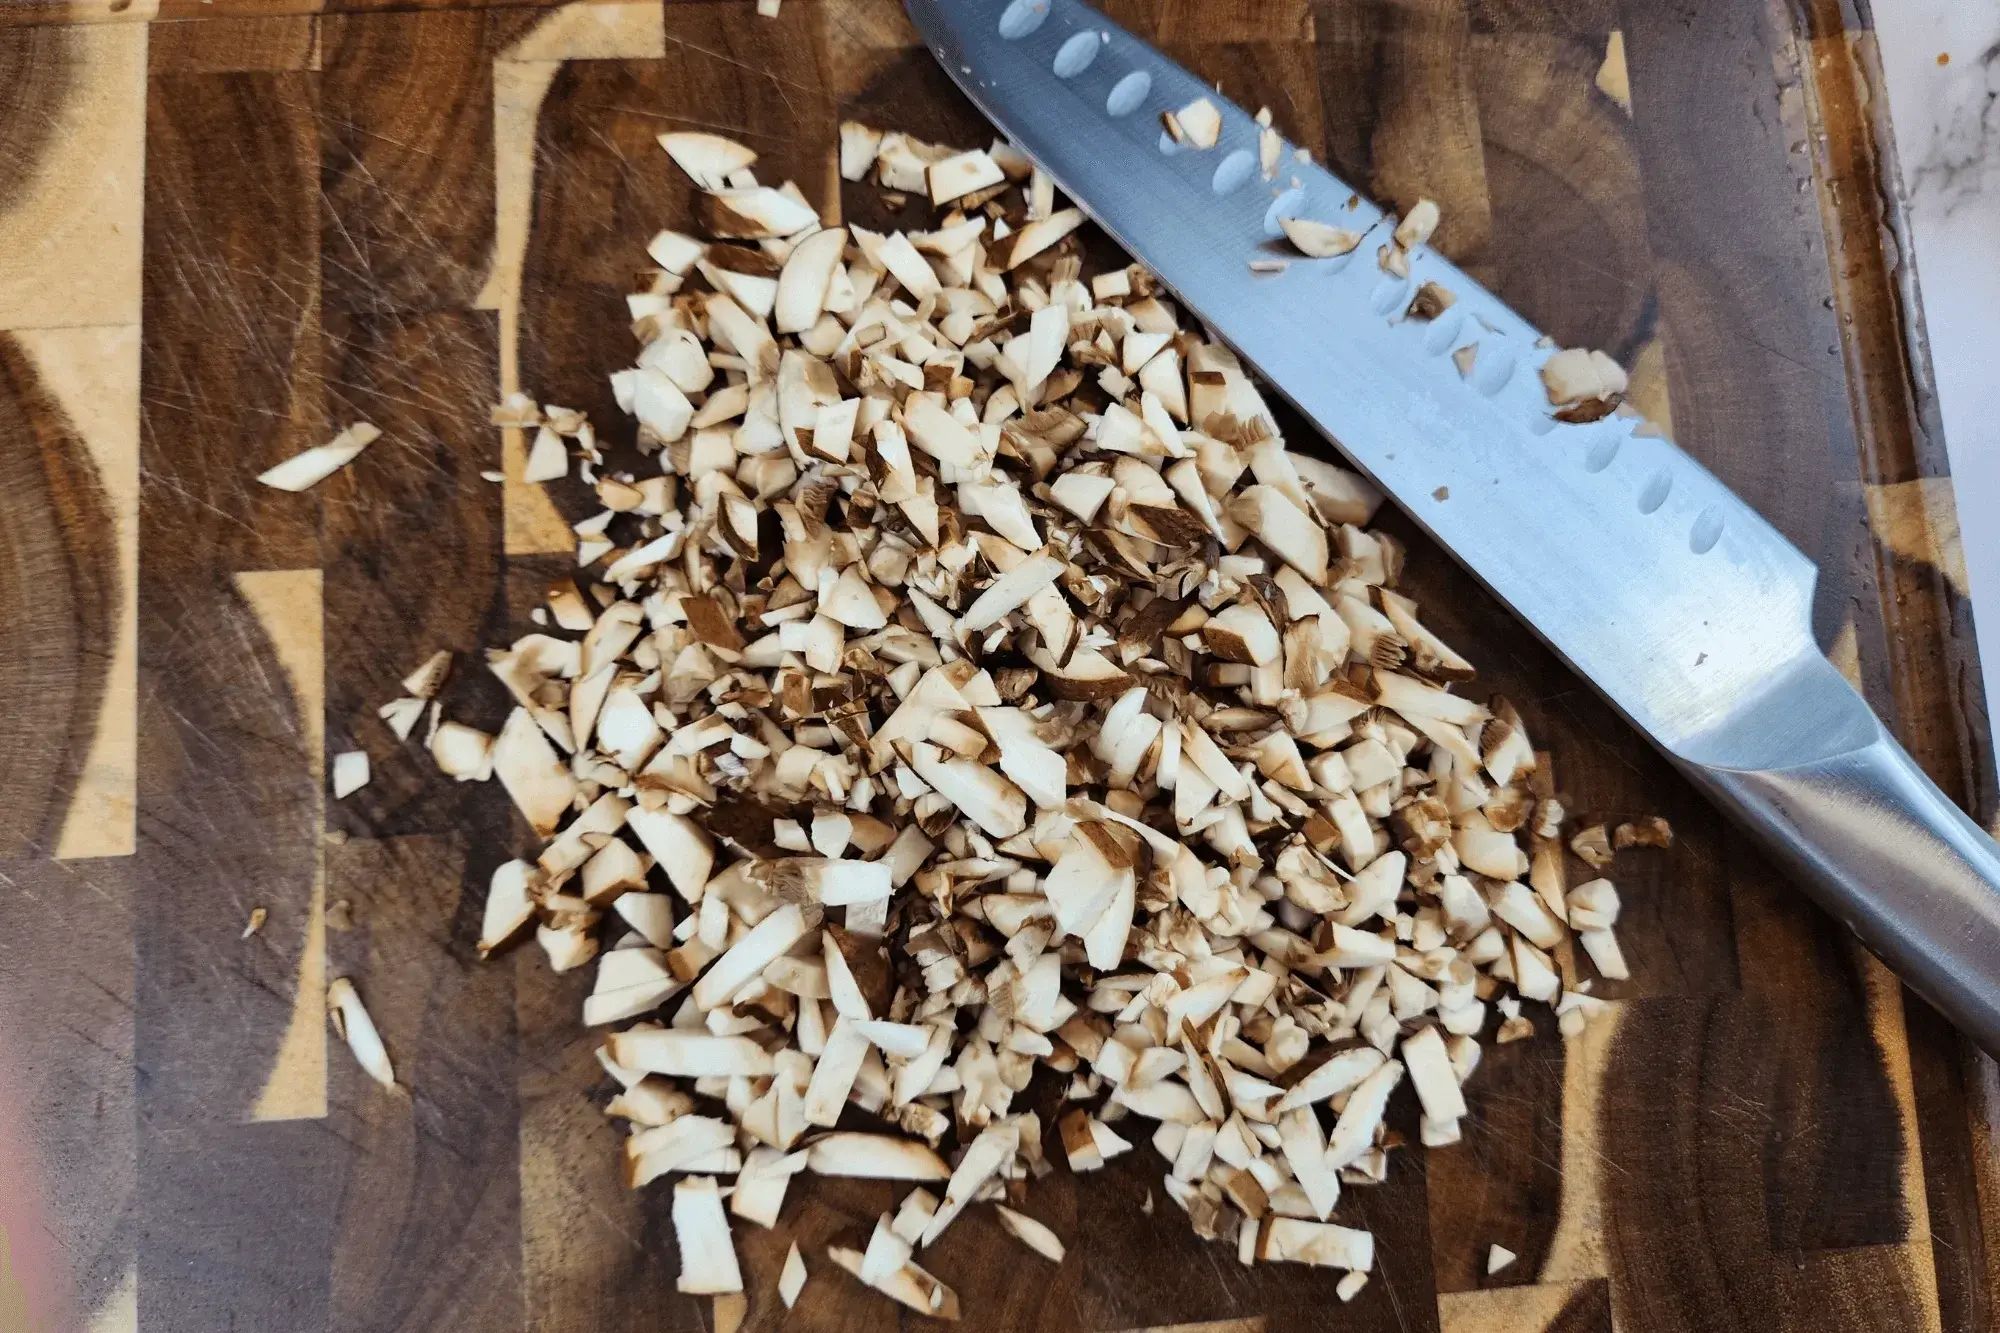
Finely mince mushroom to enhance their meaty and umami-rich texture.
-
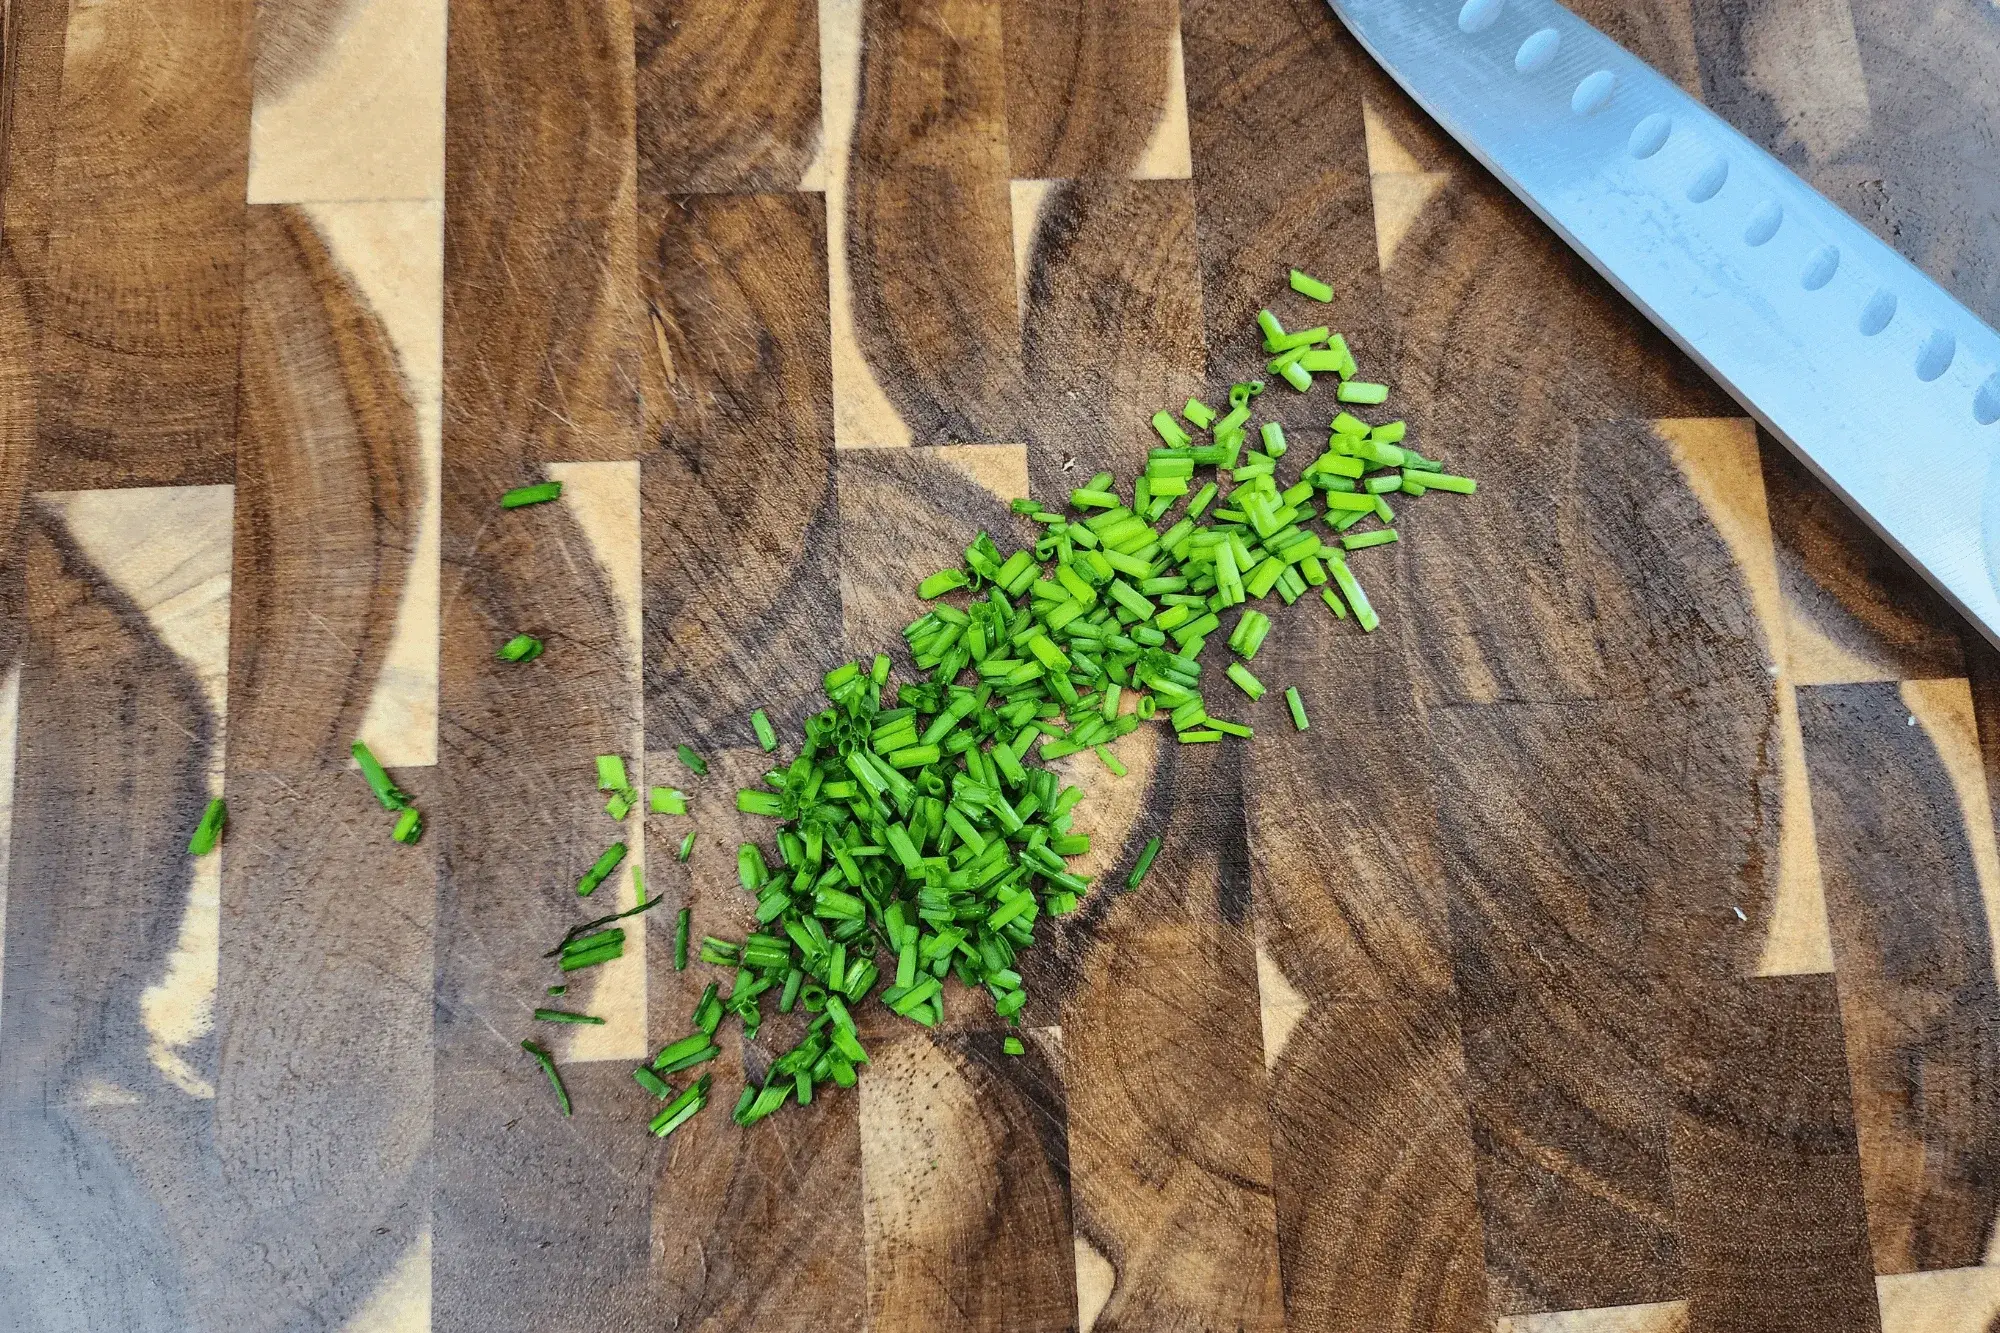
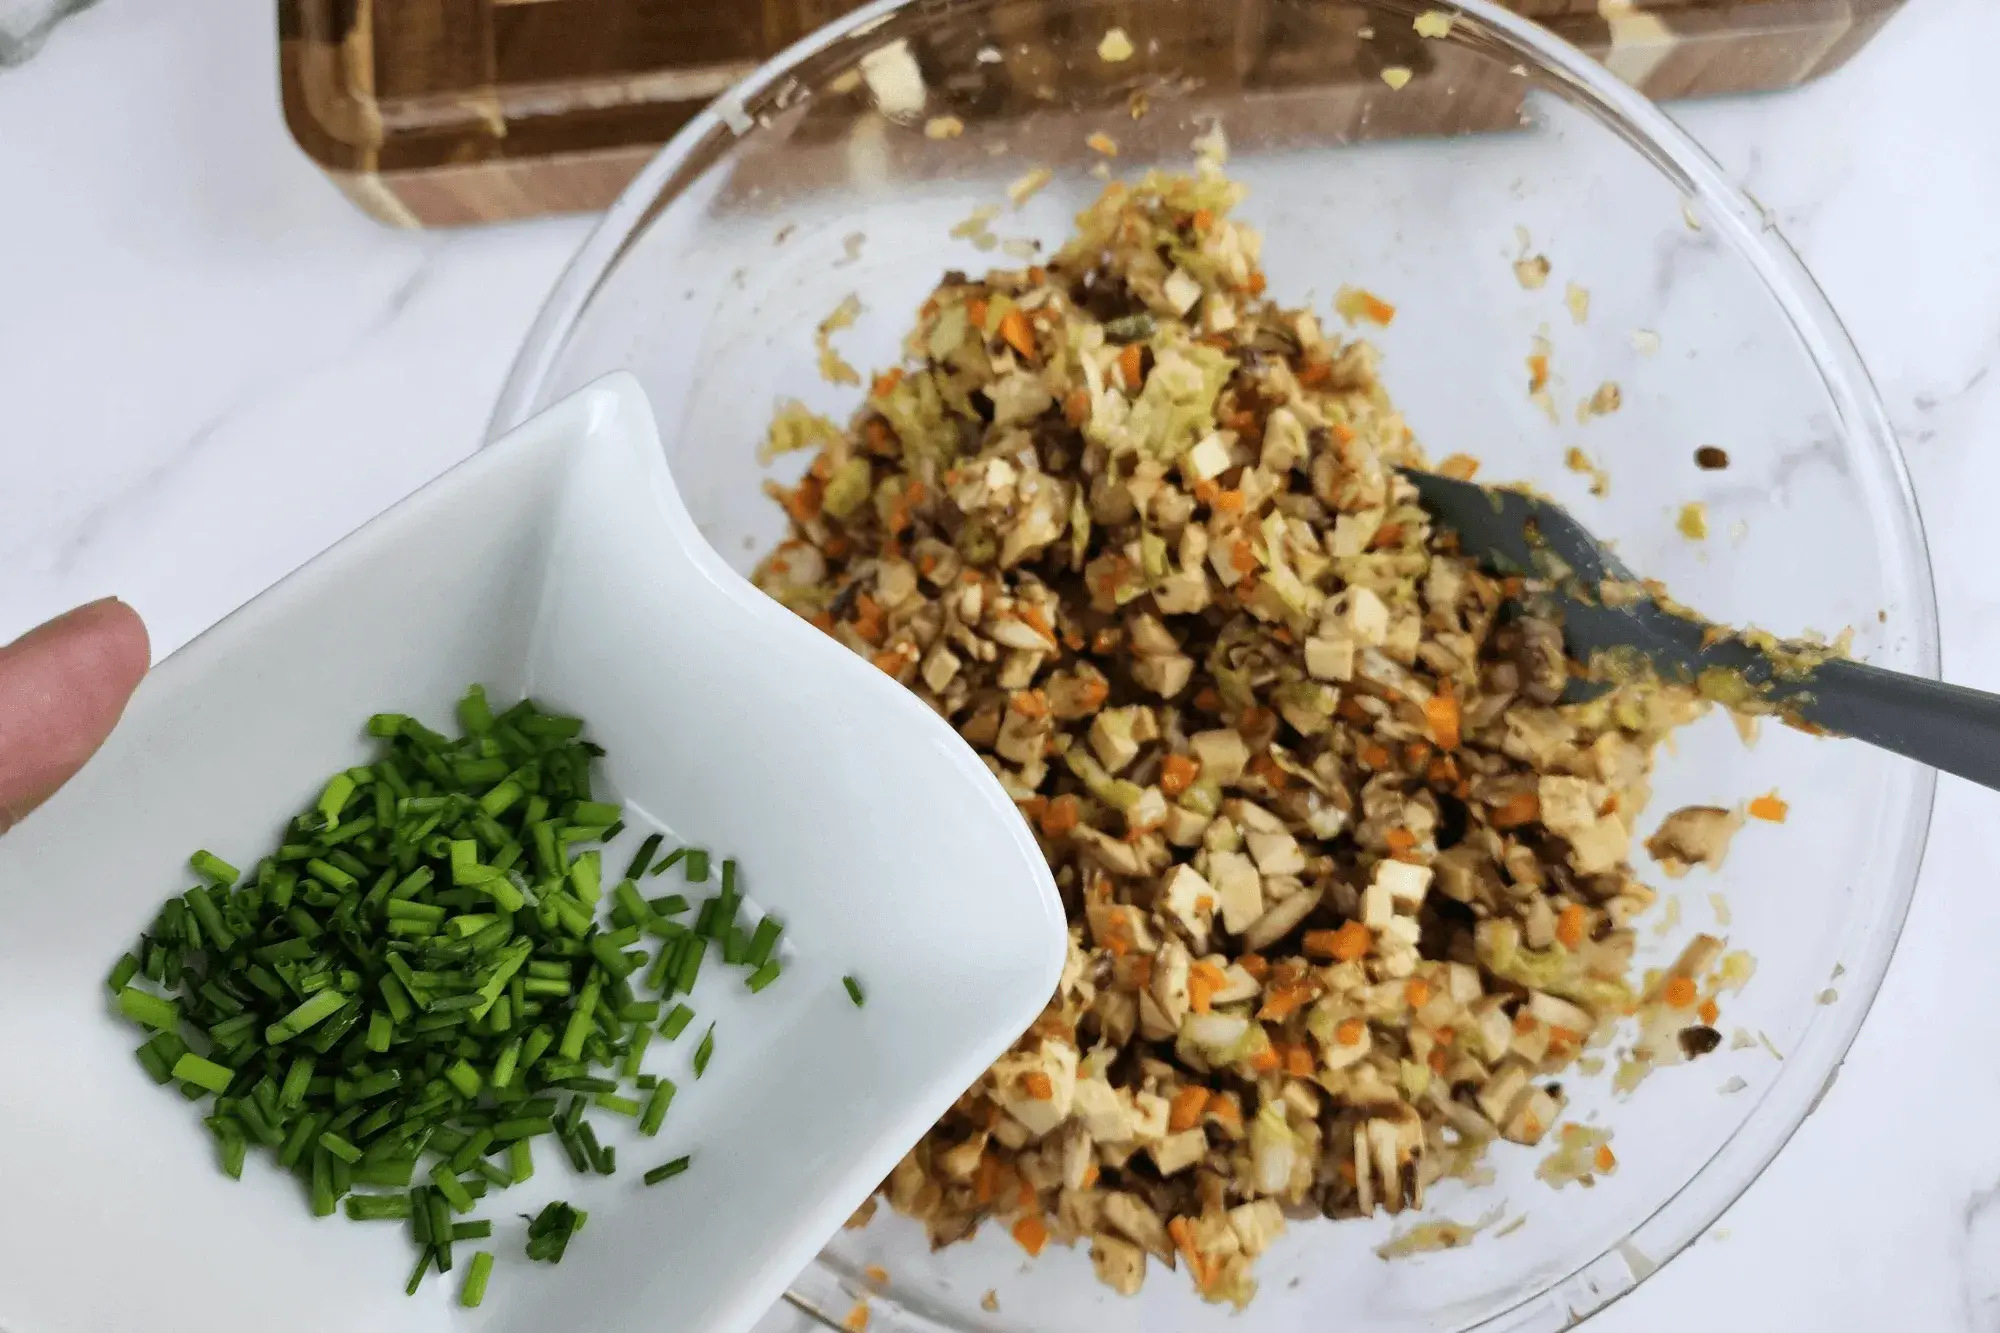
Chop finely spring onions to add a fresh, aromatic flavor.
-
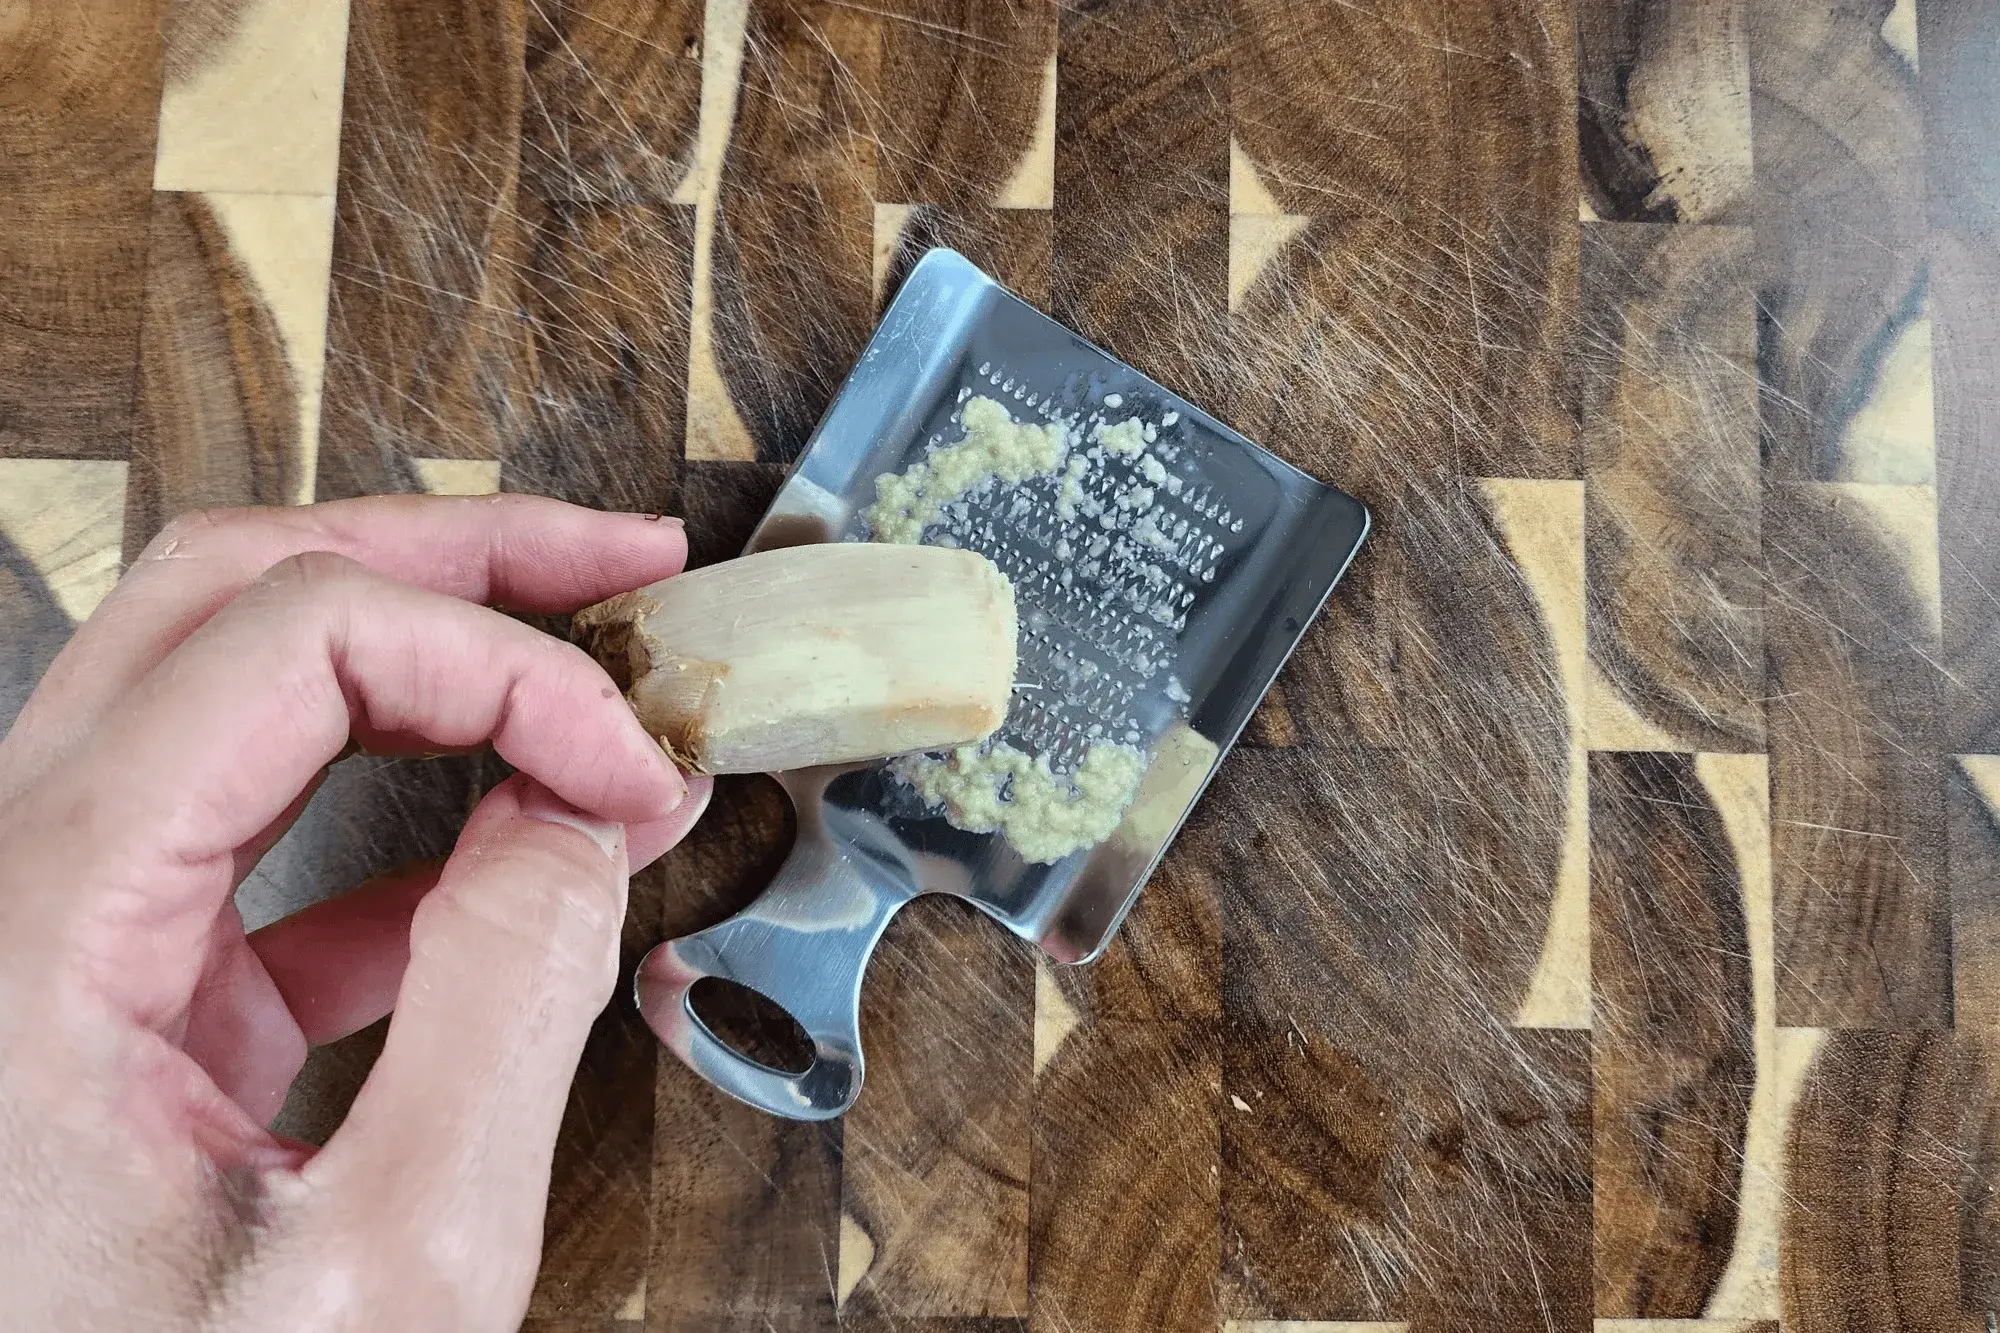
Mince or grate ginger for a fragrant and spicy kick.
-
-
Combine the Ingredients:
-
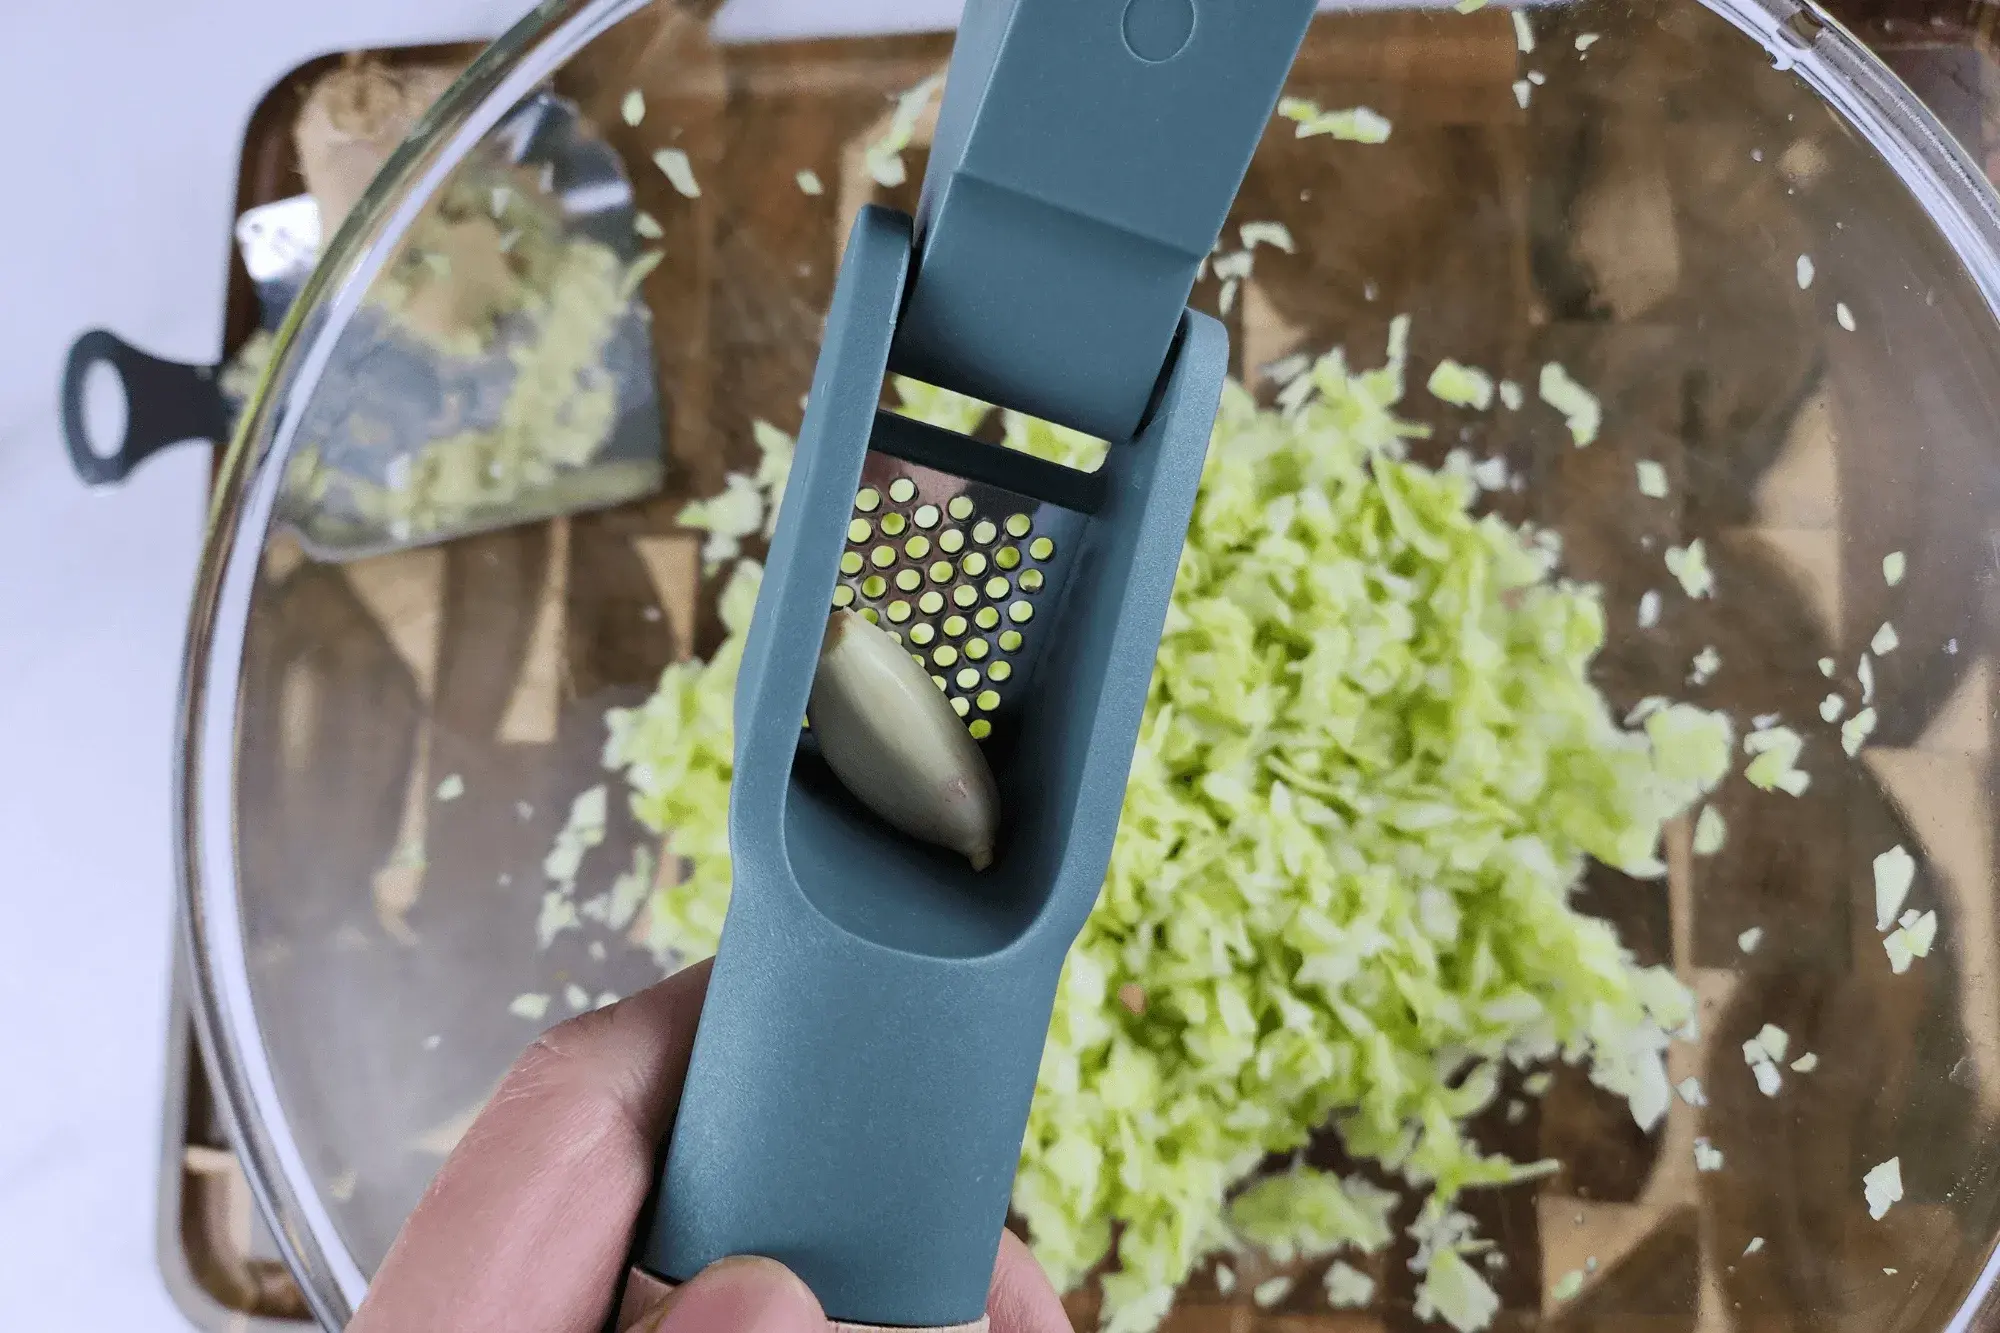
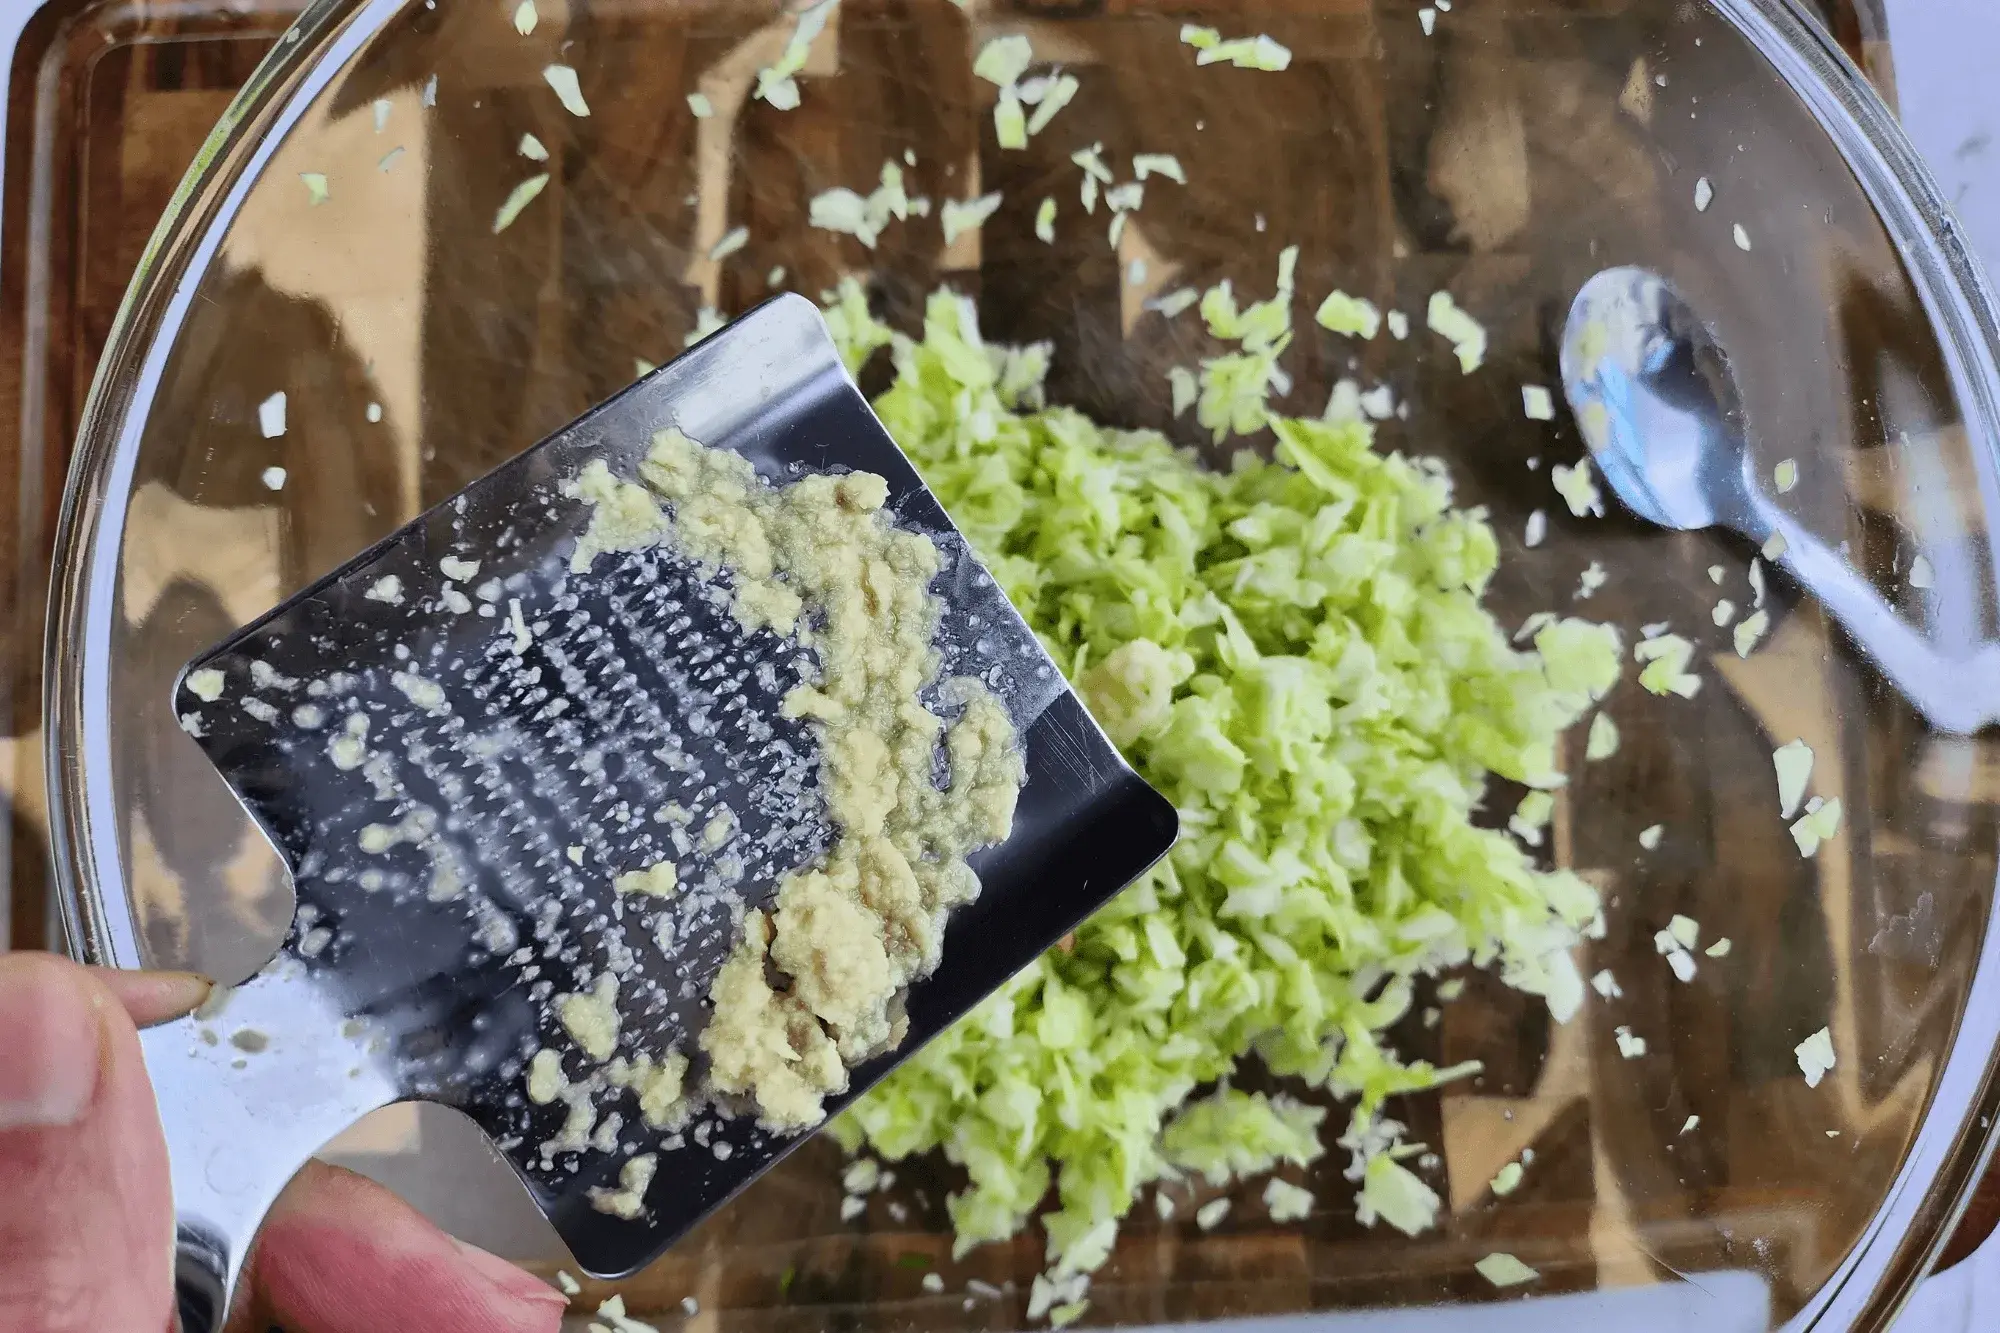
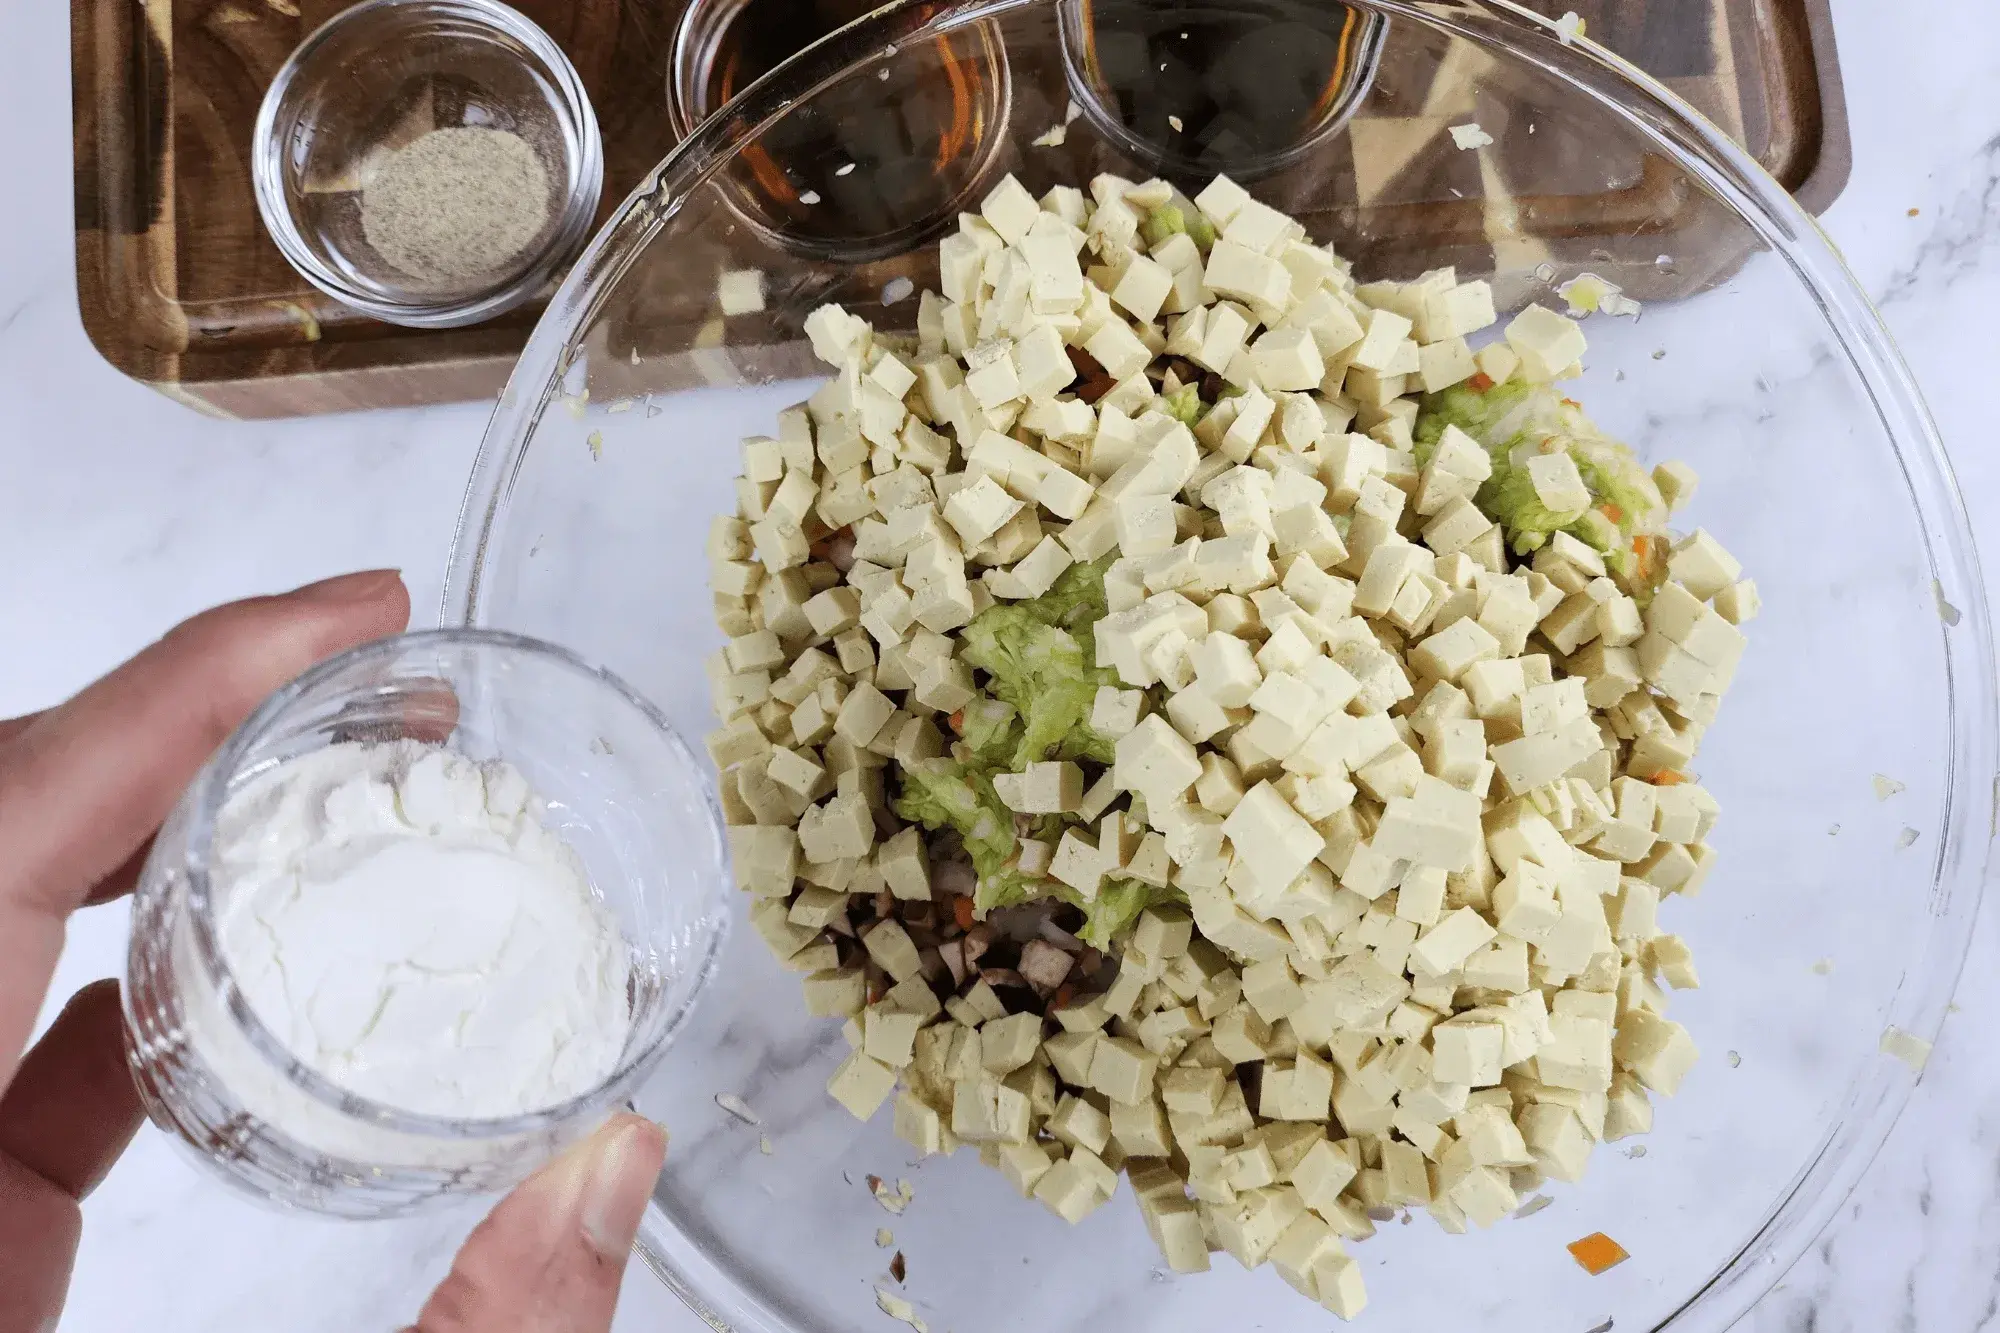
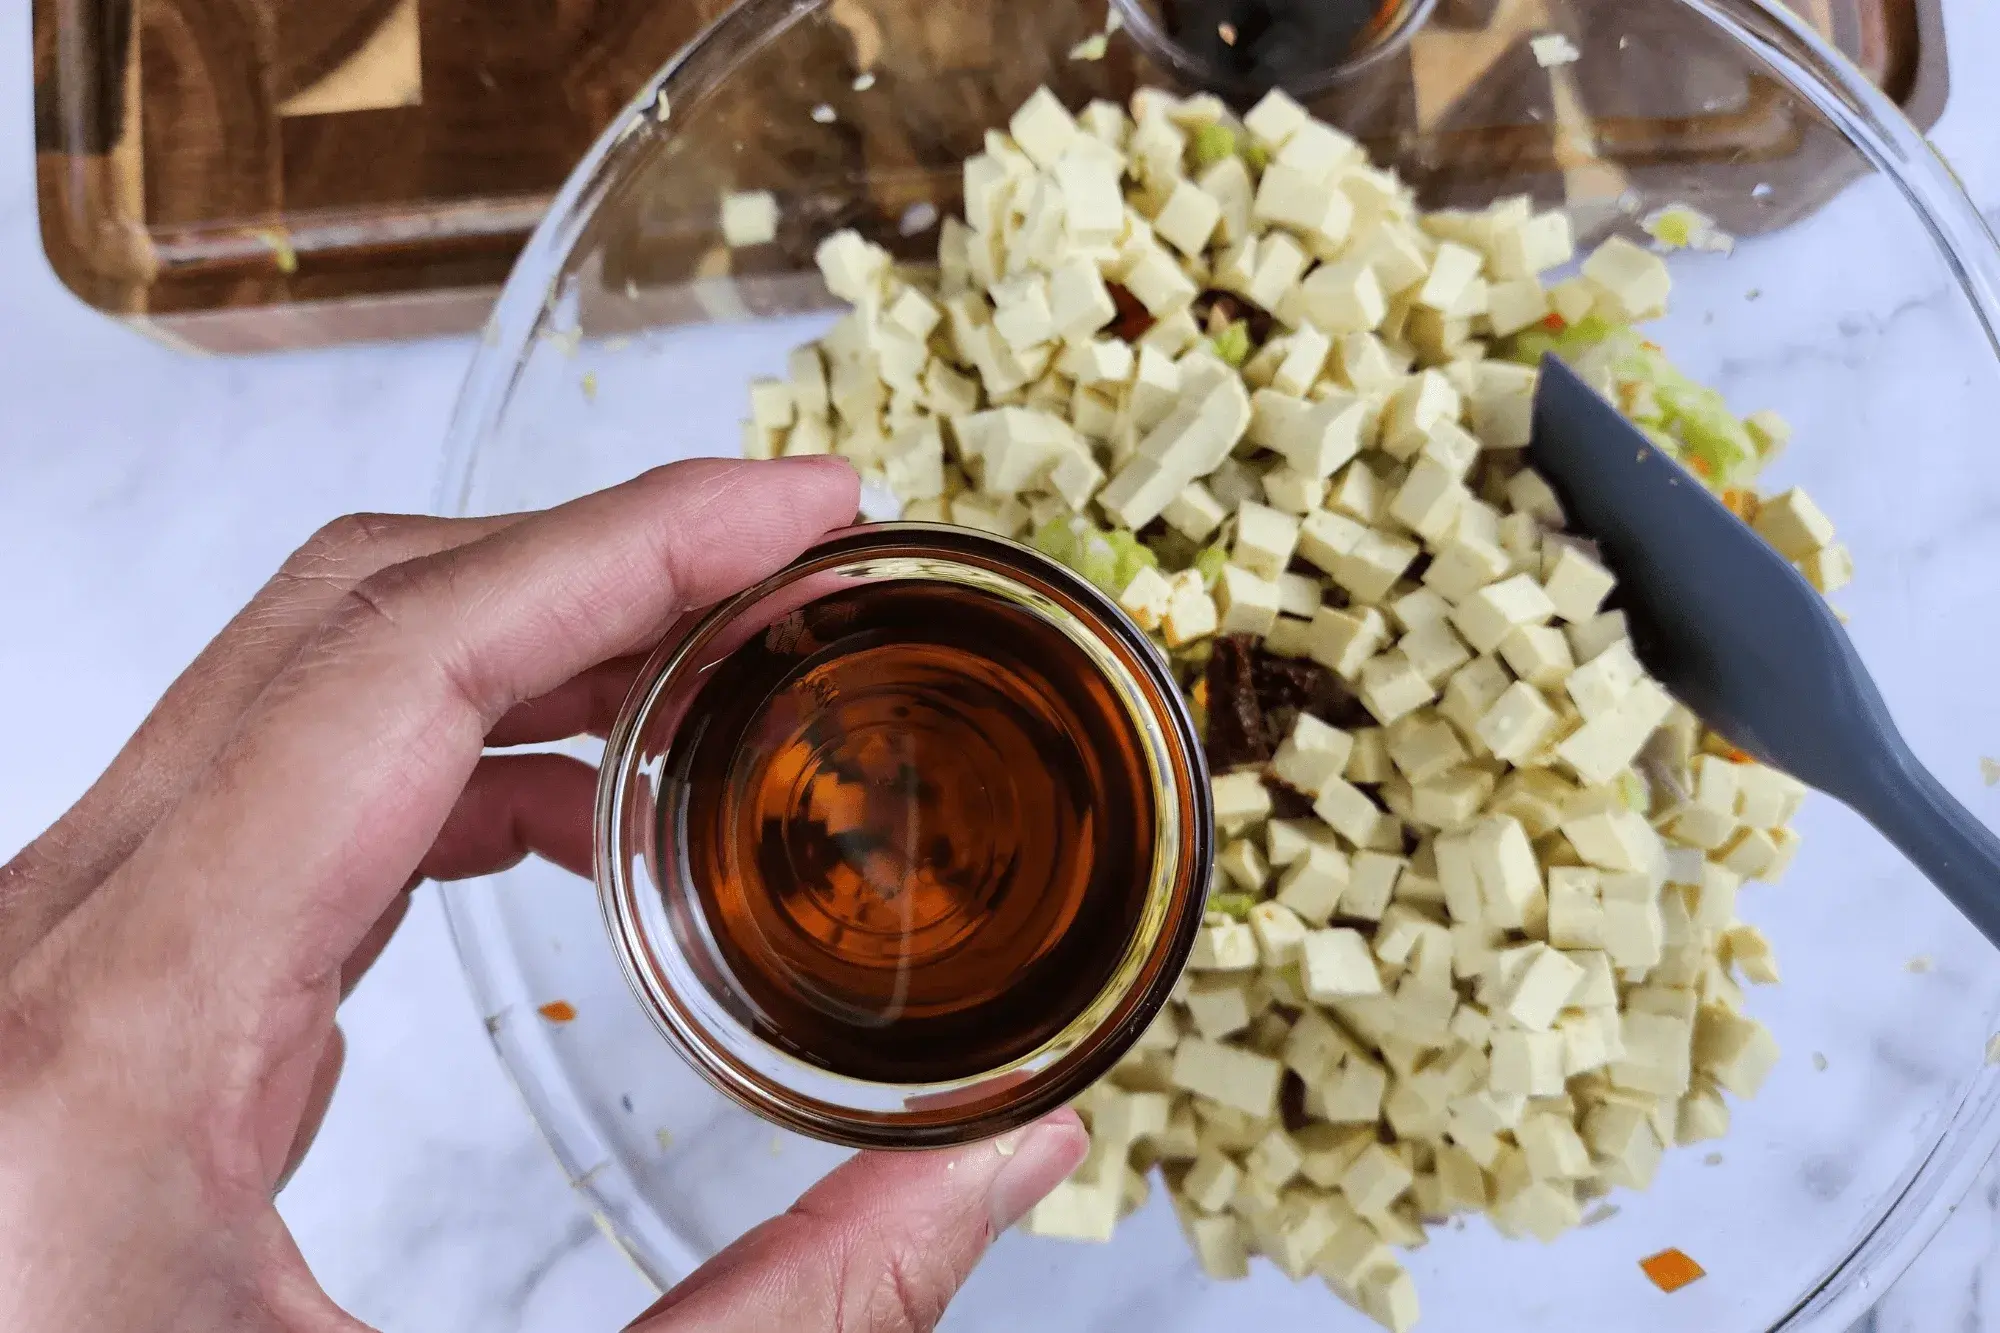
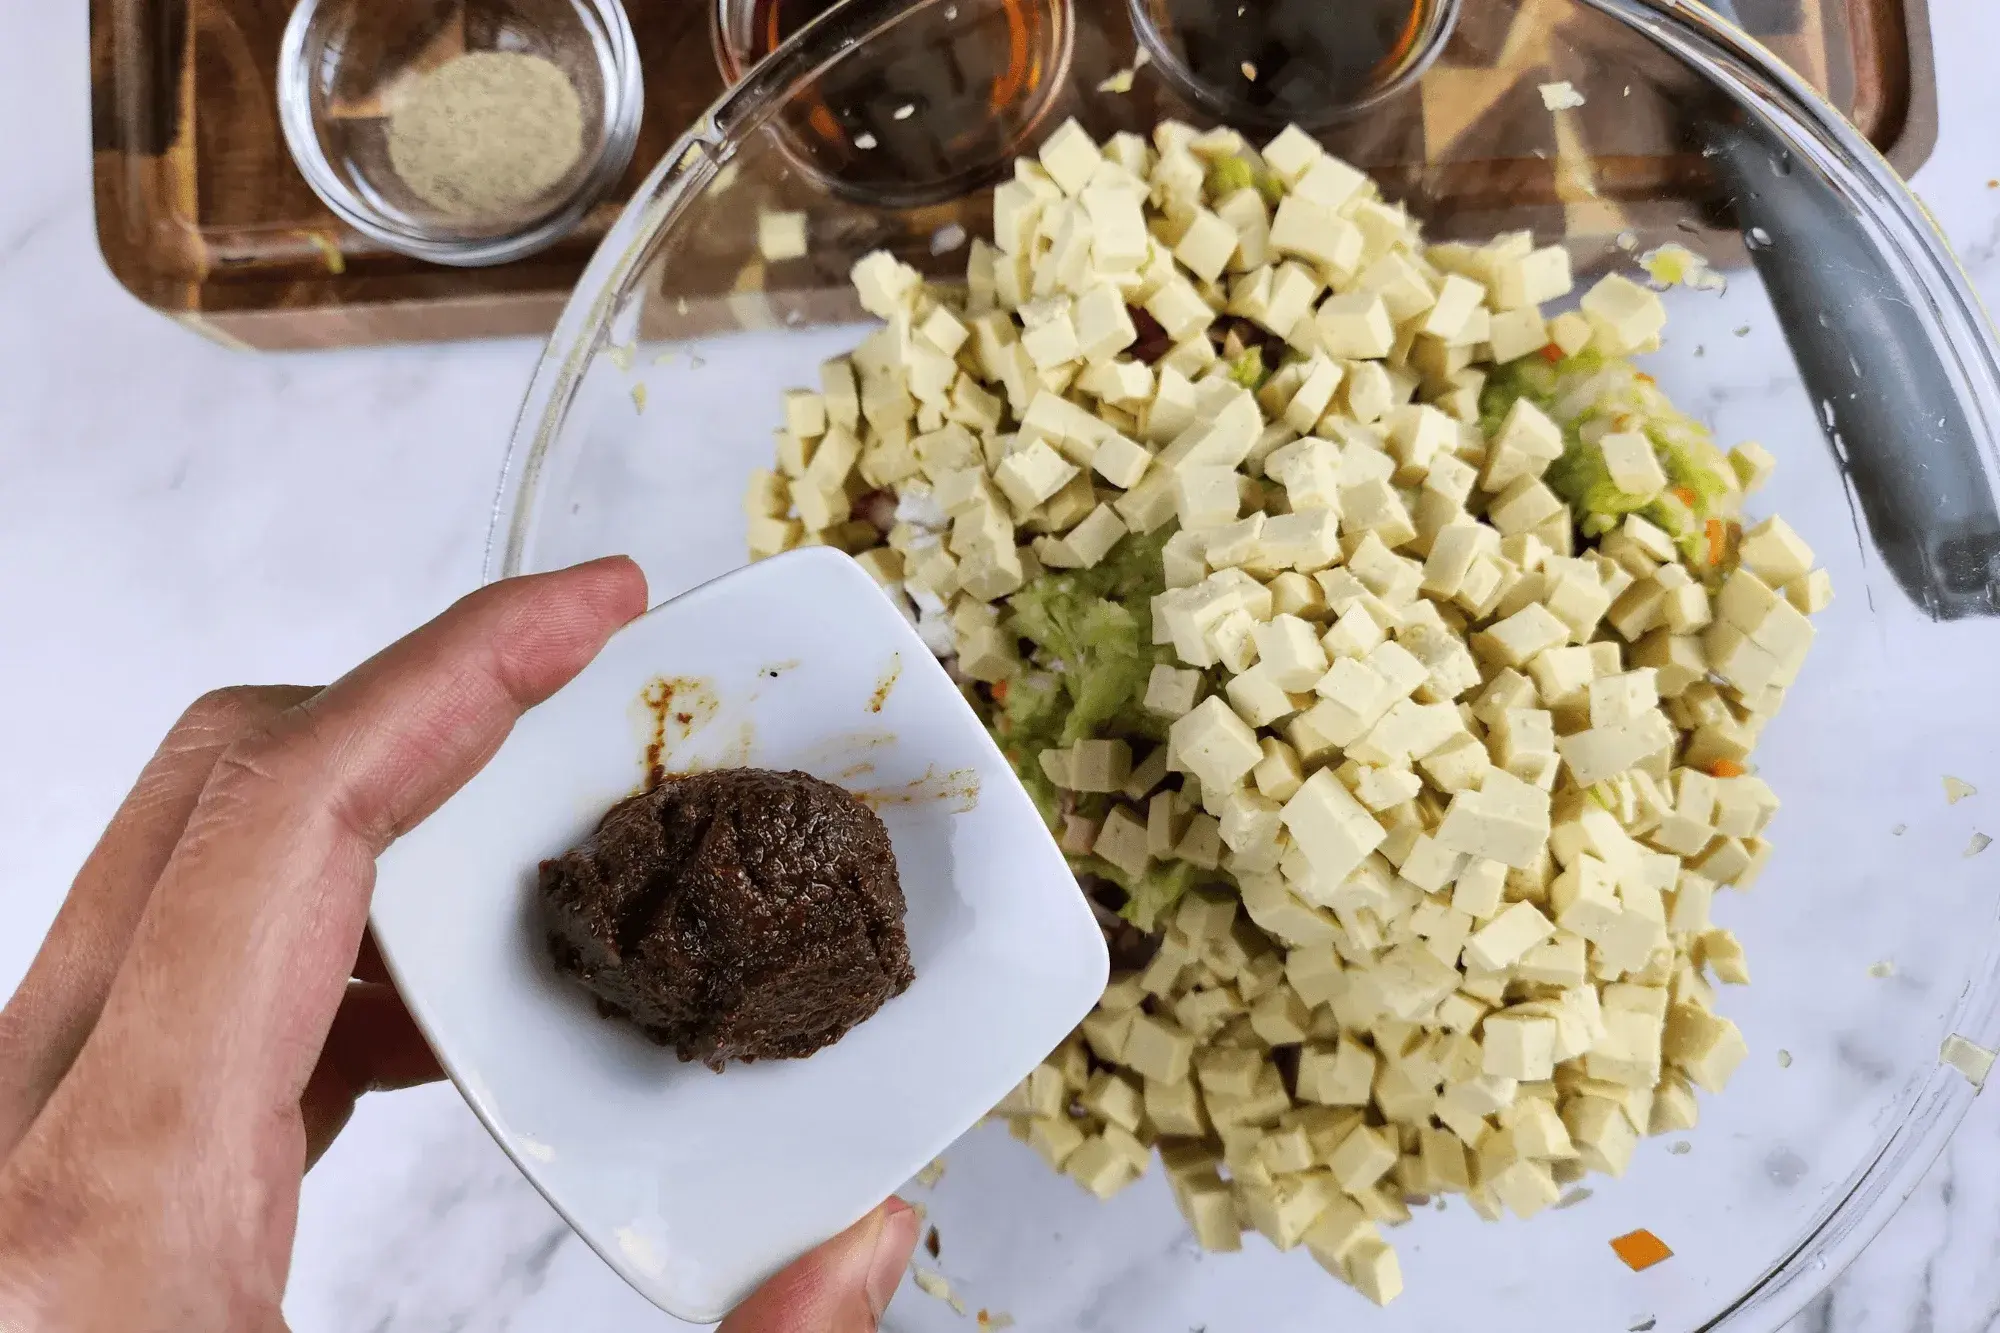
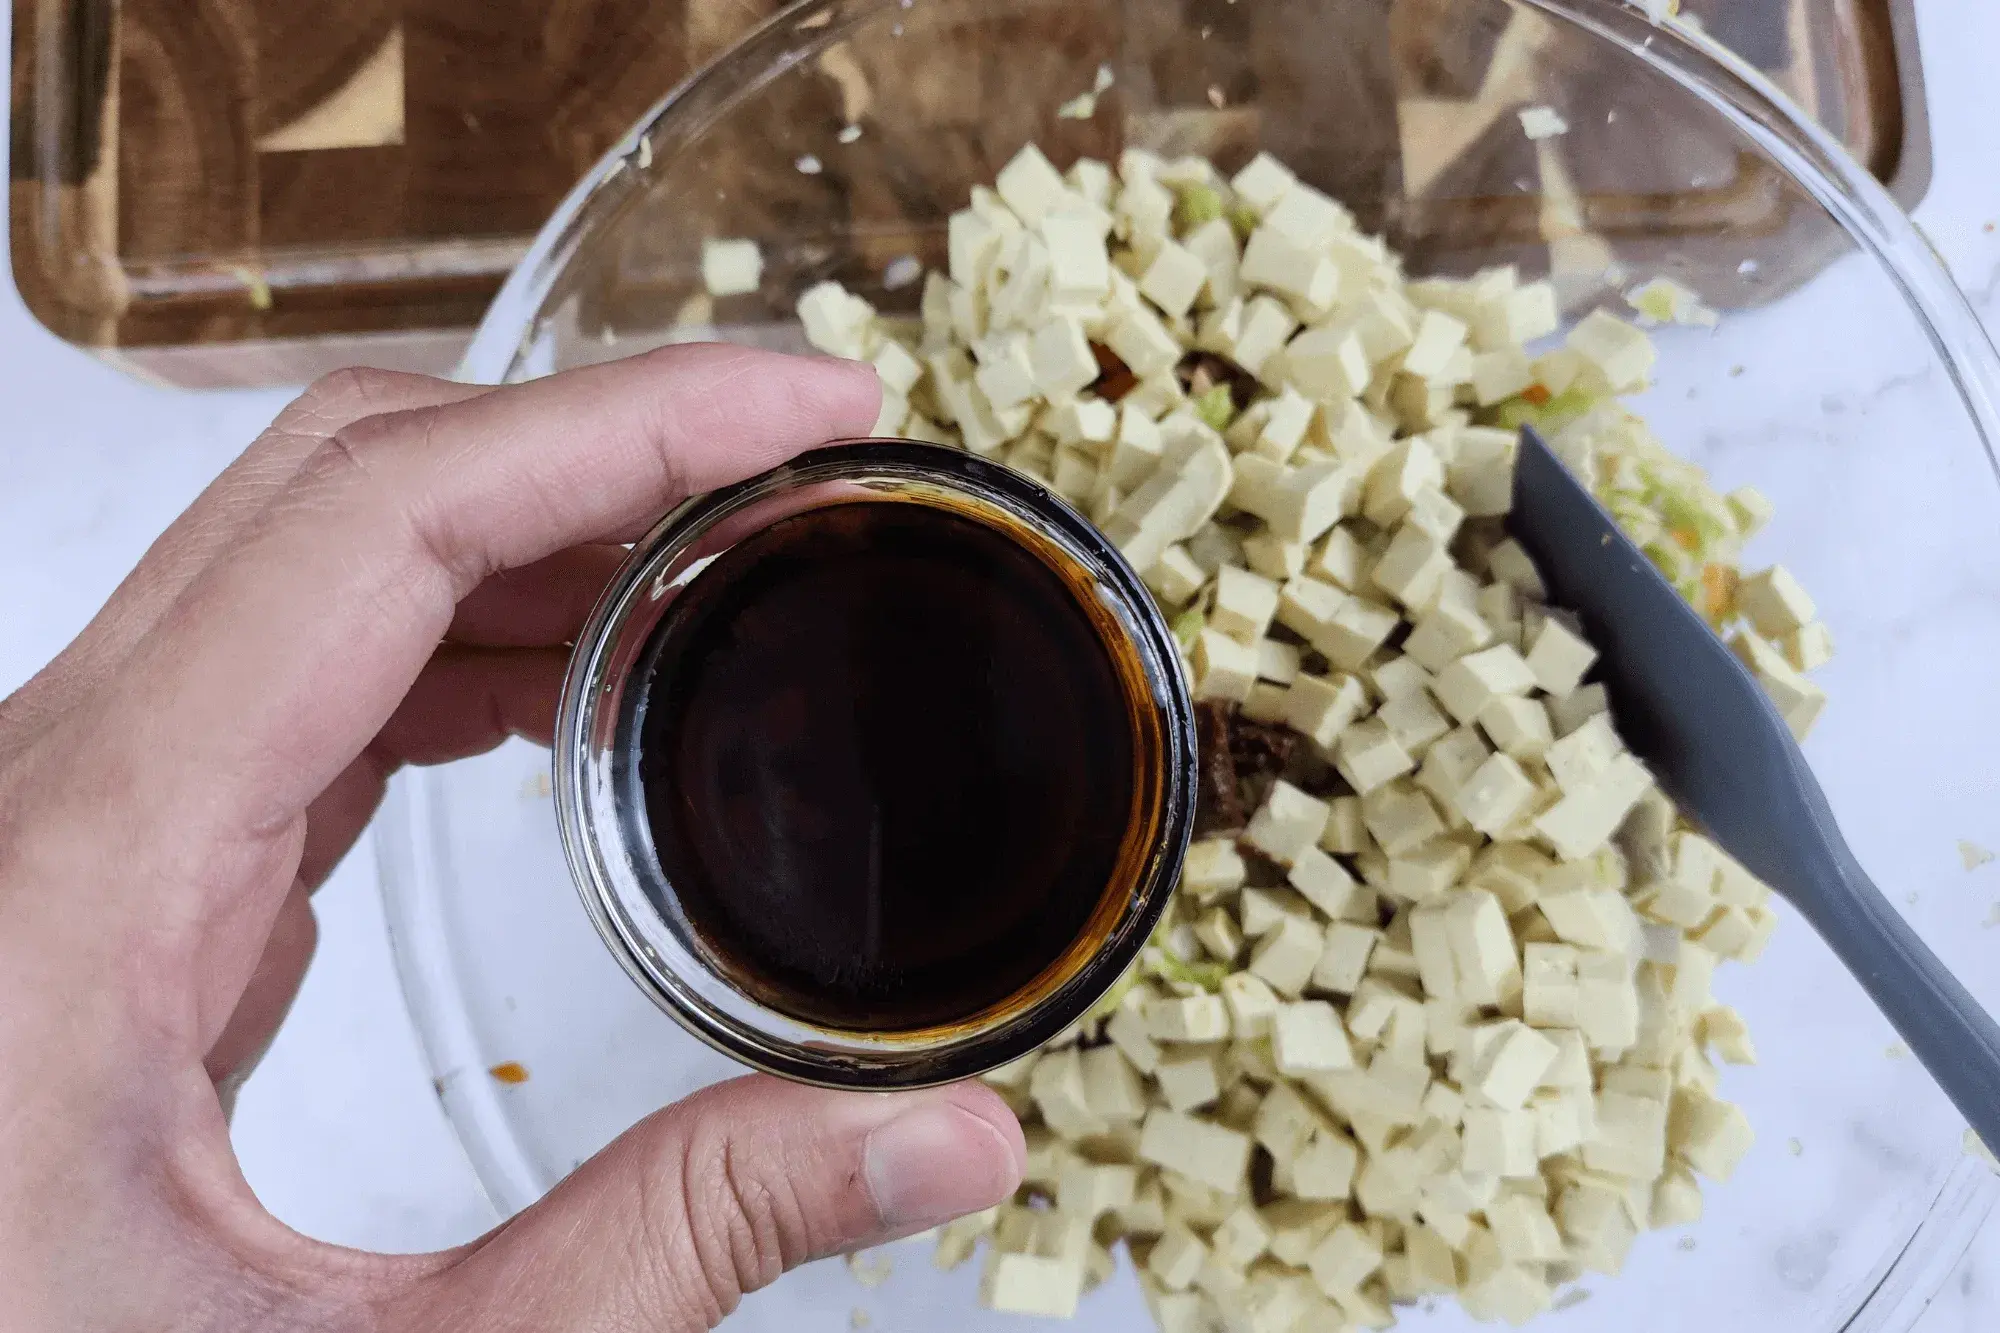
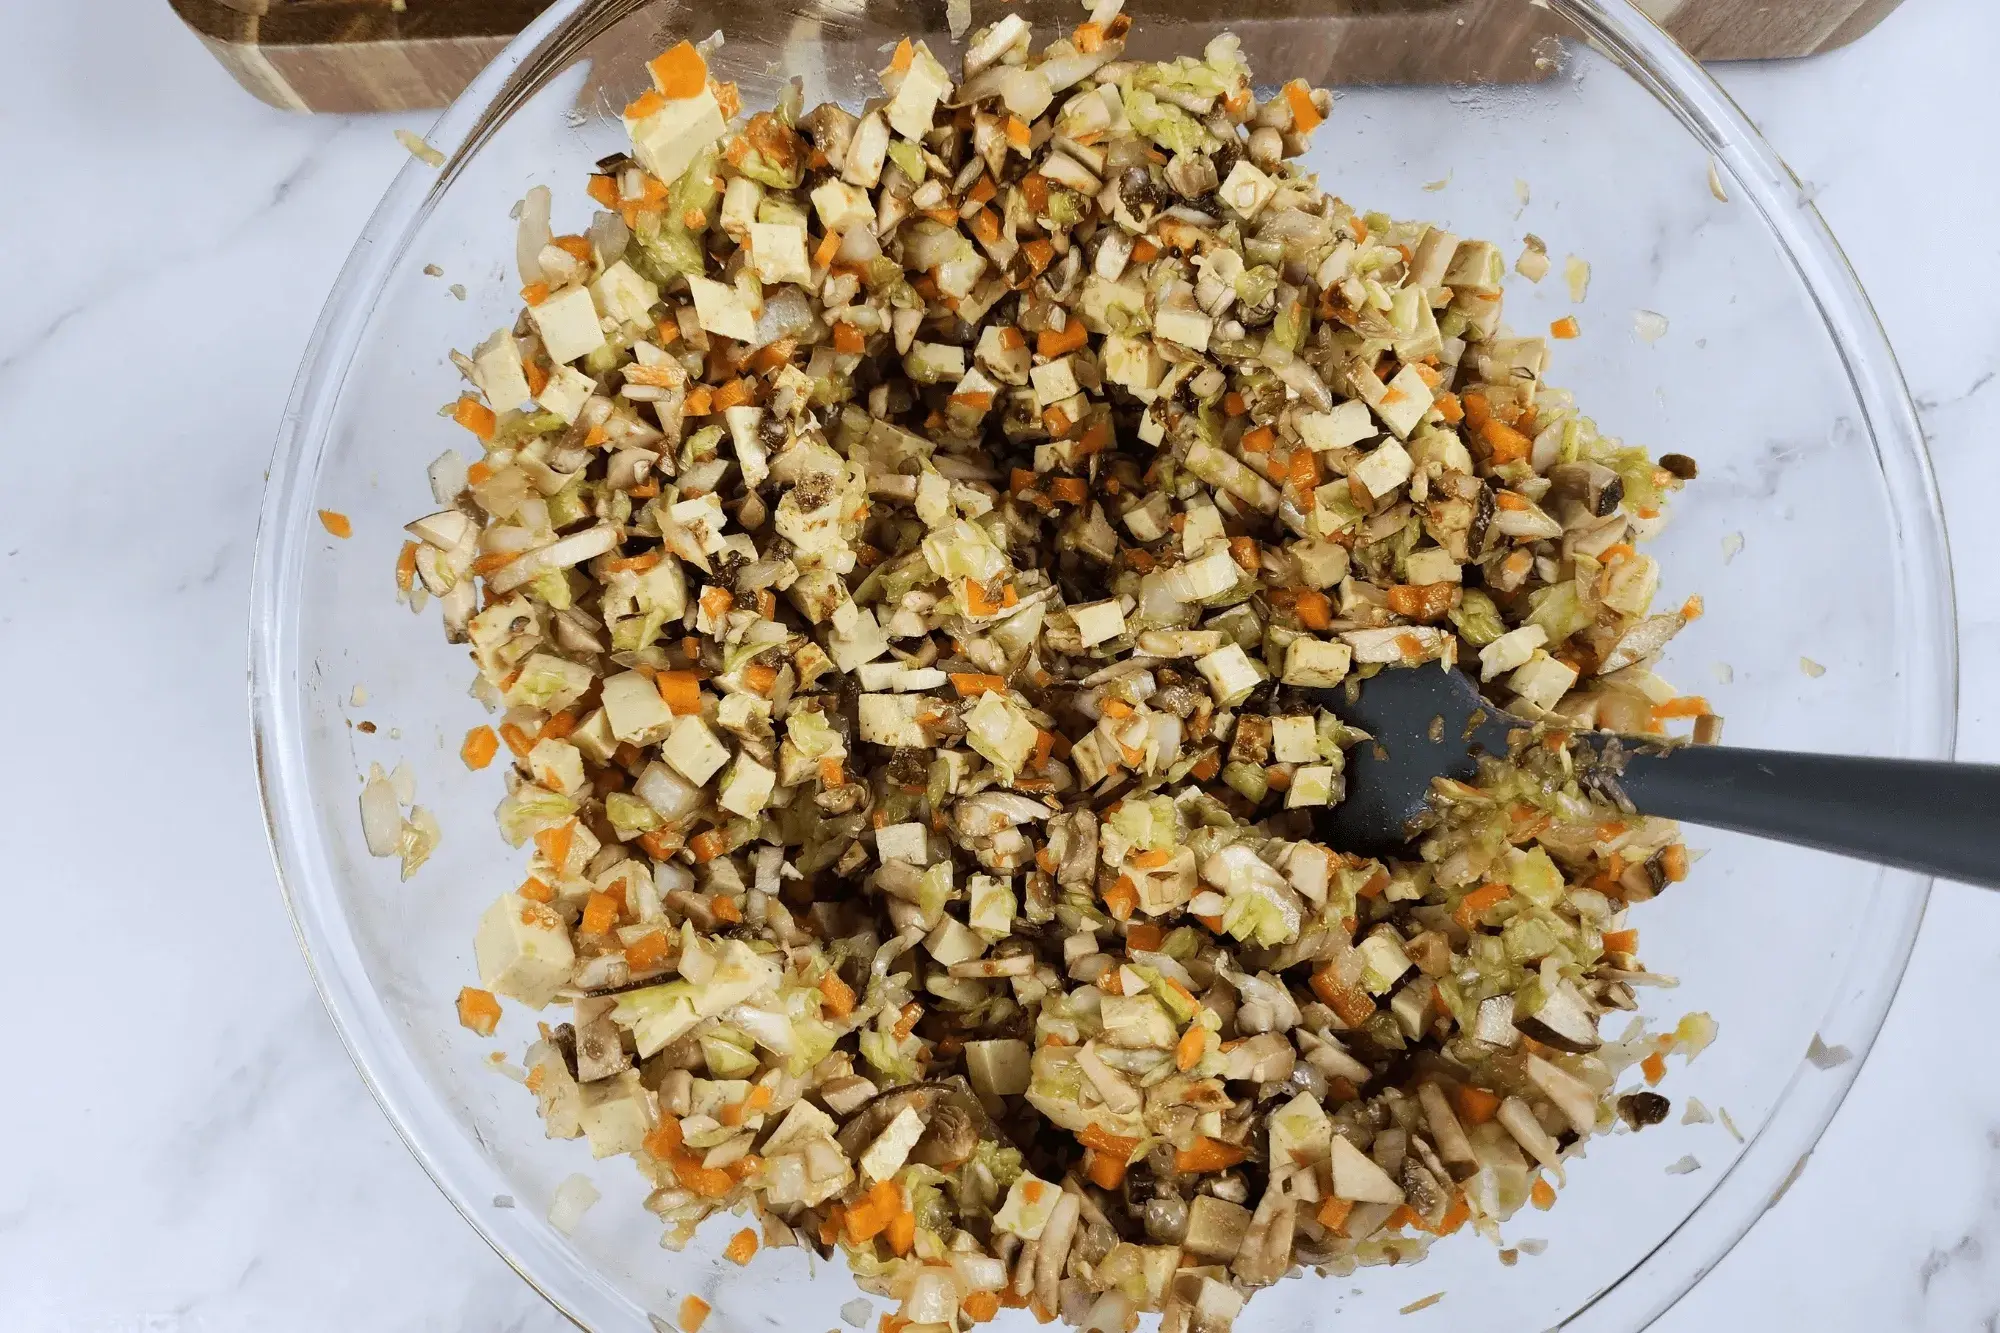
In a large mixing bowl, add: cabbage, minced garlic, grated ginger, onion, carrots, mushrooms, and chopped tofu.
-
Add cornstarch (or potato starch) to help bind the mixture.
-
Add soy sauce, dark miso paste, toasted sesame oil, sea salt, and white pepper powder for deep seasoning.
-
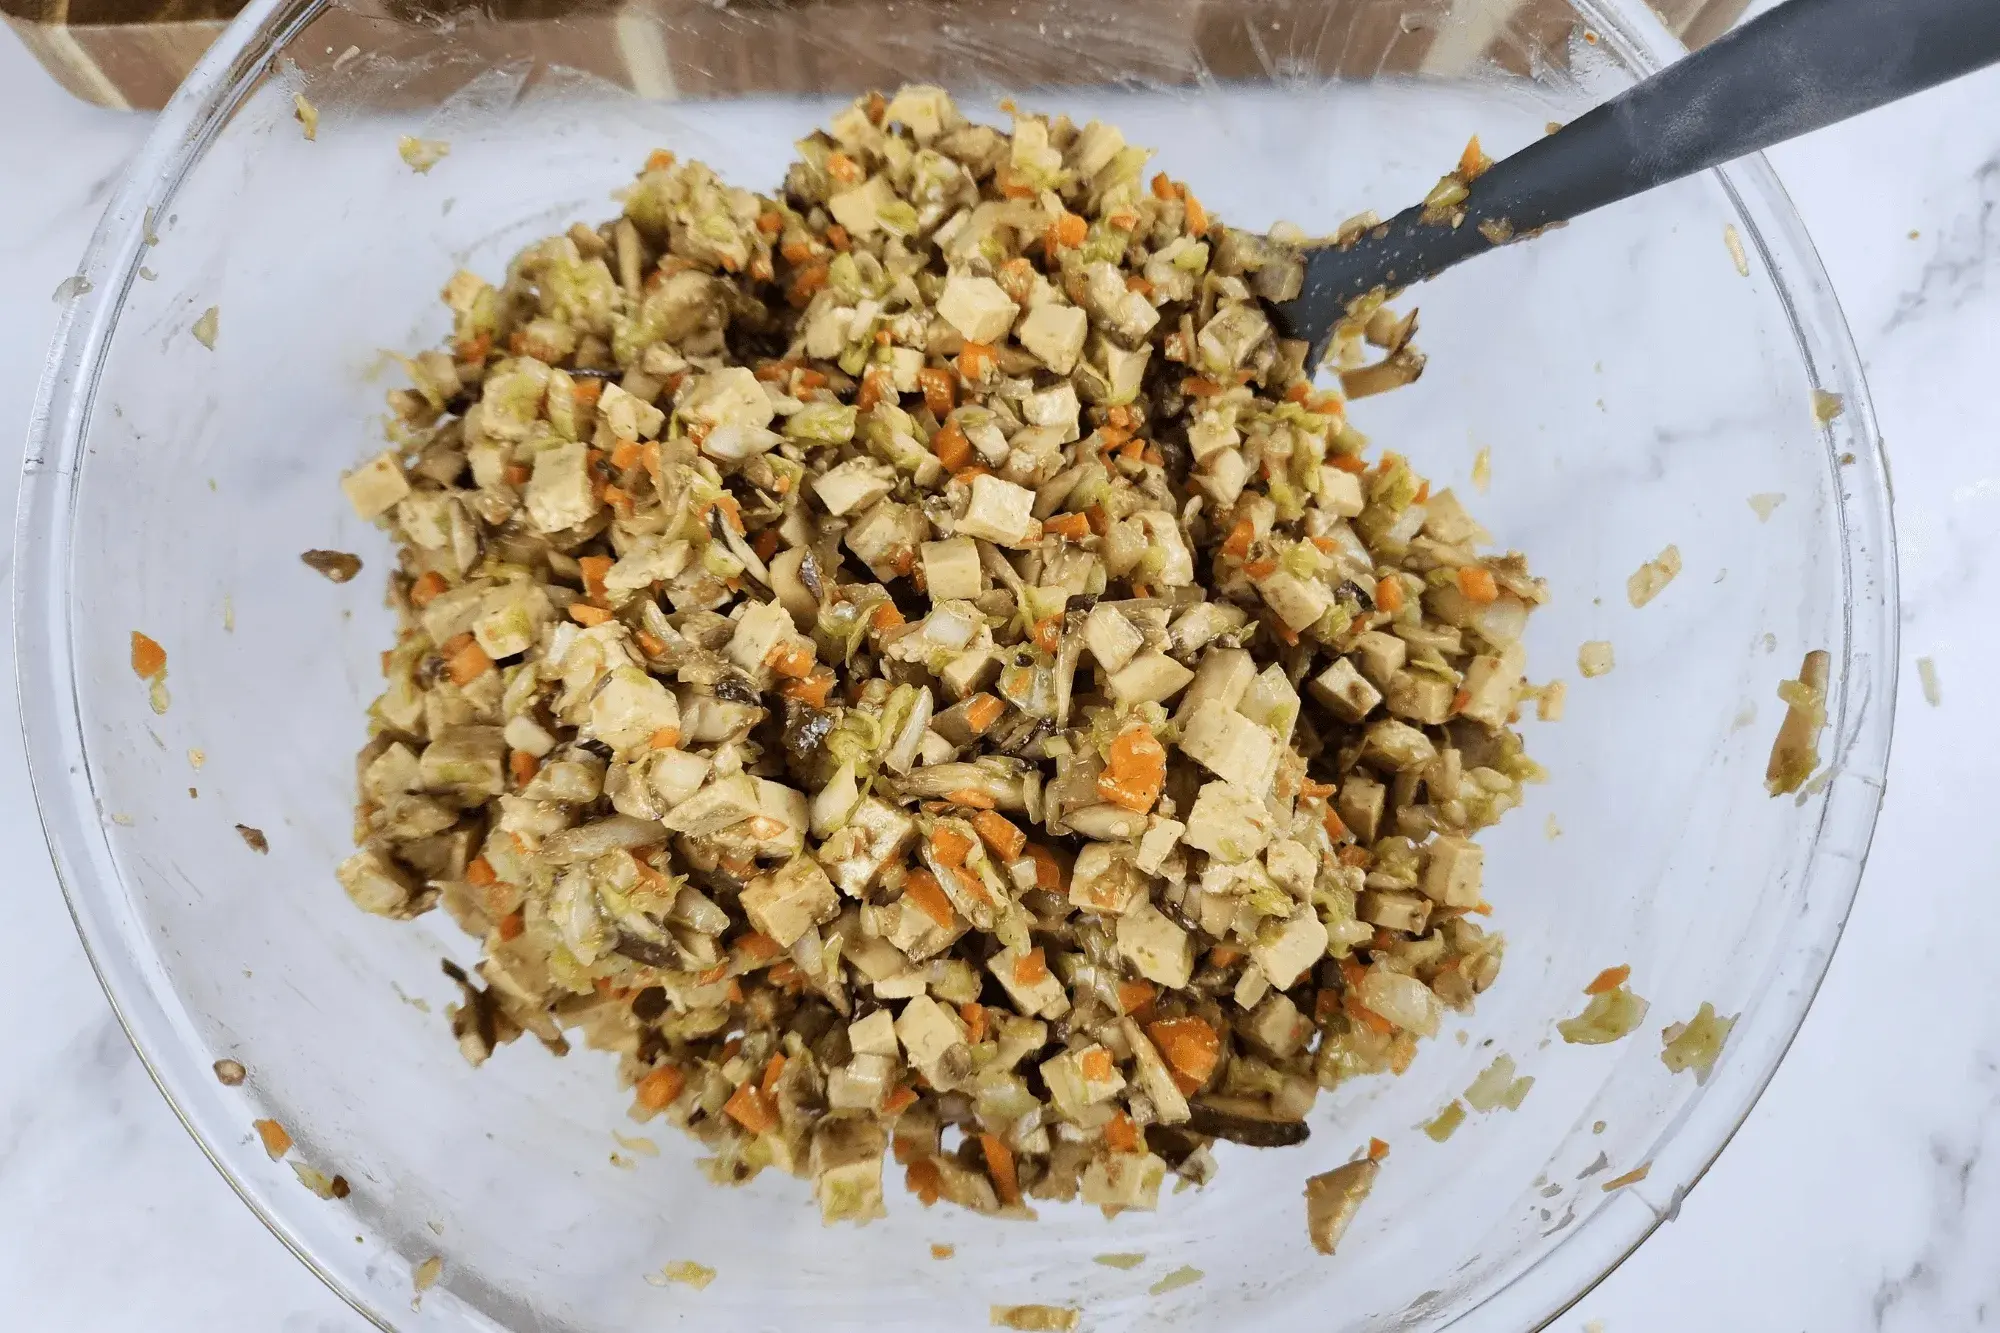
Mix the ingredients until well combined. The filling should be slightly sticky and well-seasoned, but not too wet. Then add spring onions and mix them well.
-
Let it sit for 15–20 minutes to allow the flavors to blend before wrapping.
-
-
How to Wrap Vegetable Gyoza :
-
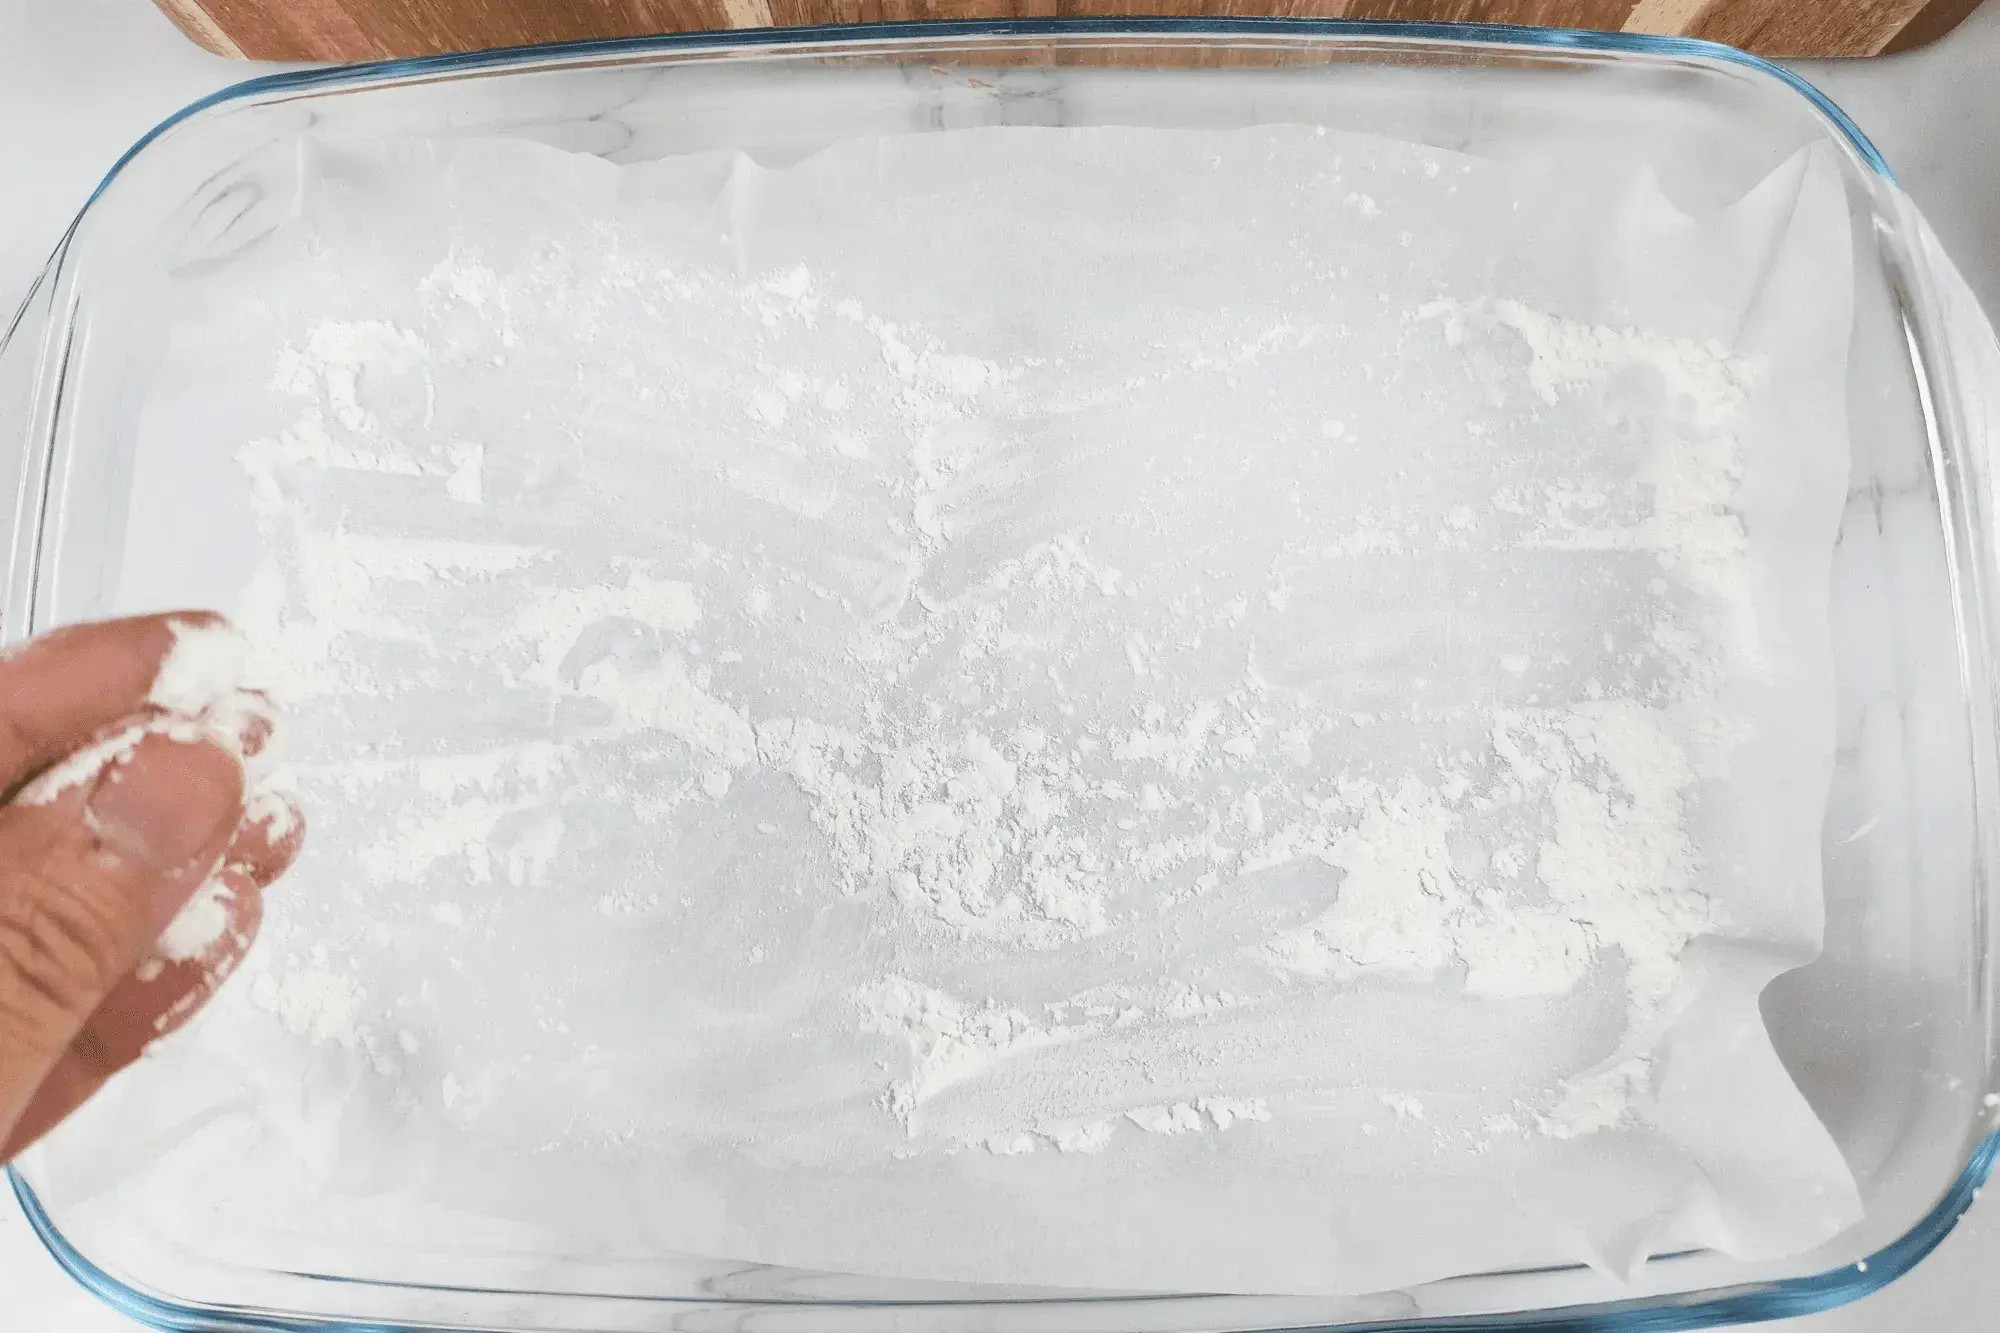
Sprinkle some flour onto the surface or container where you’ll place the wrapped gyoza to prevent sticking.
-
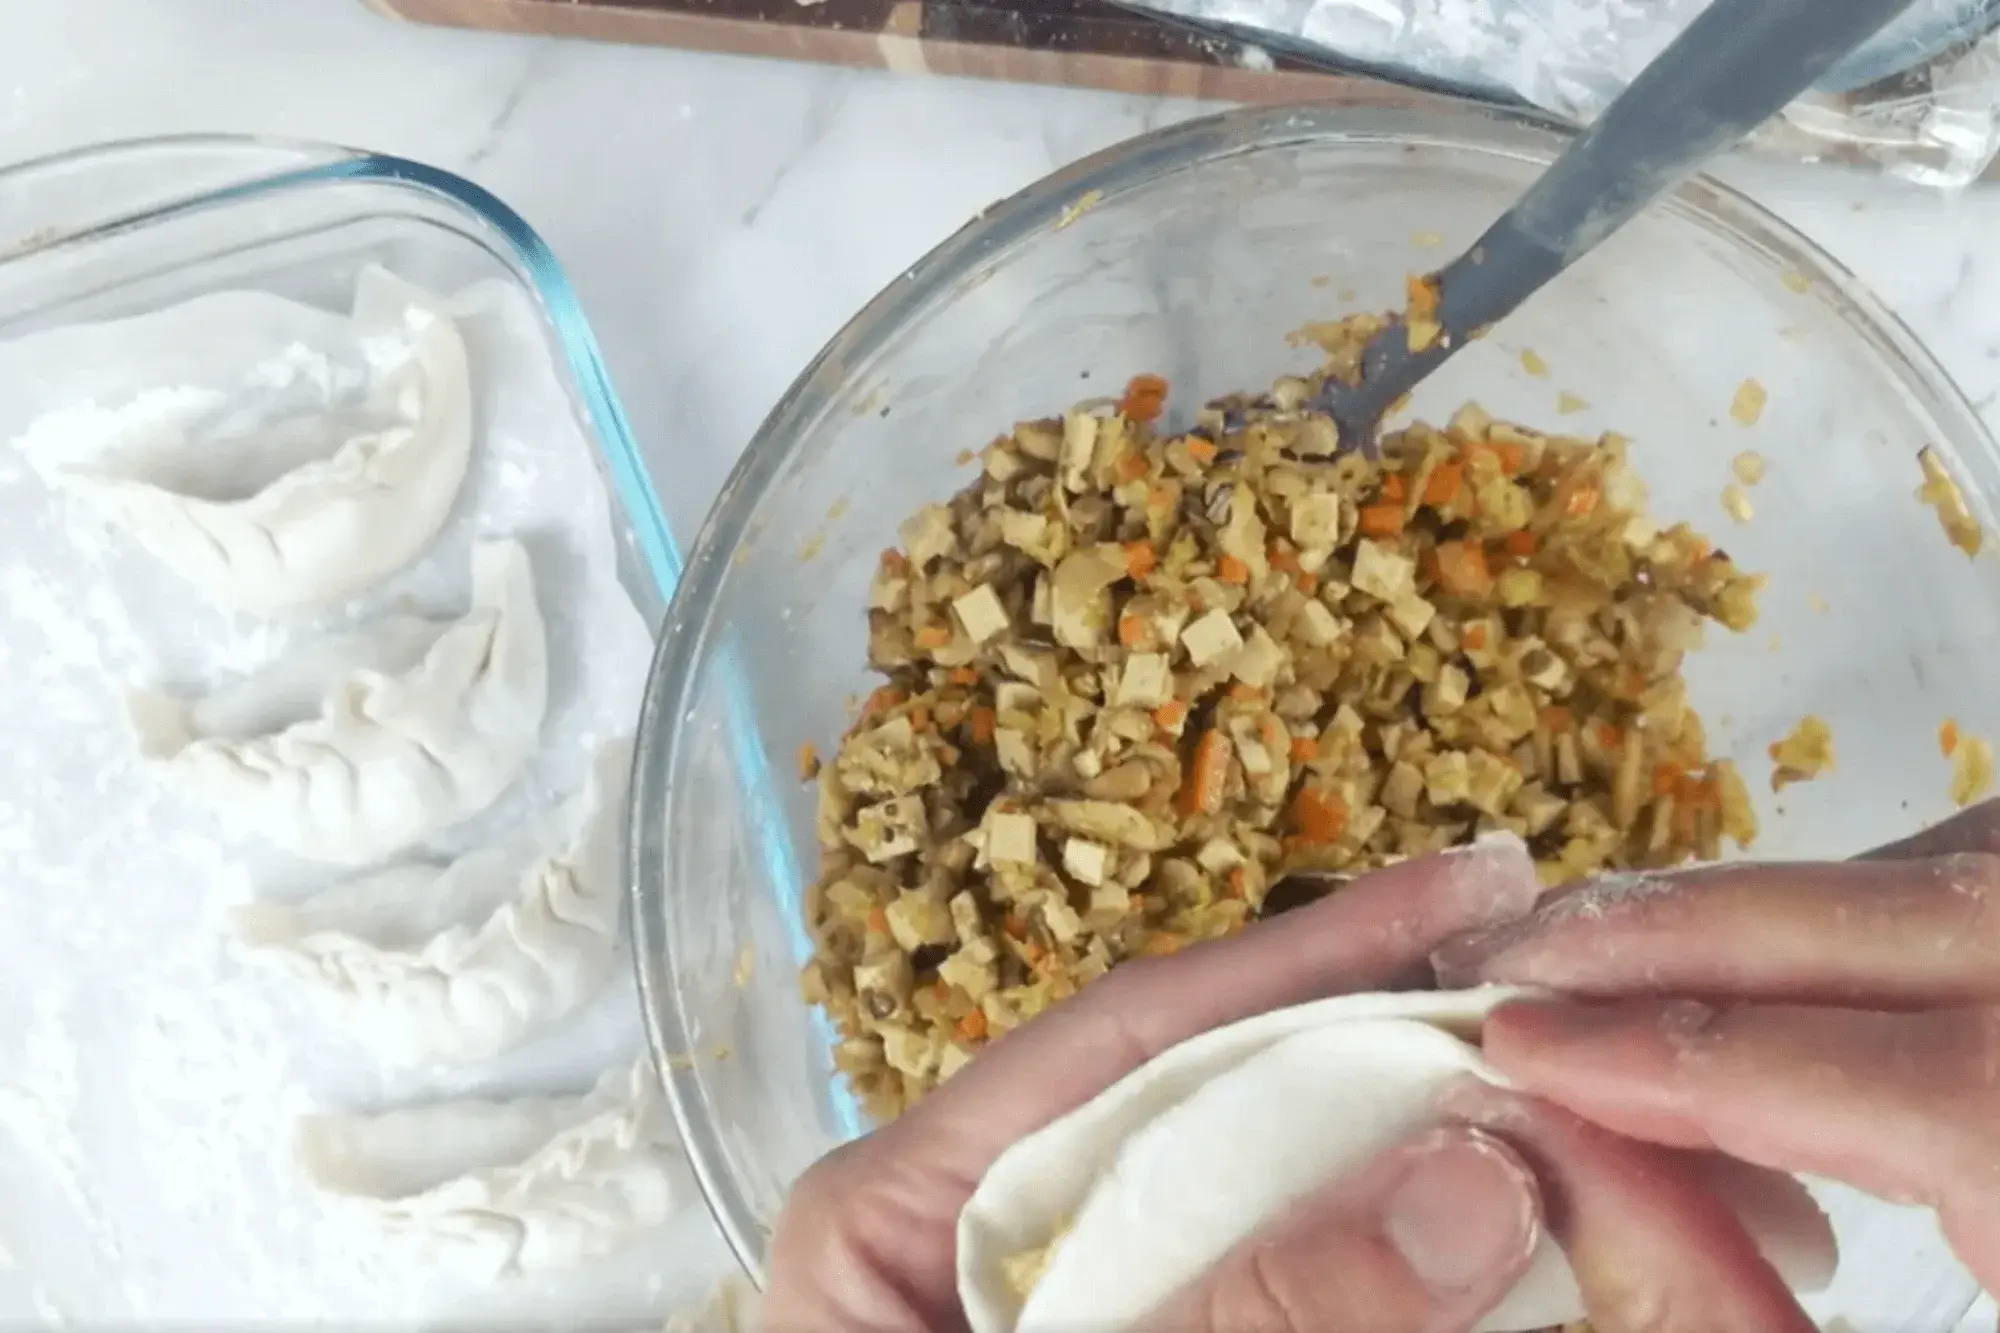
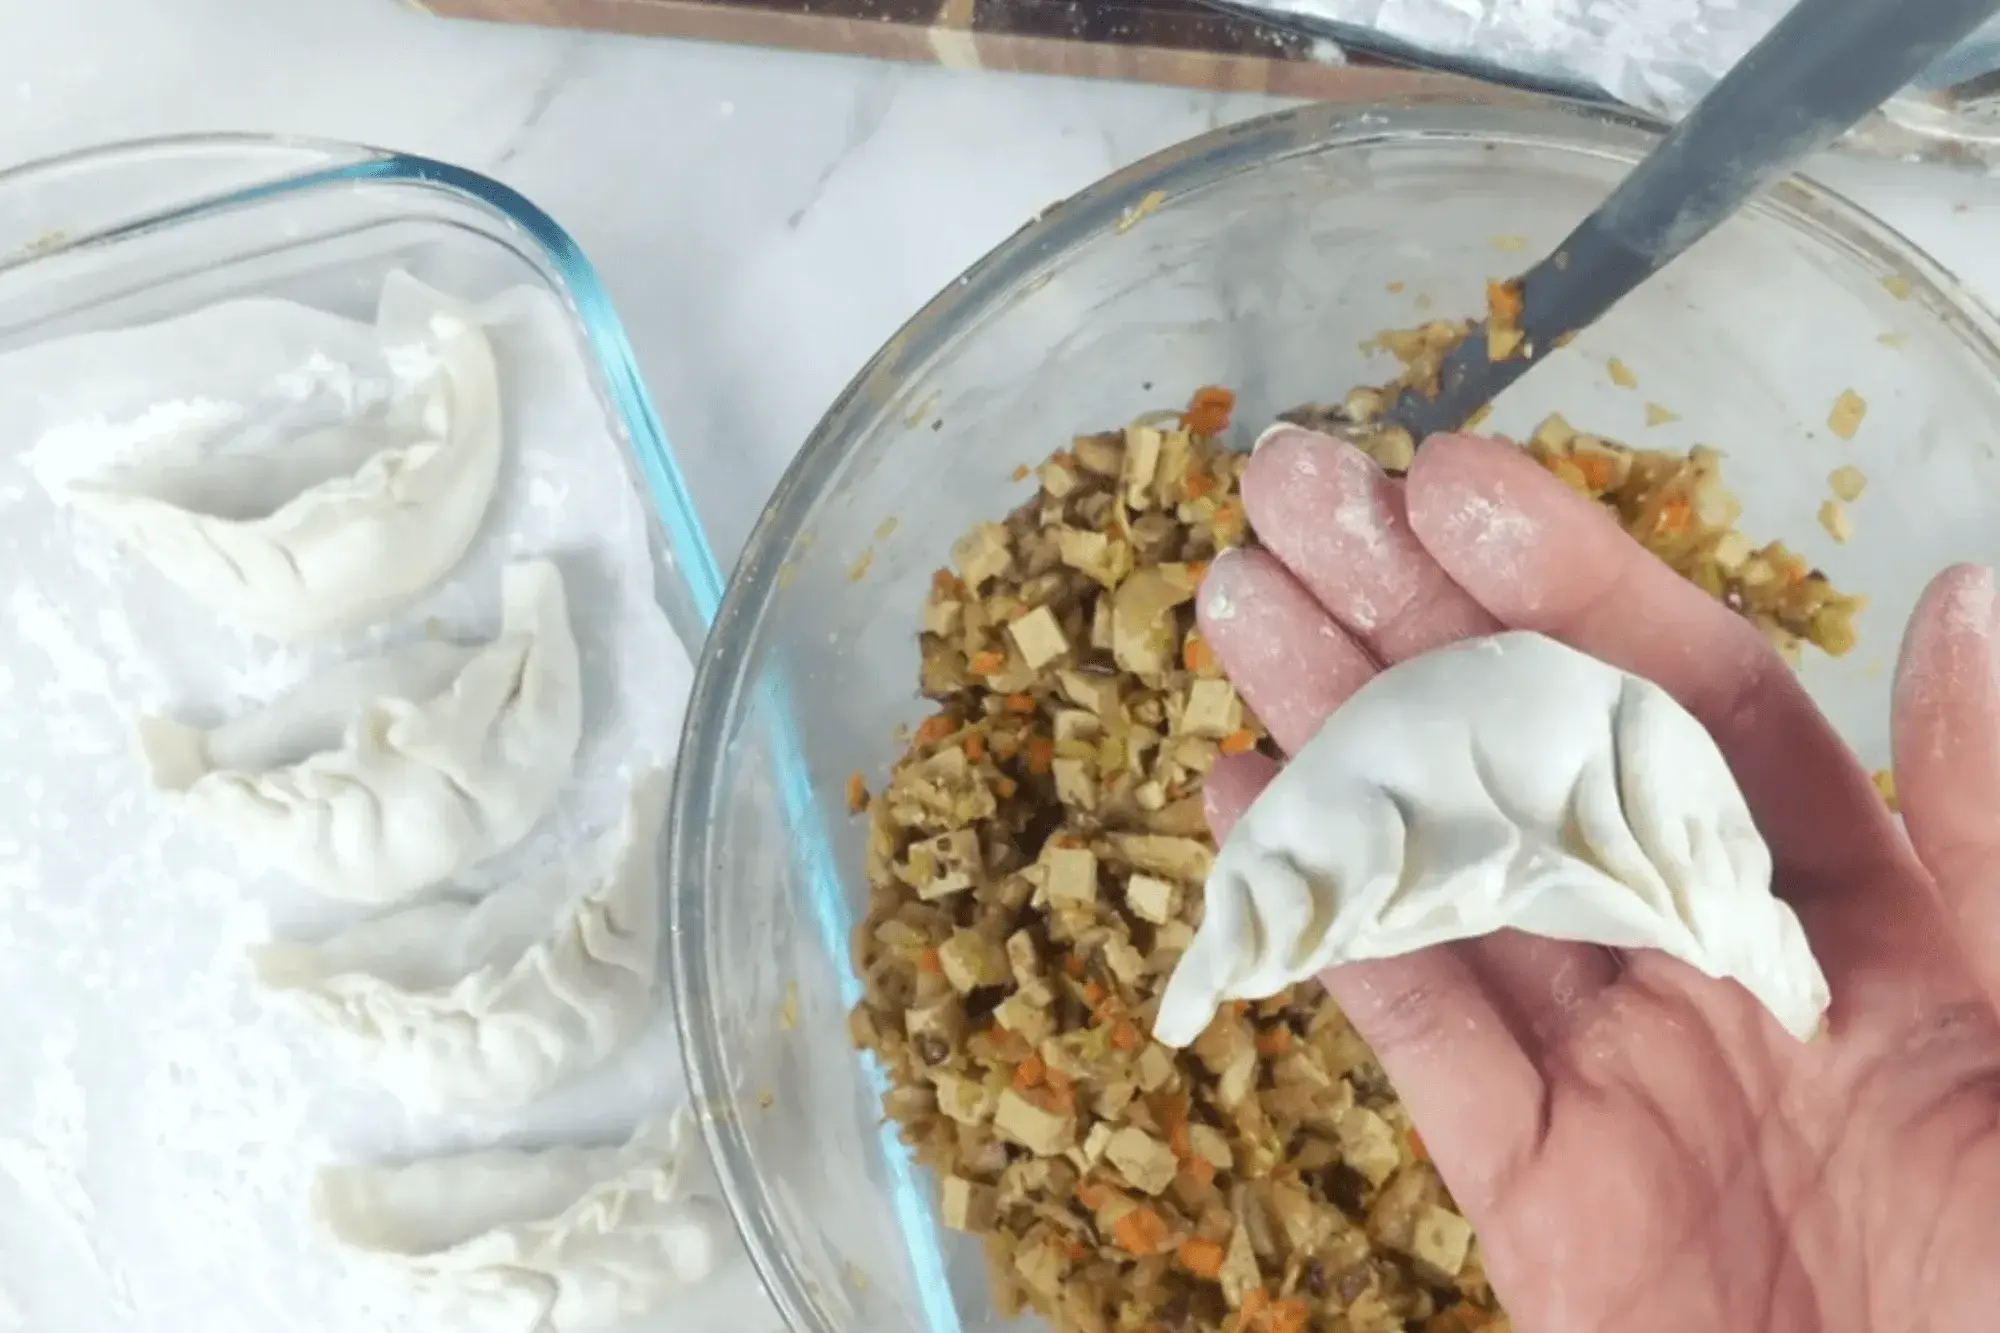
Place a gyoza wrapper on your palm, then scoop about 1 tablespoon of the vegetable filling into the center of the wrapper. Don’t overstuff, or it will be harder to seal! You can make gyoza wrappers from scratch using my recipe, or you can buy wrappers from the supermarket for convenience.
-
Dip your finger into a bowl of water and lightly moisten the edges of the wrapper. This helps seal the gyoza and prevents it from opening during cooking.
-
Fold the wrapper in half over the filling to create a half-moon shape. Gently press down to seal the top.
-
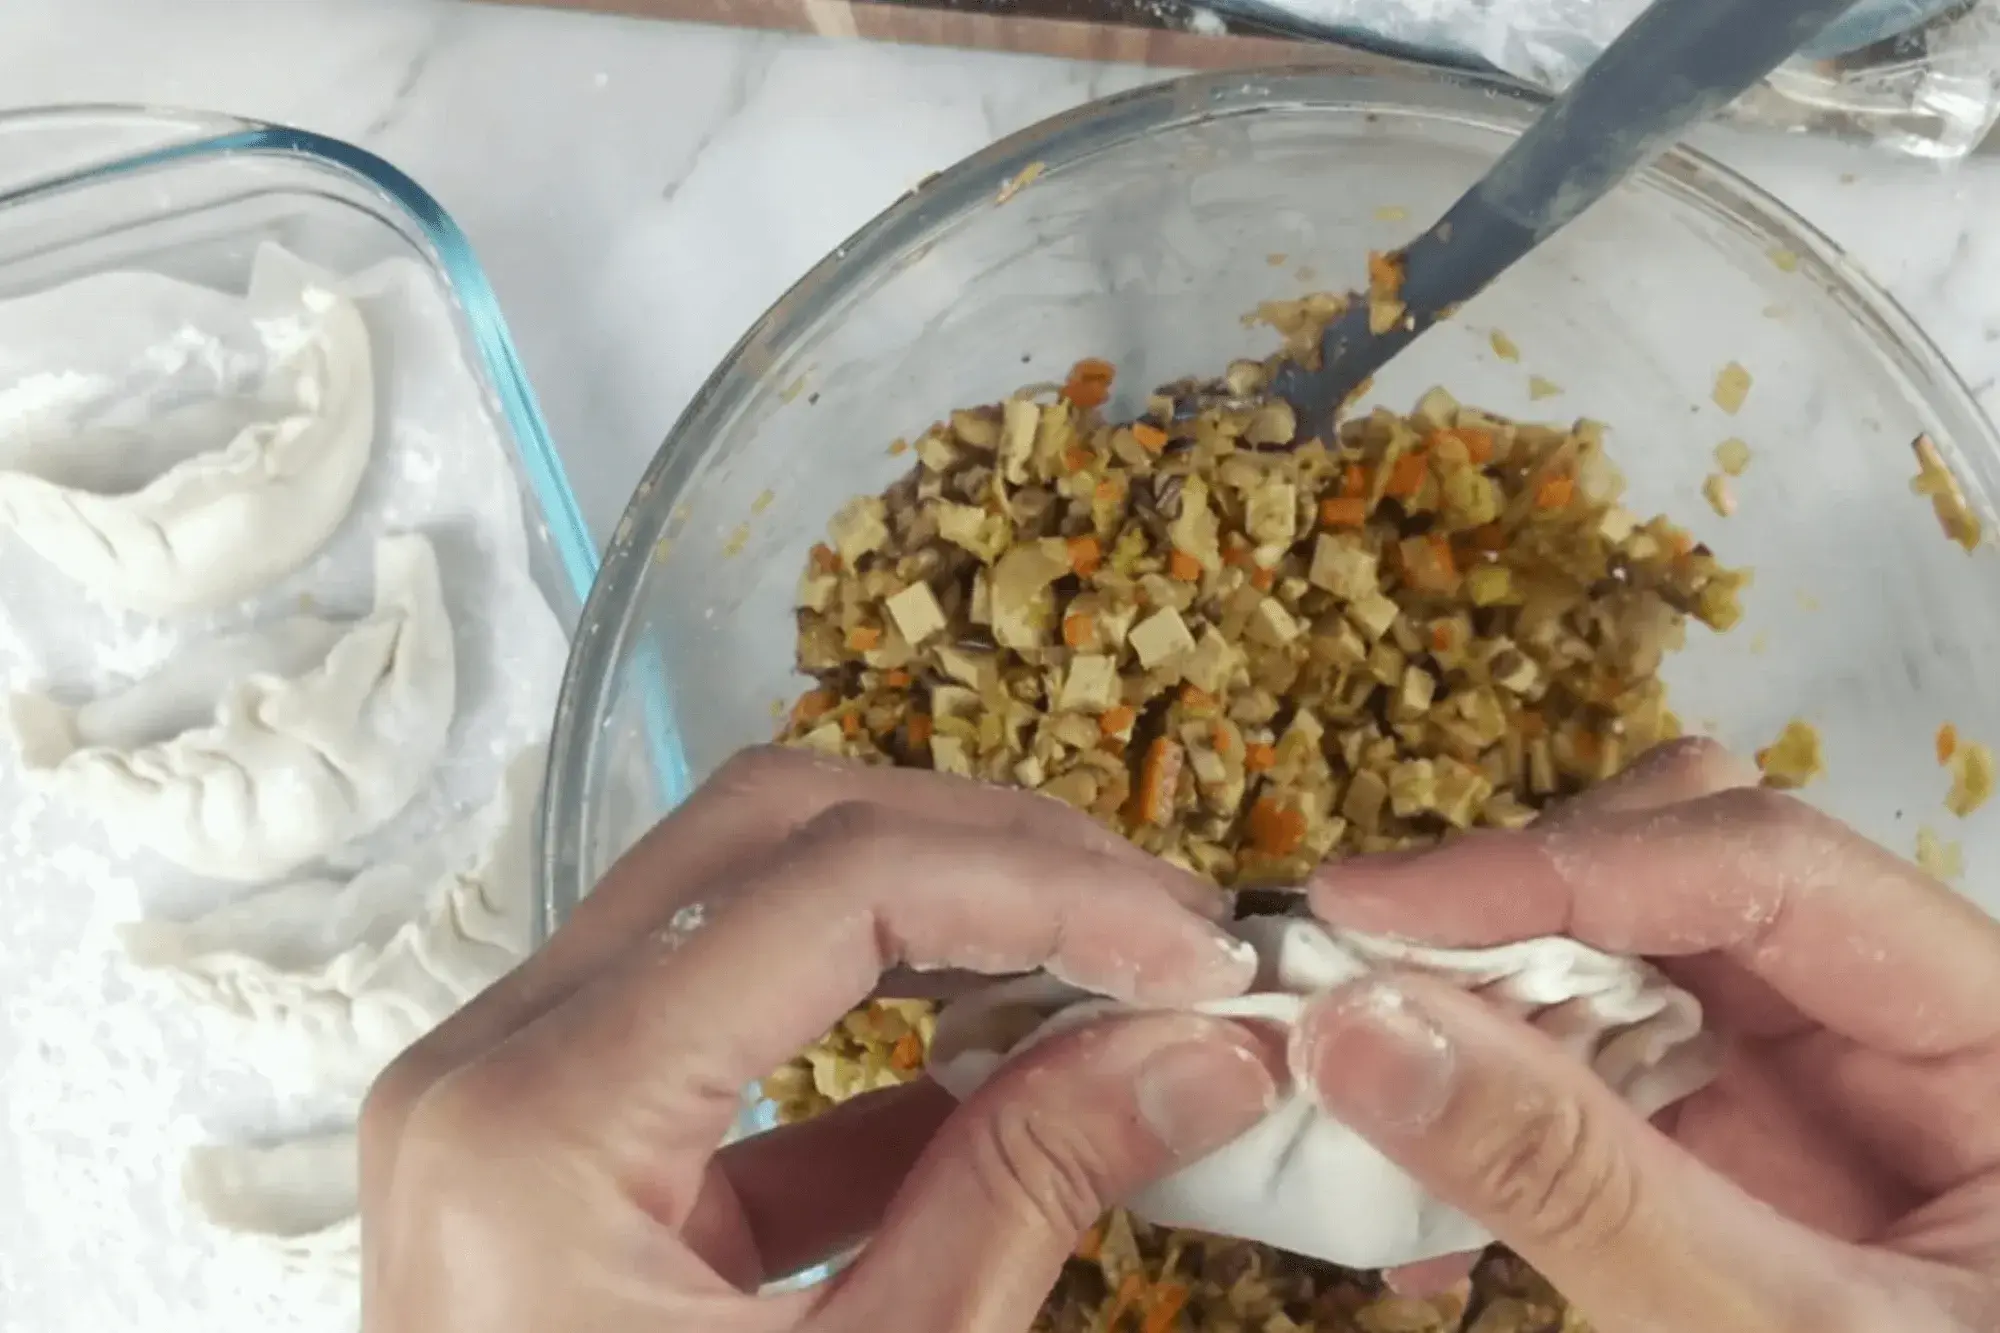
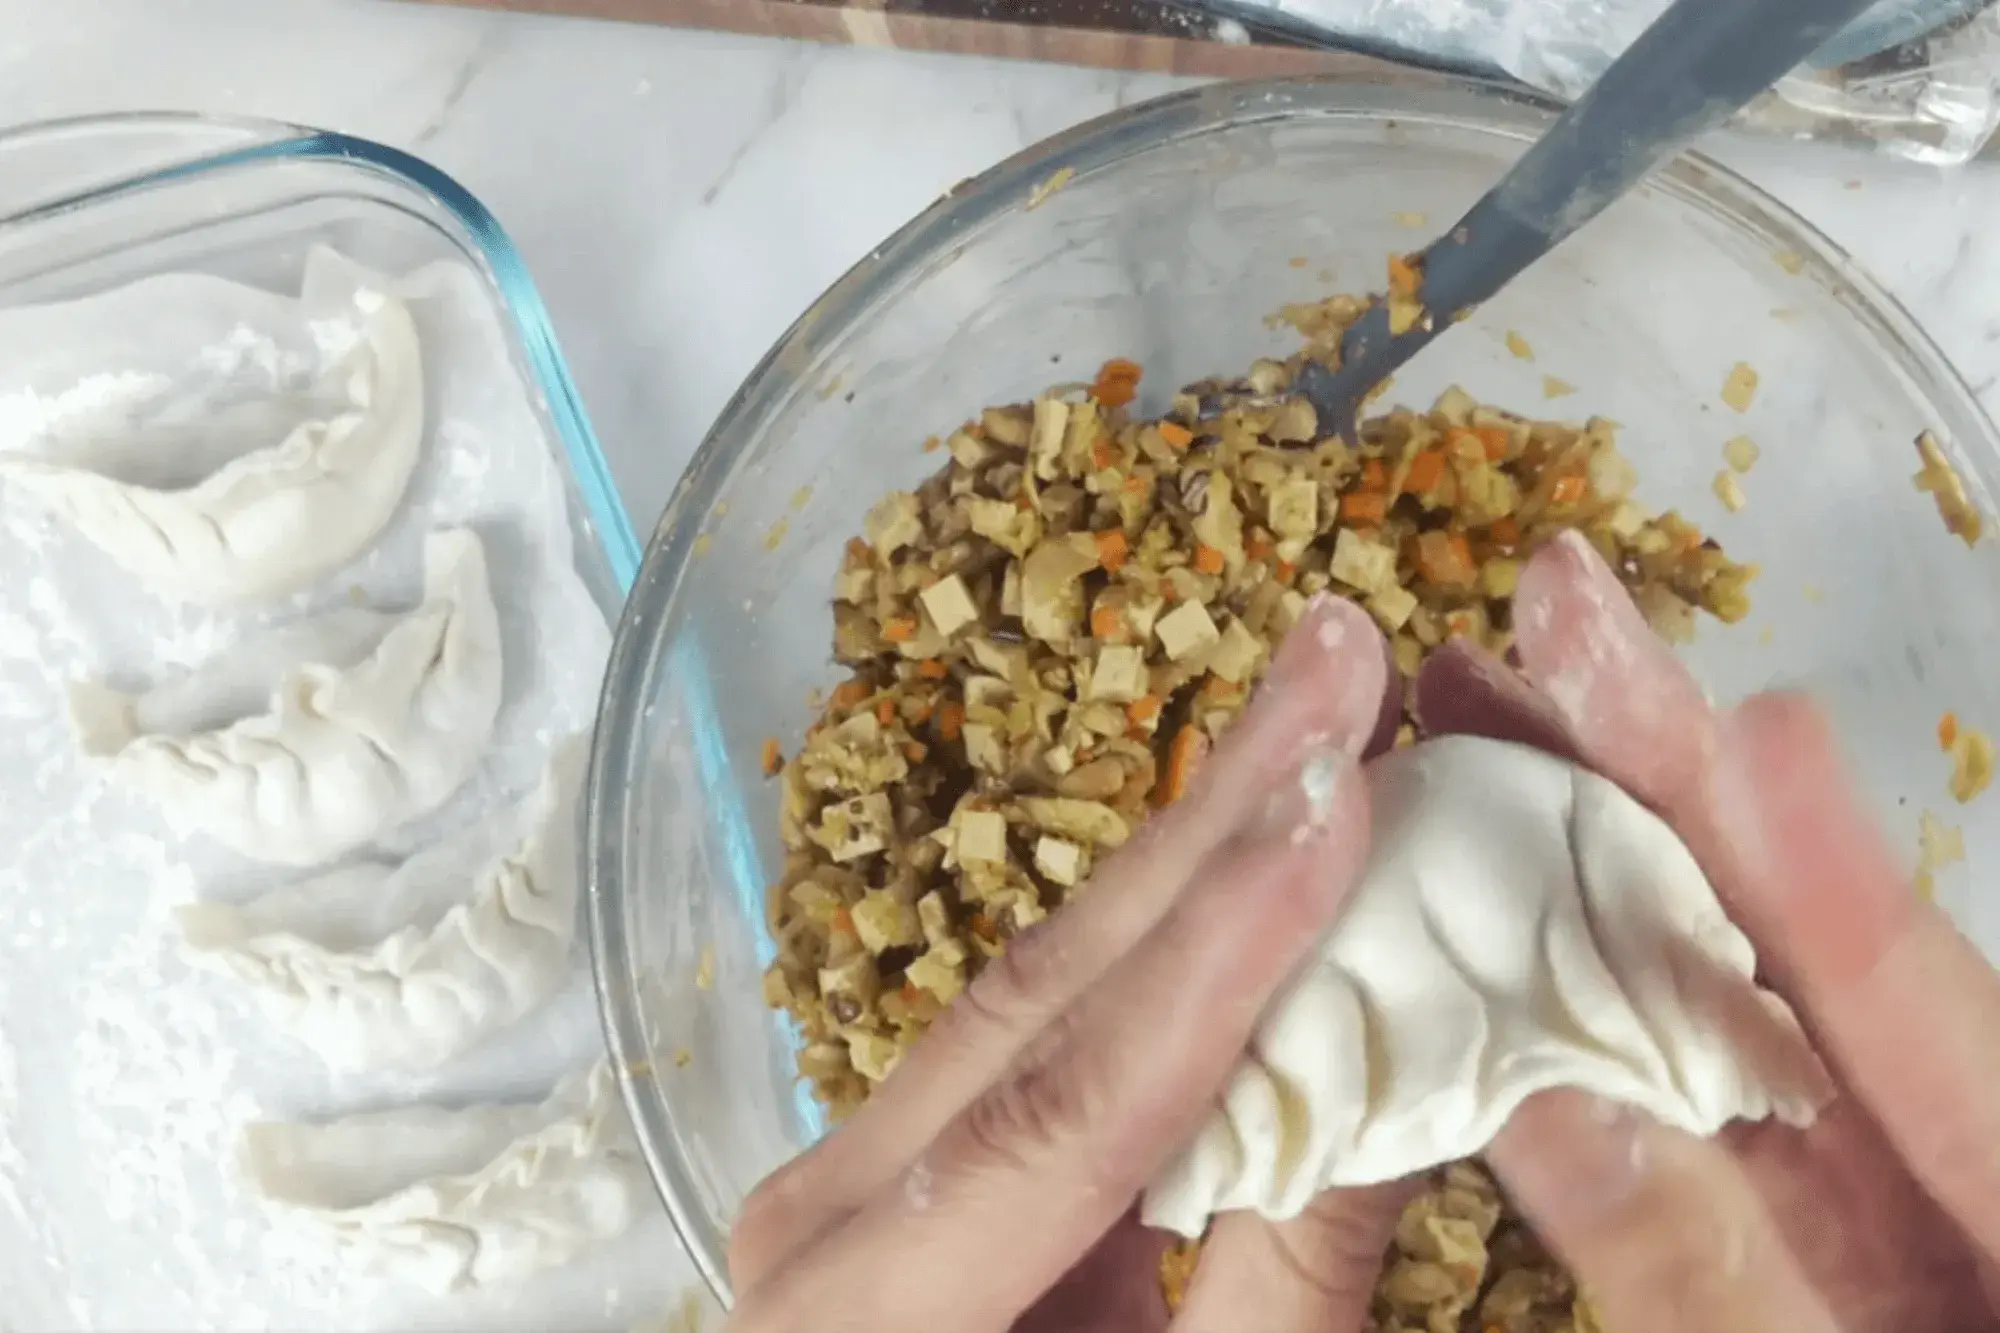
Create Pleats (Optional but Recommended): Now, here’s the fun part! To make your gyoza look professional and give it a pretty pleated edge! Start on one side and fold small pleats as you pinch the edge together. Continue pleating all the way to the other side, pinching each pleat as you go.
-
Press firmly to seal the gyoza completely.
-
After pleating, press the entire edge firmly to make sure it’s tightly sealed. Now you should have a lovely crescent-shaped dumpling with pleats along the edge.
-
-
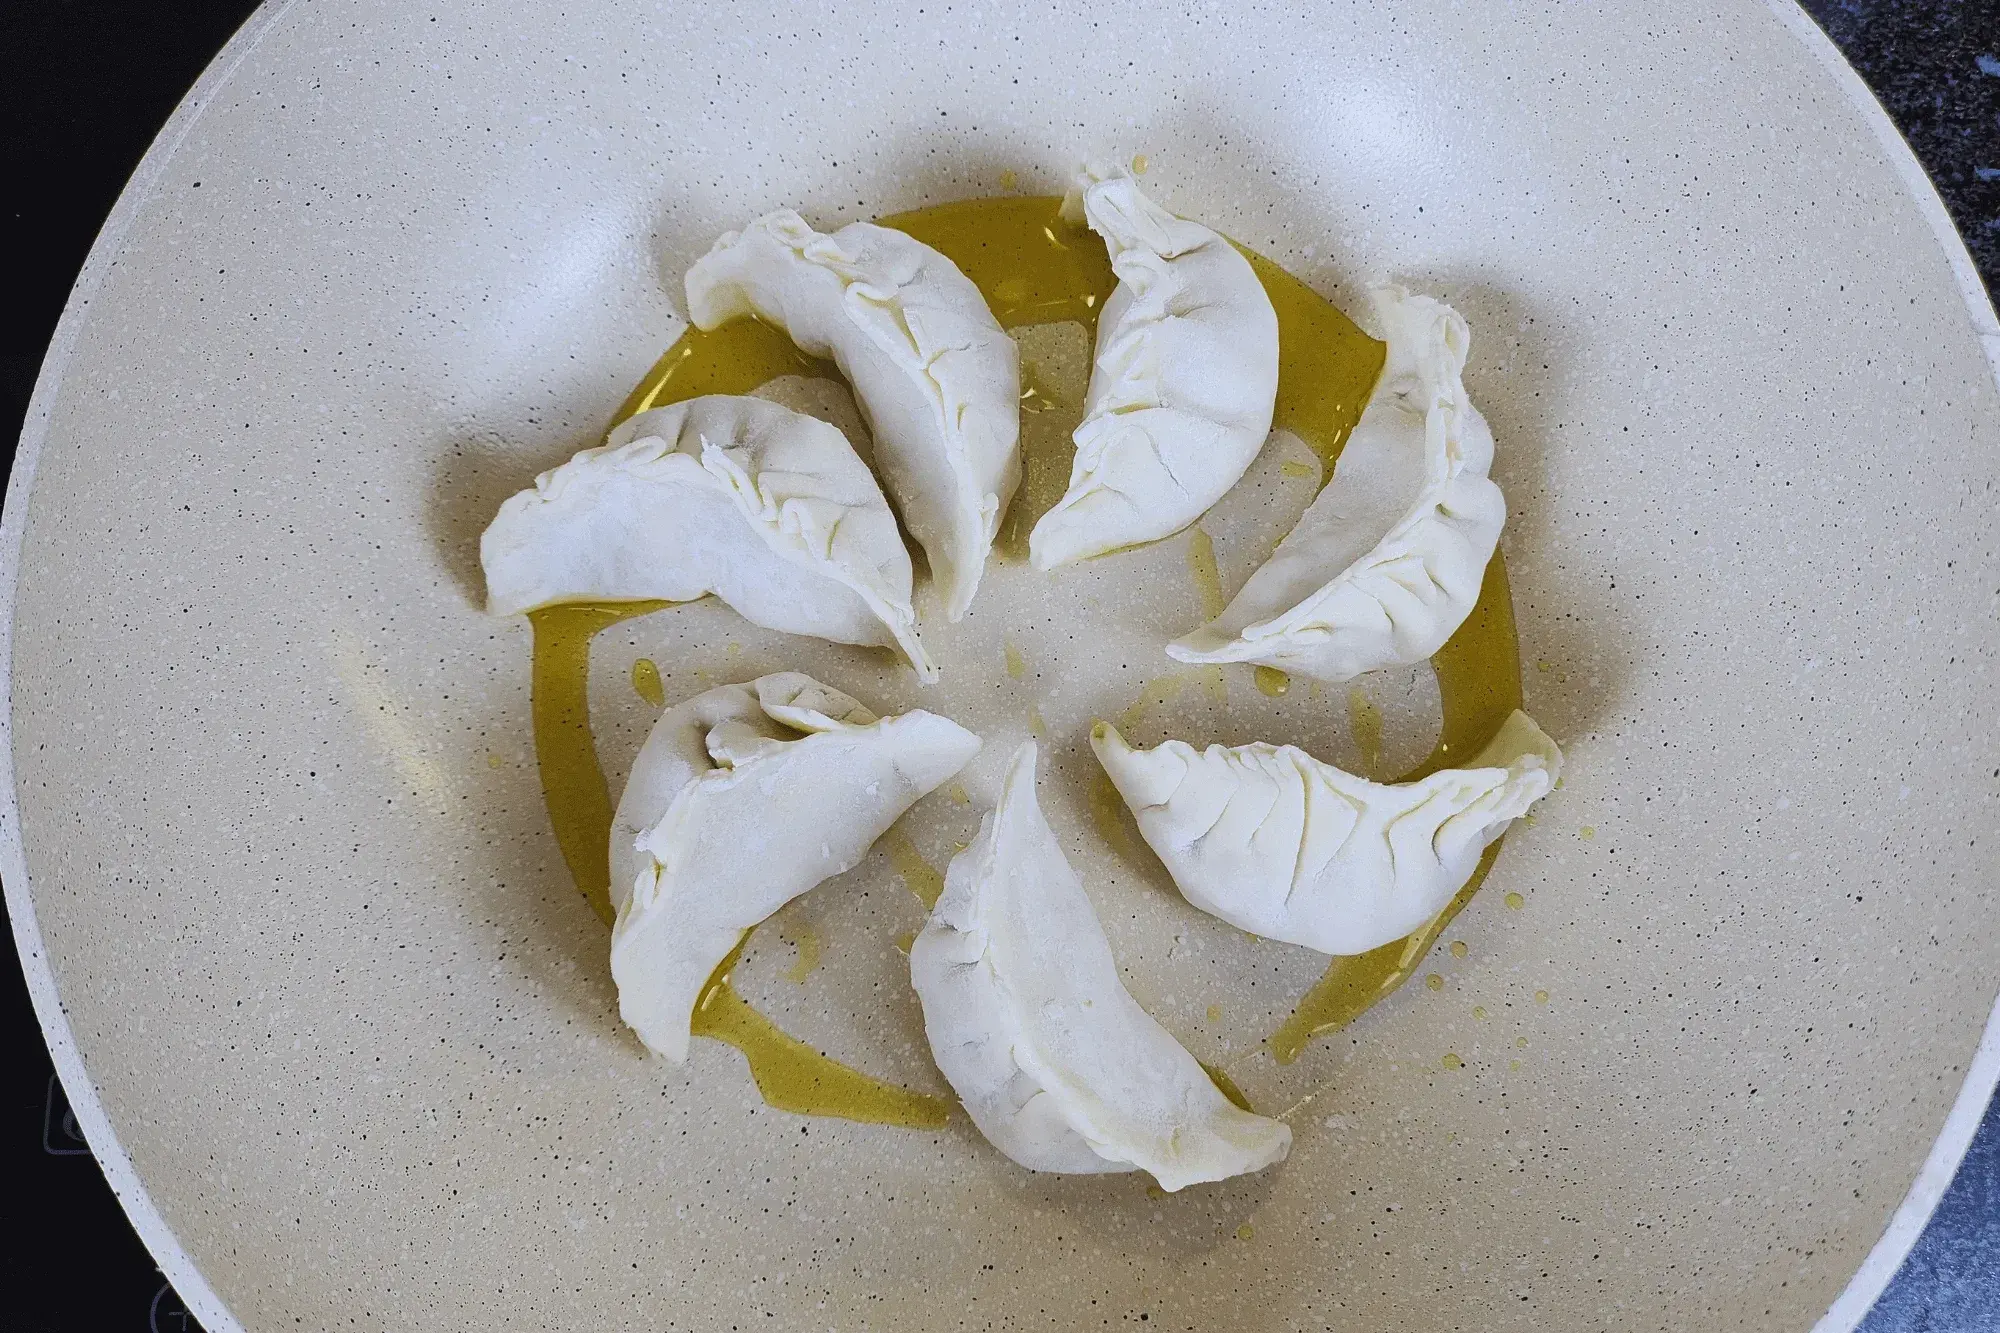
Pan-FryingHomemade Vegetable Gyoza – Best for Crispy Bottoms :
-
Add 1-2 tablespoons of vegetable oil to a non-stick or cast-iron pan over medium heat.
-
Arrange them in a single layer, flat side down, leaving some space between each.
-
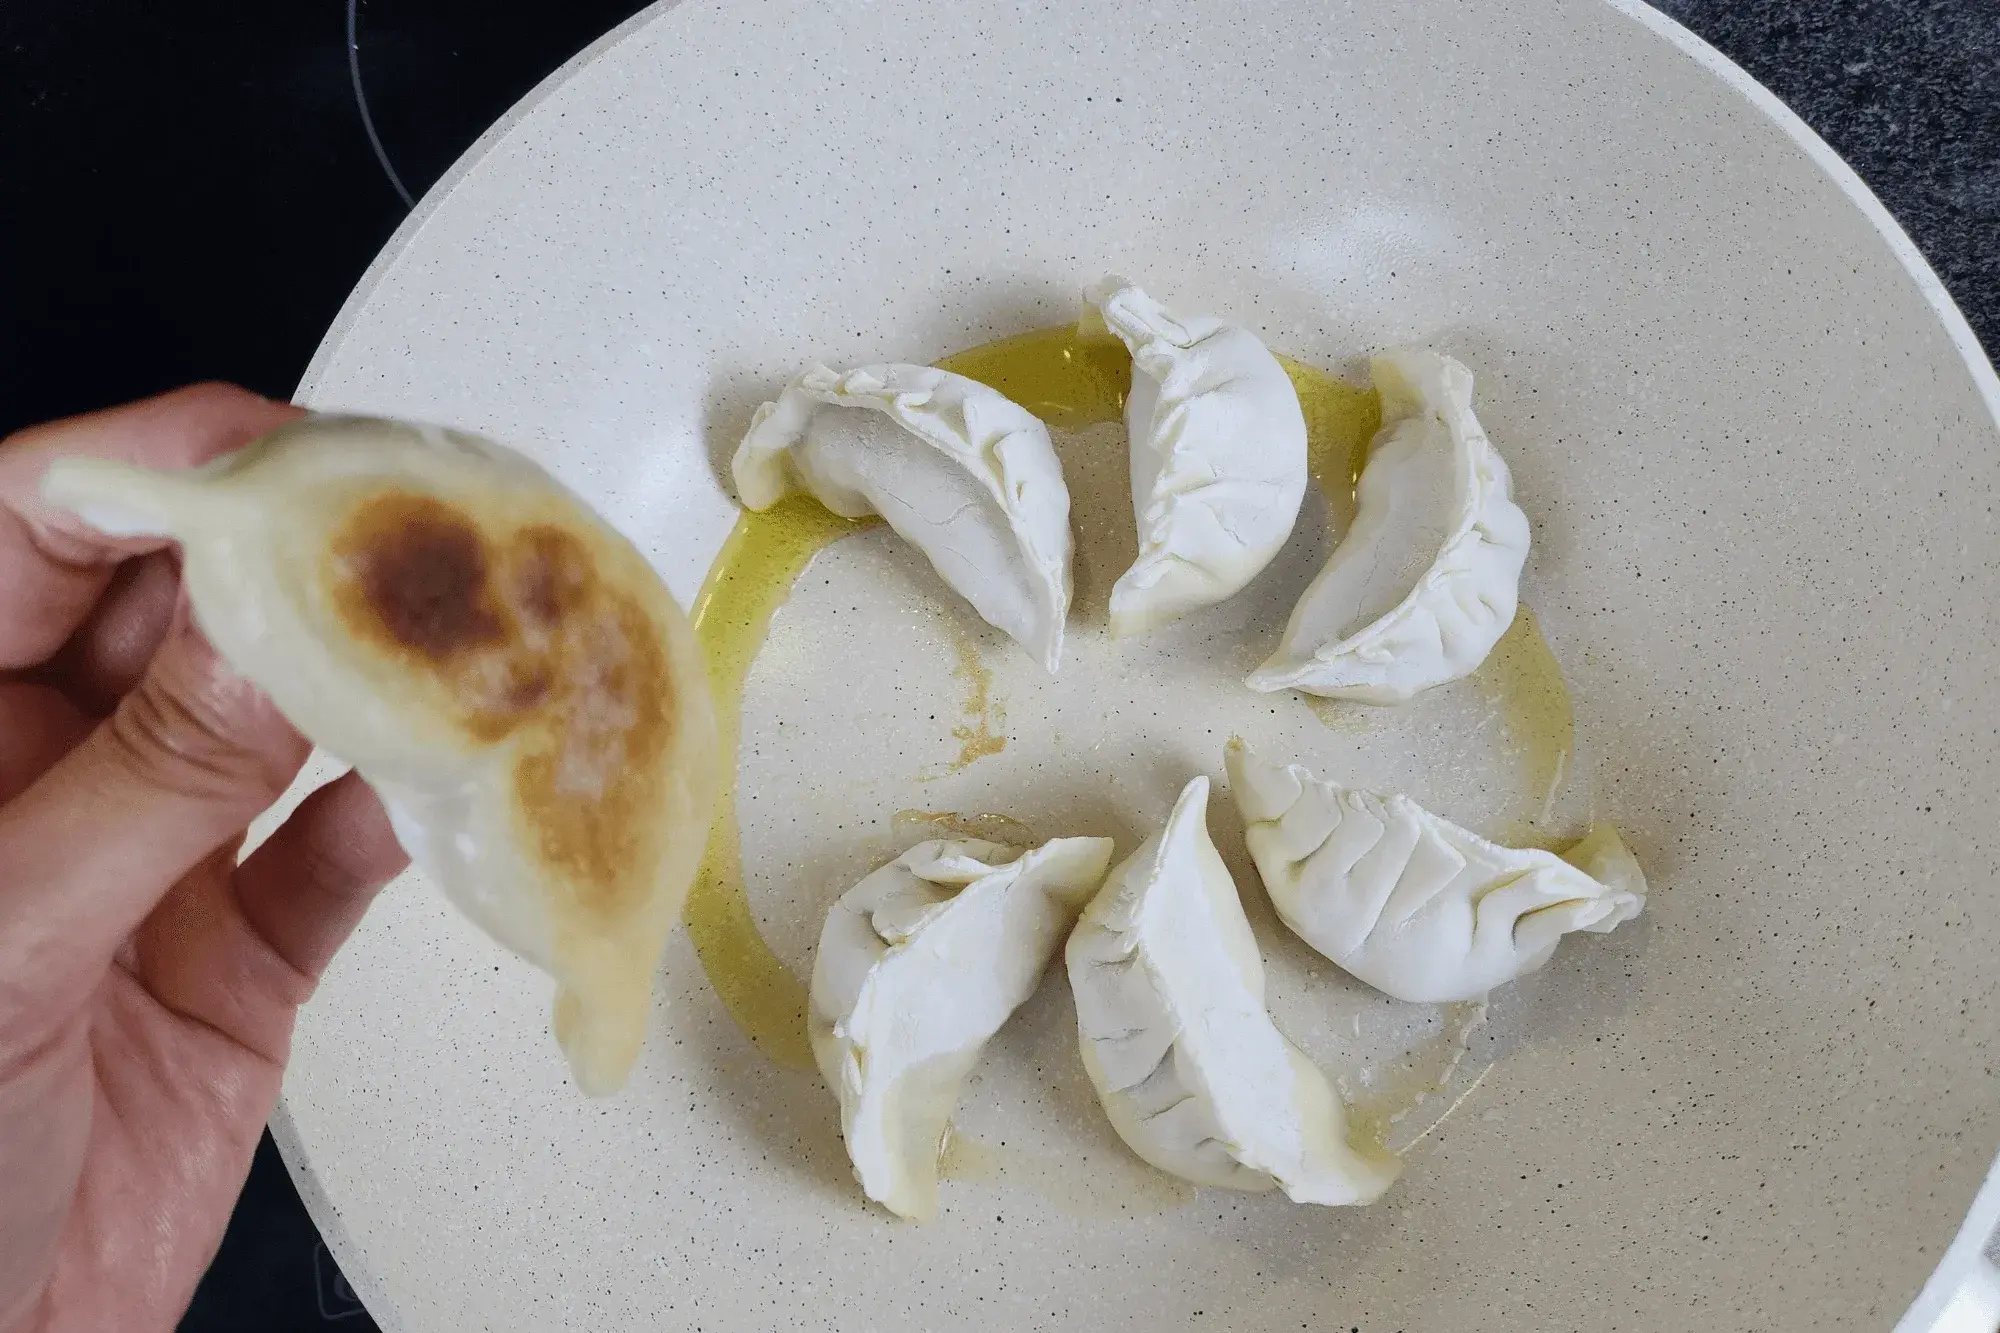
Let the bottoms crisp up for about 2-3 minutes.
-
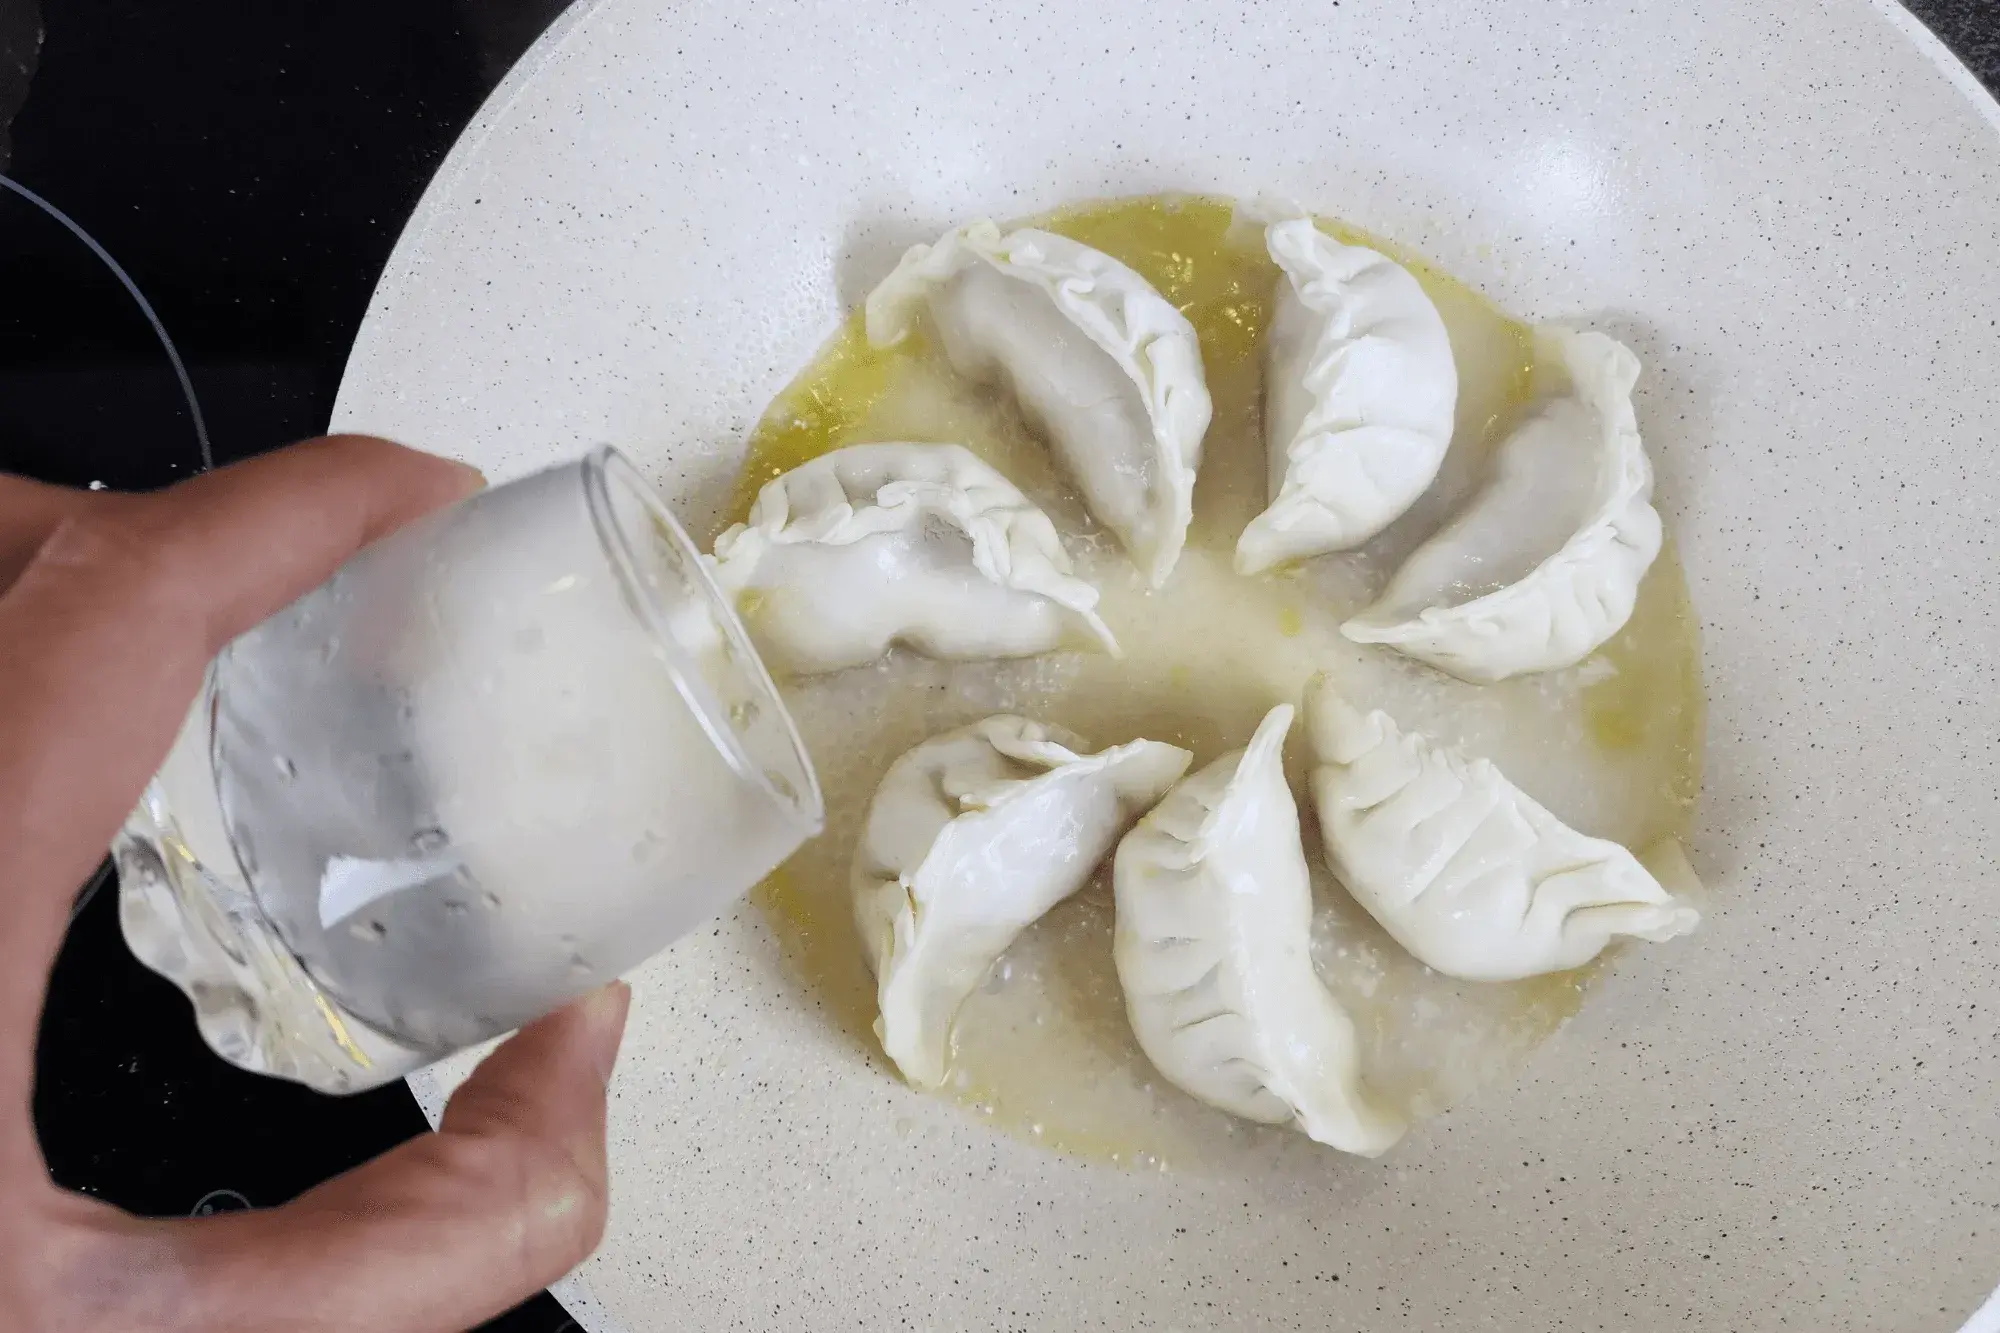
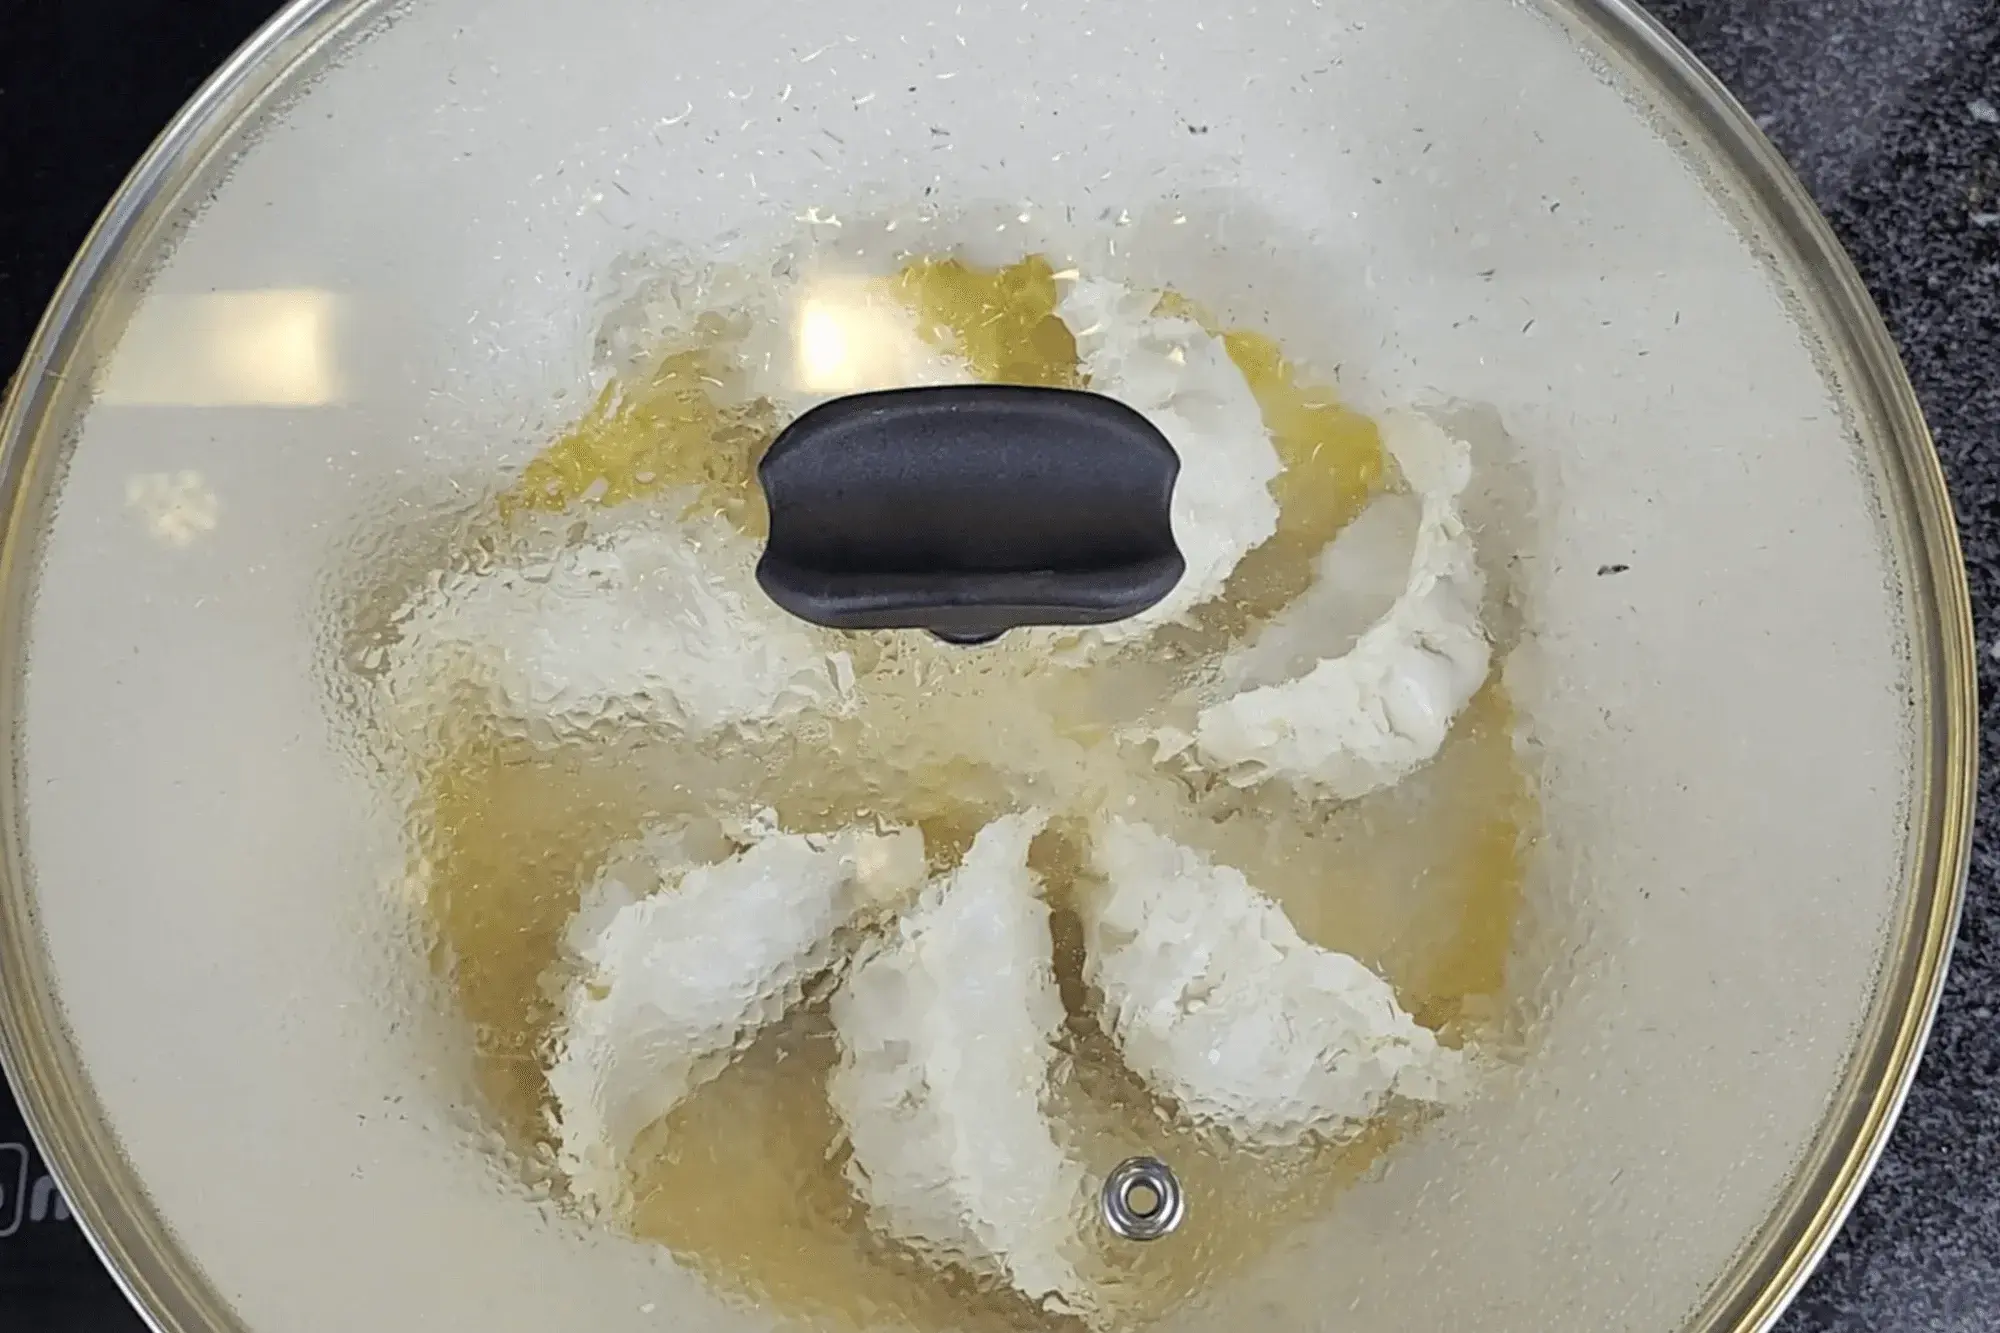
Pour ¼ cup of water into the pan and immediately cover with a lid to steam. Once the water evaporates, remove the lid. Let the gyoza cook for another 1-2 minutes to crisp the bottoms again.
-
Serve hot with dipping sauce.
-


Nutritional info
% of daily valueCalorie Breakdown
Protein
1315 cal
Fat
892 cal
Carbs
6292 cal
💡 Tips
A quicker ways to drain tofu by microwave.
- Cut the tofu block into 2-3 slices (thinner pieces release water faster).
- Place the slices on a microwave-safe plate lined with paper towels.
- Microwave for 30-60 seconds at a time until you see water seeping out.
- Press gently with paper towels to absorb excess moisture.
Perfecting Gyoza with Shiitake & King Oyster Mushrooms
Both shiitake mushrooms and king oyster mushrooms are excellent choices for gyoza filling because they enhance the texture, umami depth, and overall balance of flavors.
While shiitake and king oyster mushrooms are ideal for flavor and texture, you can certainly use other mushrooms as substitutes based on your preference.
Leave A Comment
More recipes to try…

Summer Salad Rolls
2nd April 2025
These Summer Salad Rolls are fresh, light, and packed with crisp veggies! Made with rice paper wrappers, avocado, and a mix of colorful vegetables, they’re perfect for a healthy appetizer, snack, or light meal. Plus, you can customize them with smoked salmon or poached chicken for extra protein!

Beef Meat Balls
27th December 2024
Another popular snack that can be found everywhere in Thailand is ลูกชิ้น-luk chin (meatballs). If you walk through street food markets, this is definitely one menu item you'll come across. They can be made from pork, beef, fish, chicken, or shrimp. I really love them!

Vegetarian Samosa Recipe
8th April 2025
Samosas are one of the most beloved snacks worldwide, known for their crispy, golden crust and flavorful fillings. This vegetable samosa recipe is packed with spiced potatoes, green peas, and crunchy cashews, making it a delicious and satisfying appetizer or snack.